Table of Contents
You can use Shopify with an existing WordPress site without moving the whole site. The simplest options are to connect Shopify's WordPress integration, embed selected products with a Shopify Buy Button, or place the full Shopify storefront on a subdomain such as shop.example.com. Your products, inventory, orders, and checkout remain in Shopify while WordPress continues to handle the main site's content.
This guide applies to a self-hosted WordPress installation that can install plugins or accept custom HTML. If you are unsure which WordPress product you use, see the differences between WordPress.com and WordPress.org. Before launching a store, also confirm that your web host can support your expected traffic and backup needs.
Choose the right connection method
| Method | Best for | Main trade-off |
|---|---|---|
| Shopify WordPress integration | Displaying products and collections throughout WordPress | Requires the current Shopify WordPress sales channel and plugin |
| Shopify Buy Button | Adding a few products to existing pages | Each embedded button or collection must be managed through Shopify |
| Shop subdomain | Keeping a complete Shopify storefront | The store is a separate site, so navigation and design need coordination |
Do not install an abandoned third-party plugin merely because an old tutorial recommends it. Check the plugin's publisher, update history, supported WordPress version, permissions, and support policy first. Back up WordPress before adding any commerce plugin or custom code.
Method 1: Connect Shopify to WordPress
Shopify's current WordPress workflow uses the Sell on WordPress sales channel and a Shopify plugin. It is the most direct choice when you want Shopify products to appear inside WordPress while Shopify remains the commerce backend.
- In Shopify admin, open Settings > Sales channels and select Sell on WordPress.
- Copy the Shopify access token shown for the connection. Treat this token like a password and do not paste it into public pages, screenshots, support forums, or analytics fields.
- In WordPress, install the Shopify plugin from the source specified by Shopify. Activate it, then open Shopify > Settings > General.
- Paste the access token into the Shopify Access Token field and choose Connect.
- Add a test product or collection to a private page. Verify product details, variants, currency, cart behavior, checkout, tax, shipping, discount codes, and order emails before publishing.
Menu names can change as Shopify and WordPress update. If the sales channel is unavailable for your account, use the Buy Button method below rather than installing a similarly named unofficial plugin.
Method 2: Embed a Shopify Buy Button
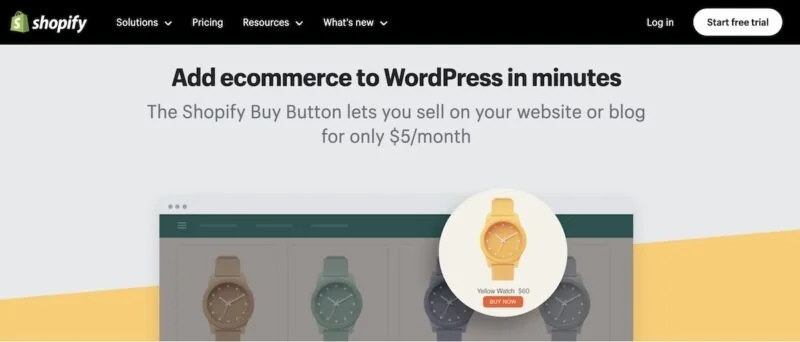
A Buy Button is useful when WordPress already contains your landing pages and you only need to sell a product or small collection. Shopify generates the embed code; WordPress displays the product interface; and Shopify handles the cart and checkout.

- Add the Buy Button sales channel in Shopify if it is not already enabled.
- Create a button for a product or collection. Choose the layout, button action, cart behavior, and whether checkout opens in the same tab or a new one.
- Copy the generated embed code.
- In the WordPress block editor, edit the target post, page, or template and insert a Custom HTML block.
- Paste the code into that block. Do not use a Paragraph or Code block, because WordPress may display the markup as text instead of running it.
- Preview the page on desktop and mobile, then place a test order.
If you later change the button's appearance in Shopify, you may need to create a new button and replace the old embed code. Keep a record of which WordPress pages contain each embed.
Method 3: Run Shopify on a shop subdomain
A subdomain keeps the two platforms clearly separated: WordPress can remain at example.com, while the full Shopify store lives at shop.example.com. This approach does not merge the two databases or admin areas. It simply gives the Shopify storefront an address under the same parent domain.
1. Add the subdomain in Shopify
In Shopify admin, go to Settings > Domains and choose the option to connect an existing domain or subdomain. Shopify may display provider-specific instructions or request additional domain verification.
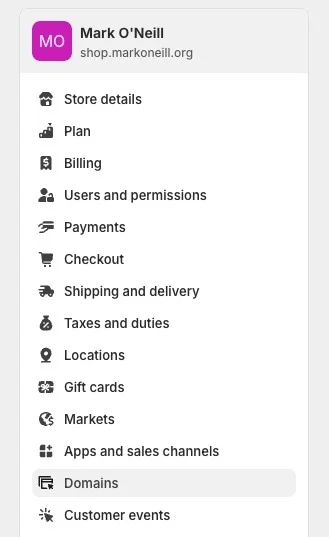
Enter the shop address you plan to use, such as shop.example.com. Do not change the main WordPress domain unless you intend to move the entire root domain to Shopify.
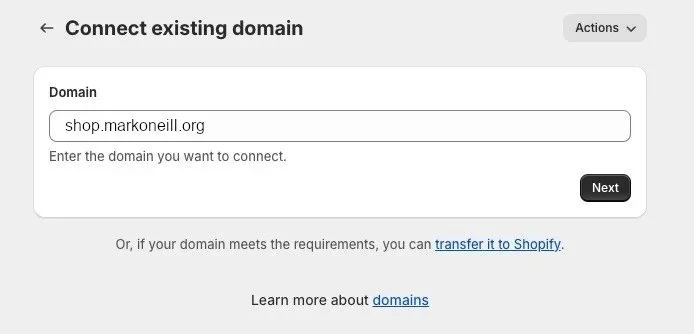
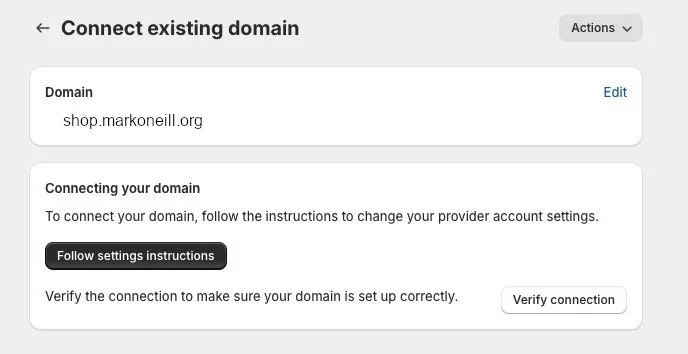
Continue to Shopify's connection instructions. Leave this browser tab open so you can compare the requested records with your DNS provider's form.
2. Create the DNS record
Log in to the company that manages DNS for the domain. This may be your registrar, web host, or a DNS service—not necessarily the company that hosts WordPress.
- Type: CNAME
- Host or Name:
shop(for shop.example.com) - Target or Points to:
shops.myshopify.com - TTL: leave the provider's default unless you have a reason to change it
Some DNS panels expect a trailing dot, so the target may be entered as shops.myshopify.com.. Do not copy the obsolete singular target shop.myshopify.com from older instructions. Also remove or edit an existing record for the same host if it conflicts; a CNAME cannot coexist with certain other records at the identical name.
3. Verify the connection
Return to Settings > Domains in Shopify and verify the connection. Shopify might also require a TXT verification record; use the exact name and value displayed in your admin.
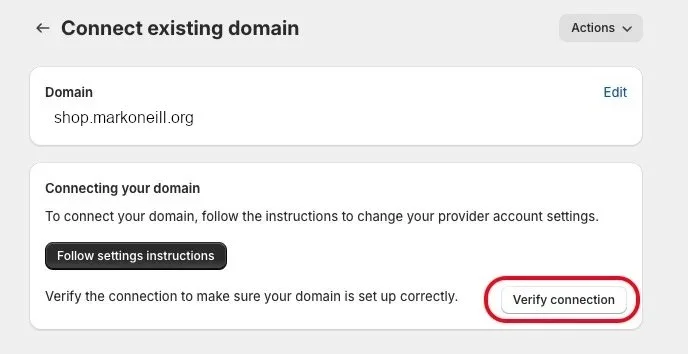
DNS changes often appear within a few hours but can take up to two days. Repeatedly deleting and recreating correct records can extend troubleshooting. If verification fails, check the authoritative DNS provider, confirm there is no typo or duplicate record, and disable any unsupported proxying on the CNAME while connecting.
SSL and launch checks
Shopify provisions HTTPS for a correctly connected domain; you should not upload a separate certificate to Shopify. The WordPress site also needs valid HTTPS from its own host. Wait until the Shopify domain shows a secure connection before sending customers to it.
- Link from the WordPress navigation to the Shopify shop and back again.
- Use consistent logos, colors, contact details, policies, and currency across both sites.
- Test on mobile and in a private browser window.
- Complete a low-value test order and confirm inventory, tax, shipping, payment, confirmation email, cancellation, and refund workflows.
- Update privacy and cookie disclosures for analytics, marketing tags, and checkout services.
- Use one canonical URL for each product page to avoid competing duplicate pages.
Should you use Shopify or move to WooCommerce?
Keep Shopify when its checkout, inventory, order management, sales channels, and hosted infrastructure are the reason you chose it. Consider WooCommerce when you want the shop to live entirely inside WordPress and are prepared to manage hosting, updates, backups, security, and plugin compatibility yourself.
Connecting Shopify to WordPress gives you a useful middle ground: WordPress remains the publishing platform, while Shopify handles commerce. Choose one of the three methods based on how much of the storefront needs to appear inside WordPress, then test the entire customer journey before launch.
Related Articles
 8 Key Differences Between WordPress and Shopify: Expert Selection Guide8 minutes read
 Shopify Review 20229 minutes read
 5 Best E-commerce WordPress Plugins15 minutes read
 Which Platform Is Better for Wordpress. Com and Wordpress. Org?13 minutes read
 Why Is Wordpress Free?10 minutes read
 5 Mistakes Everyone Mistakenly Thinks About WordPress6 minutes read
Reader Comments 0
Sign in with email or Google to join the discussion.