Instructions for building animated scenes on ScratchJR
One of the programs and content that students can build on ScratchJR is creating animated scenes.
Table of Contents
One of the programs and content that students can build on ScratchJR is creating animated scenes. By creating this tableau, students can build a lesson around a story tied to the geographical history of that location. To build an animated scene, students need to know how to create many animations, in which each scene is a stage with a corresponding background image. Below are instructions for building animated scenes on ScratchJR
How to build animated scenes on ScratchJR
Step 1:
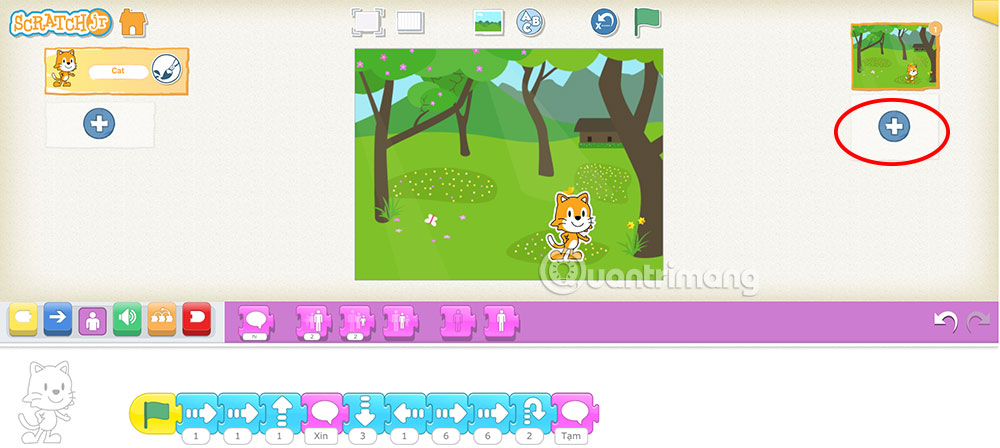
At the interface on ScratchJR, users press the plus sign to create a new program. Then we proceed to change the background image for the first animation .
Step 2:
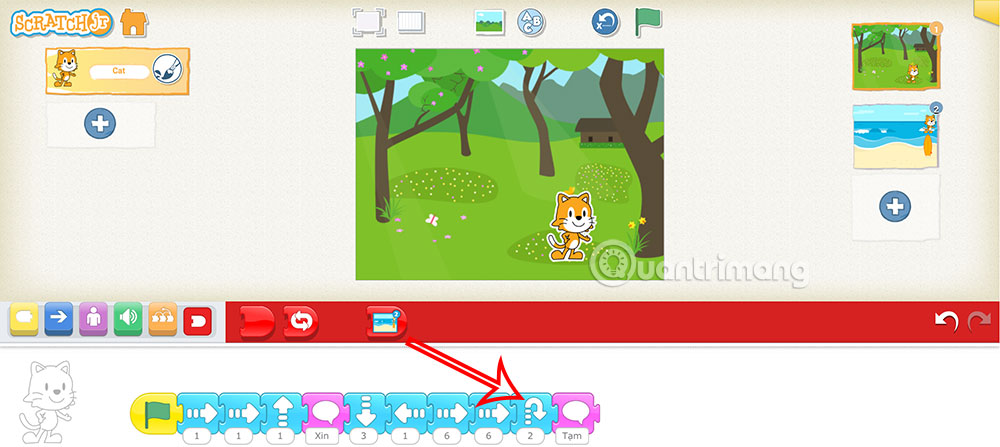
With the first character, you will write commands for the cat depending on your purpose , for example, move and say Hello, then move again and at the end say Goodbye.

For example, we have a program for the character as shown below.

Step 3:
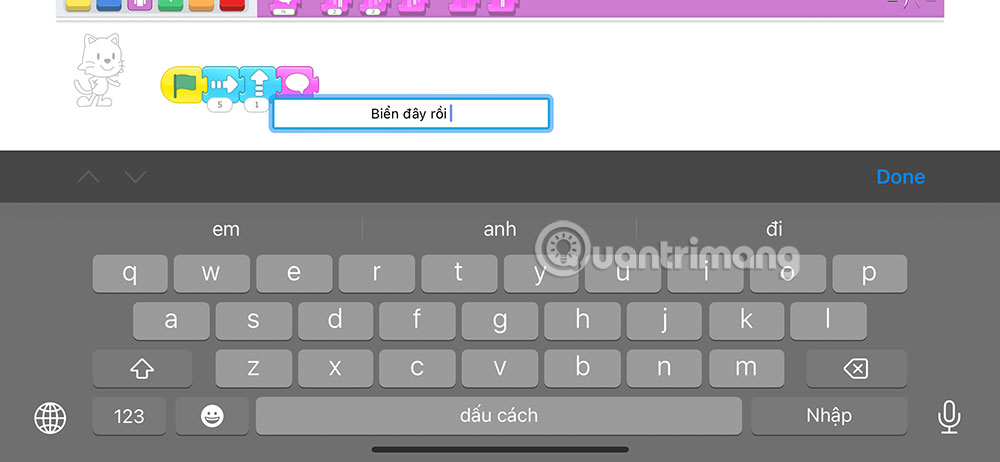
Continue clicking below the move command to change the number of steps . A small table will then appear for you to enter the number of steps you want. After entering the number of steps, press exit to hide the numeric keypad interface.

Step 4:
Students click on the plus icon below the first animation as shown below to create another animation. Thus, a new stage has been created for the character.
Step 5:
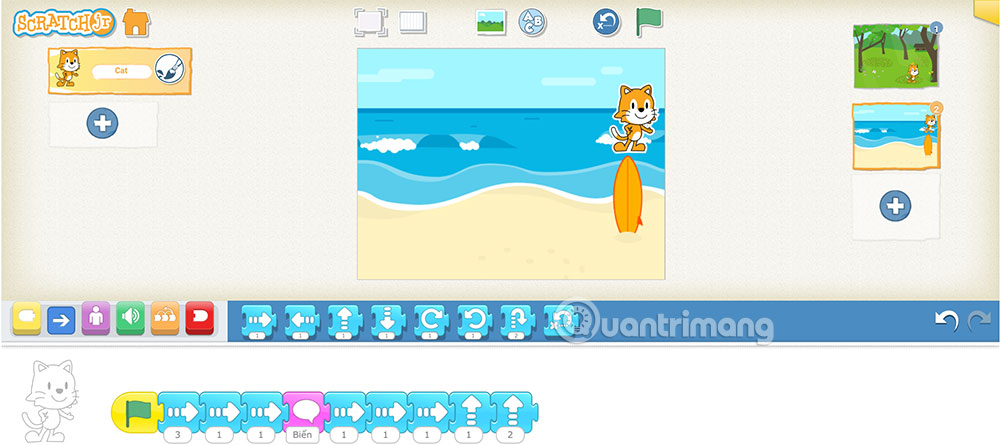
You also change the background image, make some movements in the animation, and add another saying for the cat in this second animation.
As a result, we have a new tableau as shown below.
Step 6:
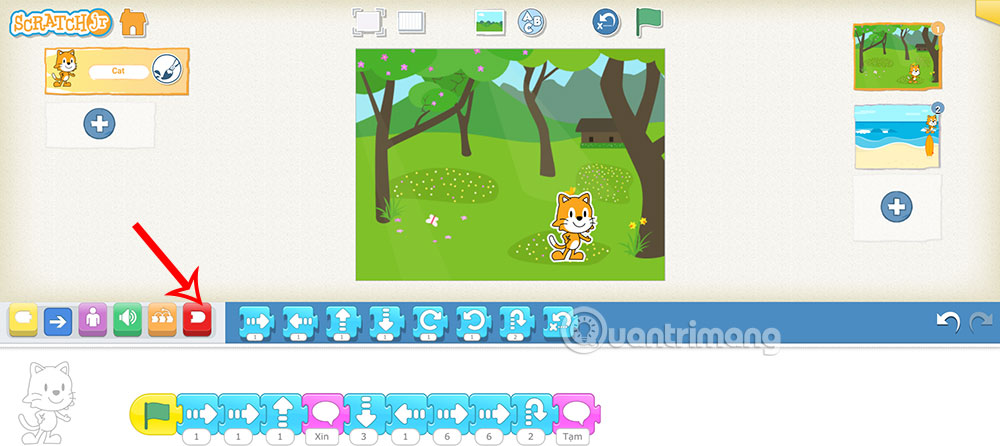
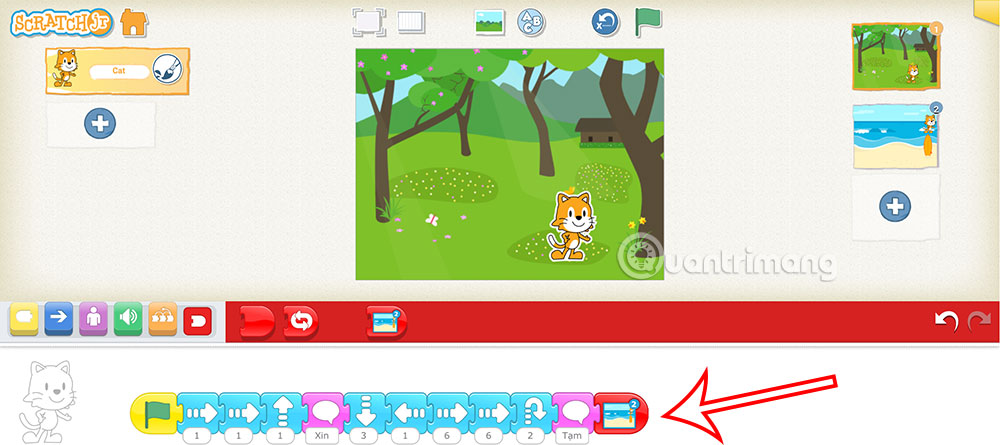
Next we will link the two animations together . You select the first animation , then click on the red command group which is the Finish command group in ScratchJR.
We drag the second animation to the end of the program of animation 1 as below to link the two animations together.
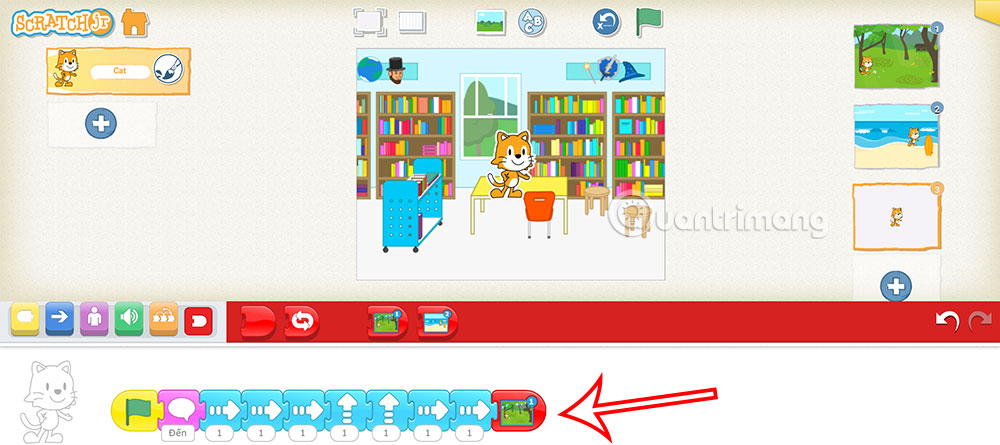
You will now see the second animation displayed at the end of the first animation. Click the blue flag icon to run animation 1 and automatically switch to animation 2 .
We continue to add other animations with the above operations.
In case you want to return to scene 1 in a circular fashion, at the last scene, click on the red command icon and drag scene 1 to the bottom.
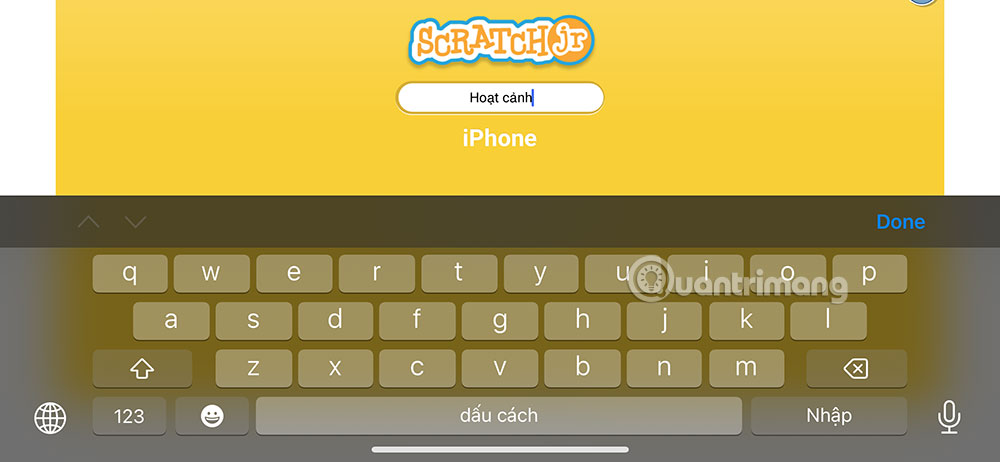
Save the program in ScratchJR for use in the next lessons.
Was this article helpful?
Your feedback helps us improve.
Related Articles
 Instructions for developing ScratchJR animation scenes3 minutes read
 Instructions for building text animations on ScratchJR3 minutes read
 Instructions for using sound in ScratchJR3 minutes read
 A compilation of commands for Events, Animation, Appearance, and Sound in ScratchJR.5 minutes read
 A compilation of control and termination statements in ScratchJR.2 minutes read
 How to create multiple-choice questions in ScratchJR (Part 1)3 minutes read
Reader Comments 0
Sign in with email or Google to join the discussion.