Table of Contents
This guide explains how to play the Mini Game Among Us to Crewmate to Win, with clear steps, practical tips, and important checks before you begin.
At the beginning of the game, all players will gather in the cockpit and receive the ship repair mission through completing mini-games. Similar to the game Werewolves and Deceit, whichever side has survived to the end wins.
I. Benefits
- You proceed to repair the ship through completing quests to win the Crewmate faction.
- Completing mini games (mini games) helps you win overall, at which point Impostor is no longer important.
- Helps you easily capture the map's location, the functions of each area such as camera, oxygen tank, battery.
II. How to play Minigame in The Skeld map

1. Swipe Card
Mission position: Admin.

How to play
- Swiping is a short task located in the admin room, on the right side of the central panel.
- This quest requires players to take cards from their wallet and swipe across the device from left to right. However, you must be careful to swipe the card at the right speed. Because if the swipe is too fast or too slow, you will not complete the task and have to try again.

2. Chart Course
Mission position: Navigation.

How to play
- To complete this quest, the player pulls the ship through a series of four points .

3. Upload Data
Mission location
- Start position: randomly appear.
- End position: Admin.

Note: The location to start downloading data is not fixed, it can be at Cafeteria, Communications, Electrical, Navigation, or Weapons. To know exactly, you should follow the task reminders on the Tasks panel on the left corner of the screen.
How to play
- The task will be assigned to a Crewmate and requires this person to download and re-upload data from 2 different locations in turn .
- You will reach the starting position and wait for the data download to take about 8.5 seconds. Then the data must be uploaded in the Admin room, taking the same amount of time.

4. Calibrate Distributor
Position: Electrical.

How to play
- Players to pass the task need to press the button to pair the rotating power supply at the right time , each "generator" has its own color and speed.
- When the color lights of the 3 "generators" light up, you have completed the task. If you don't exactly match one of the three sources, you'll have to start over.

5. Align Engine Output
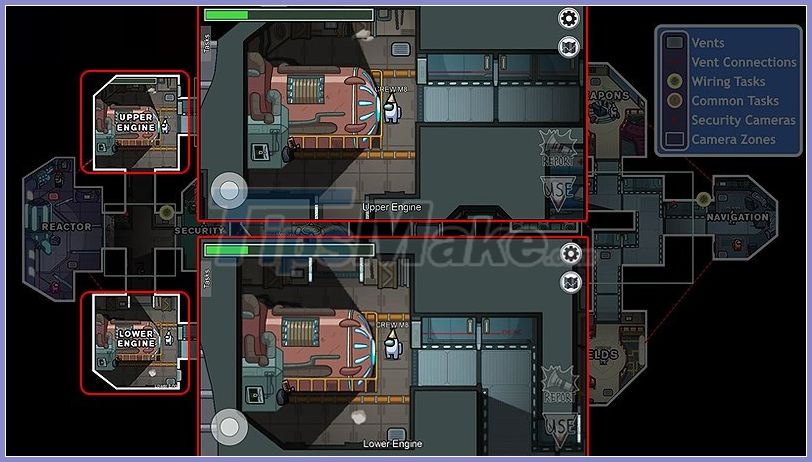
Mission location: Either Engine.
How to play
- In this mission, the player must adjust and keep the direction of the engine by dragging and dropping the arrow so that the blue line matches the red horizontal line in the middle . After holding for a few seconds, the motor will align.
- Players must align both engines in both the upper and lower engine rooms to complete this task.

6. Inspect Sample
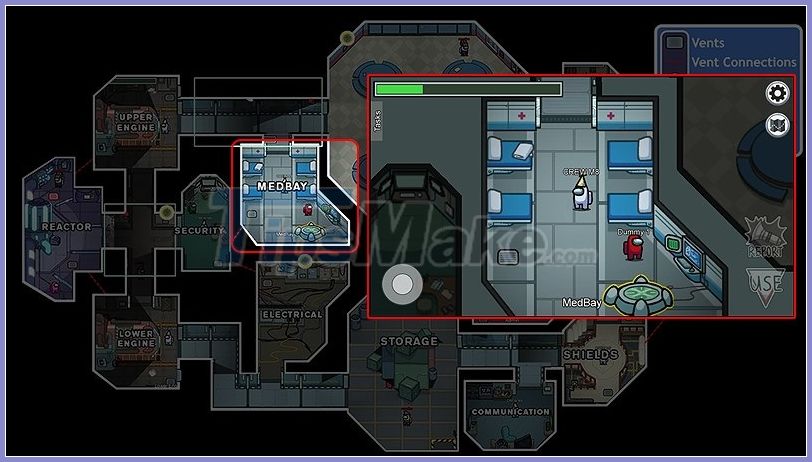
Mission position: Medbay.
How to play
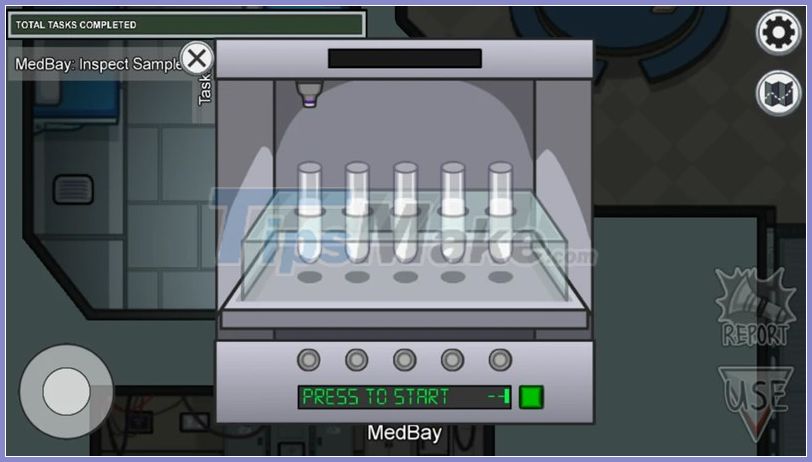
- At Medbay, the operator needs to press a button so that the machine begins to process five different test tubes . This takes about 1 minute and the player can either do another task or check the security camera while they wait.
- When the machine is finished processing the patterns, there will be four blue patterns and one red pattern. Players need to press the green button below the test tube to select the red pattern to and complete the quest . If a blue pattern is selected, the task fails and has to be redone.
7. Fuel Engines
Mission location: Storage.

How to play
- This quest requires the player to first go to the refueling station in the Storage chamber.
- After taking fuel at Storage, the operator needs the engine above and below to conduct refueling for the engine.
- Similarly, the player must refuel the Storage again after the first phase in order to complete the quest.

8. Stabilize Steering
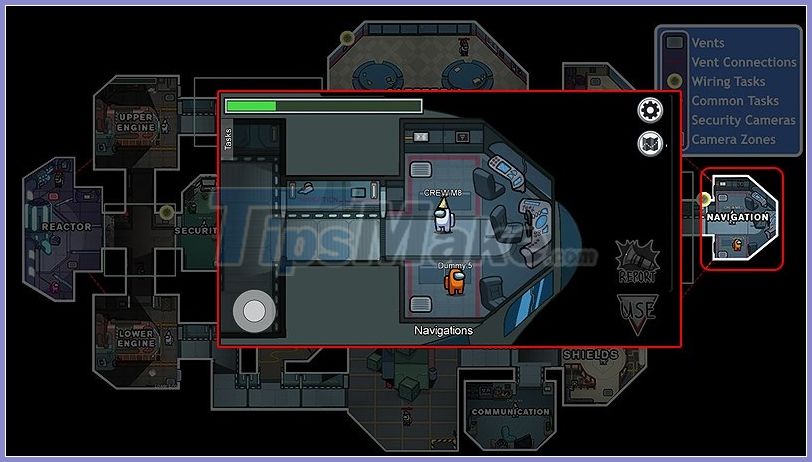
Mission position: Navigation.
How to play
- The person doing this task should drag the circle to the center of the panel so that its lines overlap the center cross .

9. Empty Garbage
Mission location
- Starting location: Cafeteria.
- End position: Storage.

How to play
- This is a quest that requires players to empty trash from two different locations.
- One is located in the Cafeteria room on the northeast wall . To empty the trash, players need to hold down the lever on the right hand side of the bin from top to bottom . And keep it until the trash has been completely emptied.
- One is in the Storage room in the southeast room . The player also pulls the lever located on a lever near the outside door of the ship and holds it until the trash can empty . This will open the door on the outside of the train. Throw all the trash away and you have completed the mission.

10. Divert Power
Mission location
- Starting position: Electrical.
- End position: randomly appear.

Note: The end position of the mission is possible in rooms such as Communications, Lower Engine, Navigation, O2, Shields, Security, Upper Engine, or Weapons. To know the exact location, you should follow the task reminders on the Tasks panel in the left corner of the screen.
How to play
- This task consists of 2 phases: redirection and acceptance of power.
- First, the person performing the task needs to the Electrical department. Then, drag the adjustment button on the corresponding panel slider upwards .
- After the slider is raised, the player must find the position where the mission is to end and click on the fuse shape to allow the current to flow.

11. Clear Asteroids
Mission location: Weapons.
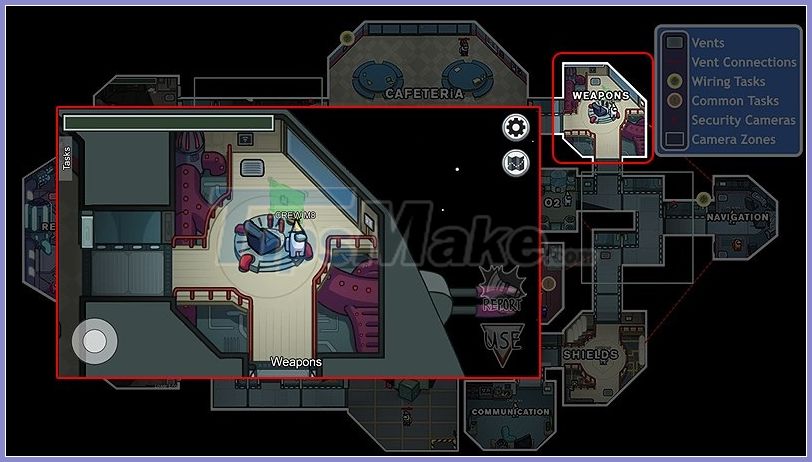
How to play:
- This task when opened will display a green screen showing some meteors in flight. The player needs to move the cross with the mouse or drag it to touch the meteors to destroy them .
- The mission is only successful when 20 asteroids must be destroyed.

12. Fix Wiring
Mission location: randomly appear.
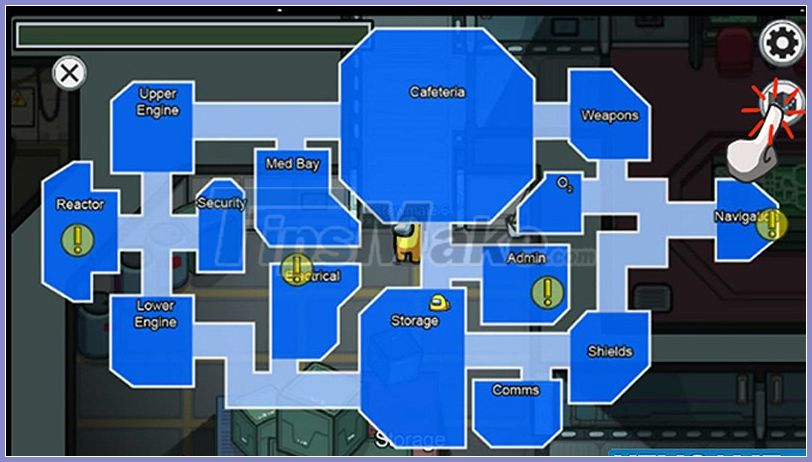
Note: To know exactly where the dashboard and task is located, you can follow them on the Tasks panel located in the left corner of the game screen.
How to play
- The player's task is to connect each end of the wire of the same color on the two sides together . When all four wires have been connected, that panel is done.
- Mission is successful after completing three panels.

13. Submit Scan
Mission position: Medbay.
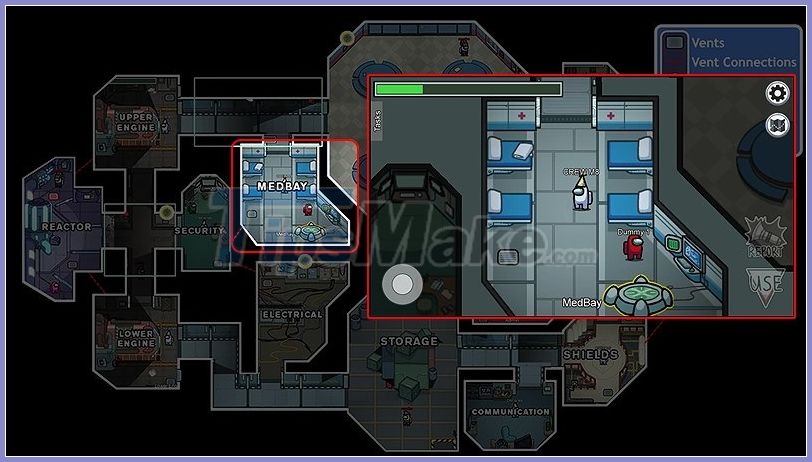
How to play
- In this mission, players must step up to stand in the middle of a circular platform in Medbay room . A green hologram scanner will start scanning the player's body and all information will be displayed on the screen . All process takes about 10 seconds.
- While on the mission, a hologram scanned over the player will be displayed to the other players, proving their innocence. And so it becomes easier to spot an impostor.

14. Clean O2 Filter
Mission position: O2

How to play
- The mission requires players to pull leaves from the air and push them into a chute on the left to dispose of, clean the air .

15. Start Reactor
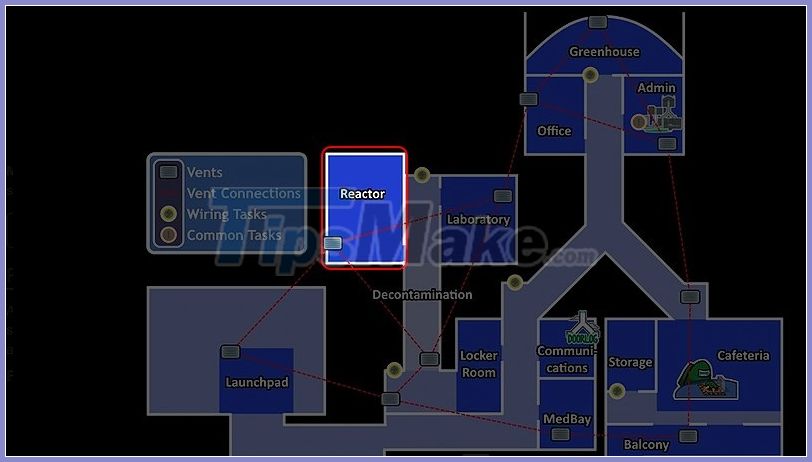
Mission position: Reactor.

How to play
- When the player opens the quest, a screen with keyboard will appear. And on the left screen, the blue blocks light up one after another.
- The player's task is to remember the exact position and order of the lighted boxes. Then, select the buttons on the right keyboard in turn . If left out, the player must start over.

16. Unlock Manifolds
Mission position: Reactor.
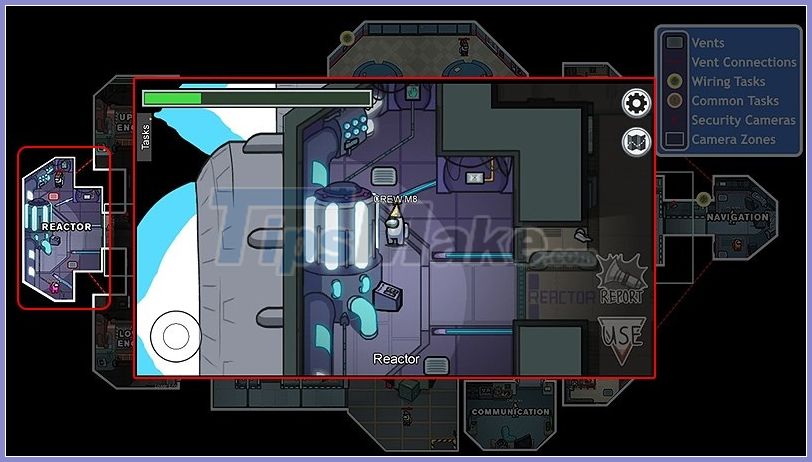
How to play
- The task will give the player a table of numbers from 1 to 10. To complete the task, the player needs to press the buttons numbered in order from 1 to 10 .
- The positions of the buttons may change with each play, but the order of the numbers that need to be pressed will never change.

17. Prime Shields
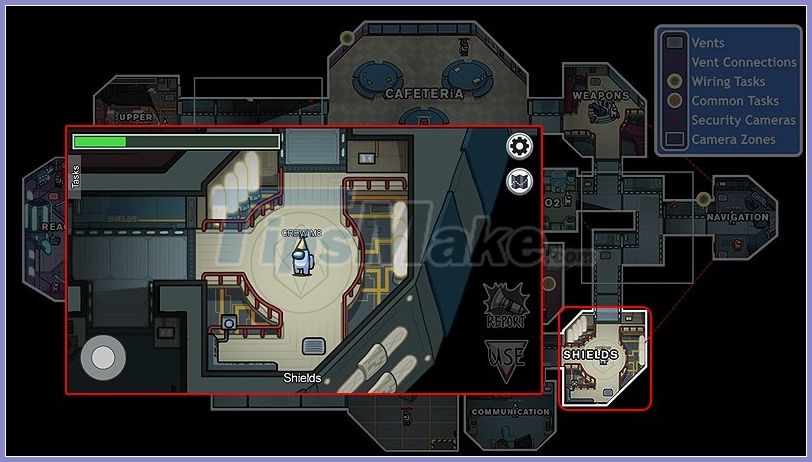
Mission position: Shields.
How to play
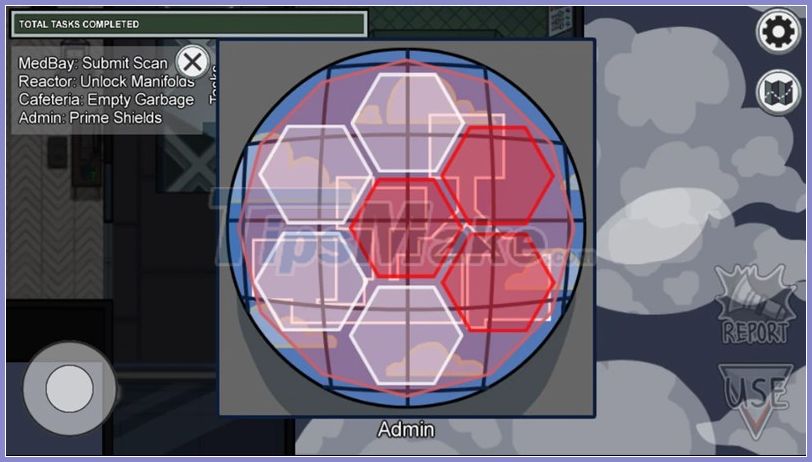
- The person performing the mission just need to go to Shields, find the starting position and click on the three red hexagons . So the mission is complete!

III. How to play mini games in map Mira HQ
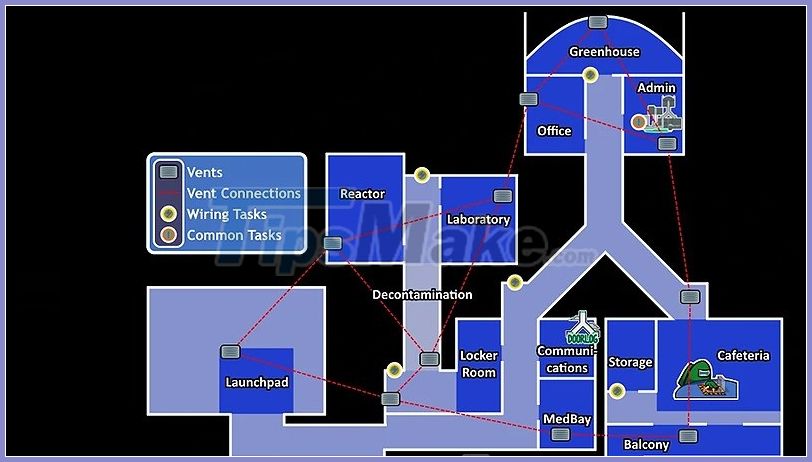
1. Measure Weather
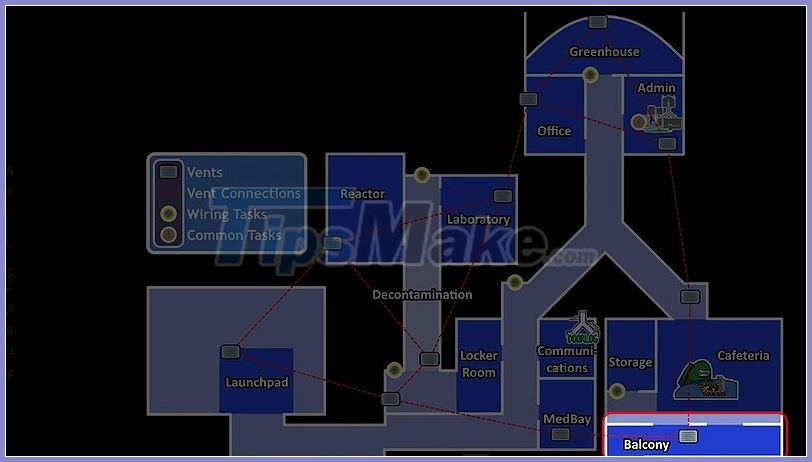
Mission position: Balcony.
How to play
- To complete the mission, the player must press the Begin button to measure weather . This process takes 5 seconds.

2. Buy Beverage
Mission position: Cafeteria.
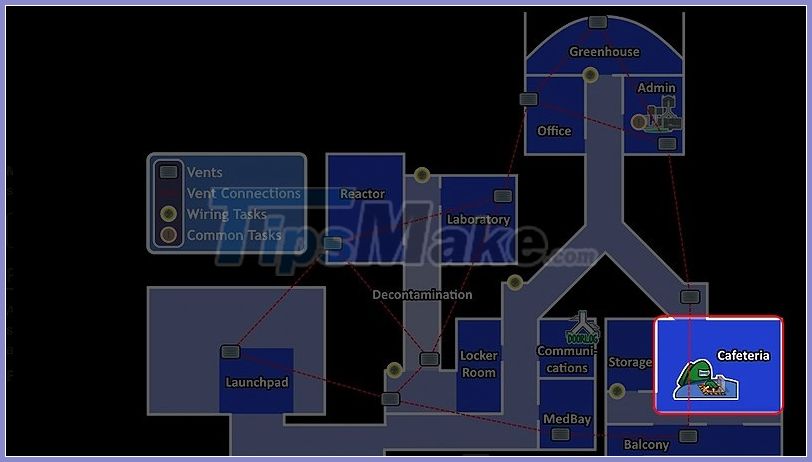
How to play
- The quest requires players to buy items from the vending machine, using the keyboard to select the right item .
- The exact item the player needs to purchase is displayed in a piece of paper located under the keyboard .
- If the player enters the wrong item code, the quest allows for correct code re-entry.

3. Enter ID Code
Mission position: Admin.

How to play
- This is a mission located in the Admin room next to the map.
- In this quest, players must enter a passcode which is a 5-digit strip from the card inside their wallet .
- If the player enters the correct code, "OK" will be displayed. Otherwise, if the player enters the wrong way the screen will display "BAD".

4. Sort Samples

Tasks position: Laboratory.

How to play
- The mission is located in the bottom panel, in the Laboratory room, requires the player to accurately arrange 6 items into 3 boxes representing 3 different categories of categories .
- If the player places an item from the wrong category, the item will have a red border indicating it is wrong. If the player places the item correctly, the outline will be blue.
5. Water Plants
Mission location
- Starting location: Storage.
- Finishing position: Greenhouse.

How to play
- This quest has 2 parts.
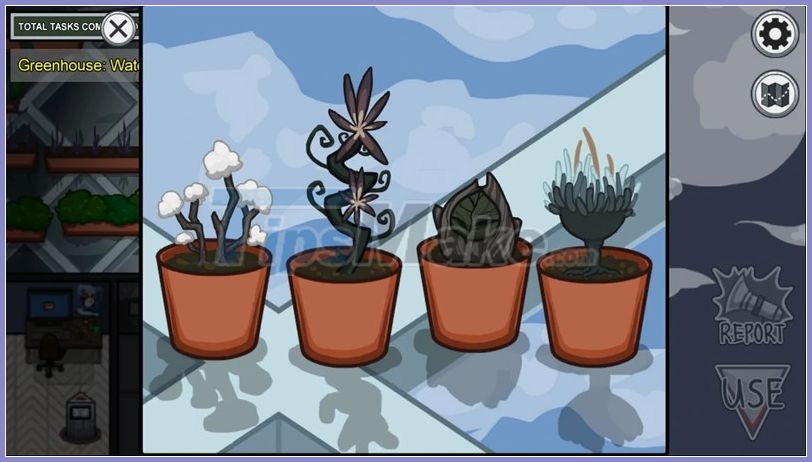
- First in the Storage room, the player needs to locate a watering can and click on it to collect it .
- After that, the player must go to the Greenhouse to perform the second part of the quest. By clicking on each tree one by one , the player has completed the task of watering the plants.
6. Empty Garbage
Mission position: Cafeteria.

How to play
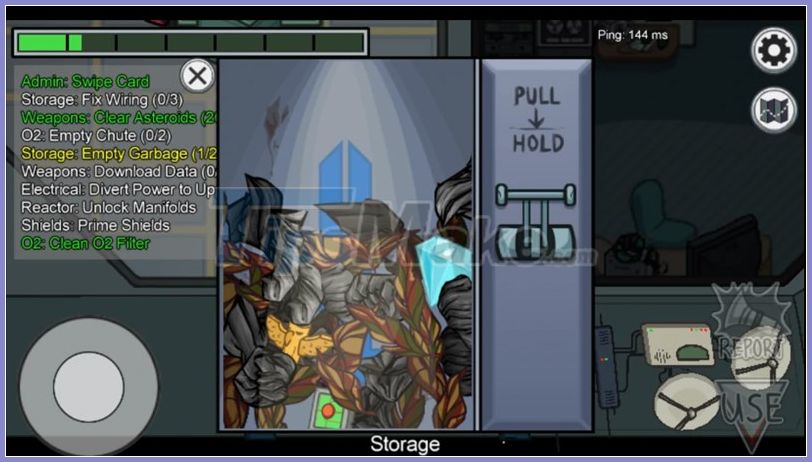
- To empty the trash, players need to press and hold the lever on the right hand side of the bin from top to bottom. And keep it until the trash has been completely emptied.
7. Divert Power
Mission location
- Starting location: Reactor.
- End position: randomly appear.

Note: The position ends the task can be in rooms such as Admin, Cafeteria, Communications, Greenhouse, Laboratory, Launchpad, Medbay, or Office. To know the exact location, you should follow the task reminders on the Tasks panel in the left corner of the screen.
How to play
- This task consists of 2 phases: redirection and acceptance of power .
- First, the person performing the mission needs to go to the Reactor room. Then, drag the adjustment button on the corresponding panel slider upwards .
- After the slider is raised, the player must find the position where the mission is to end and click on the fuse shape to allow the current to flow.

8. Clear Asteroids
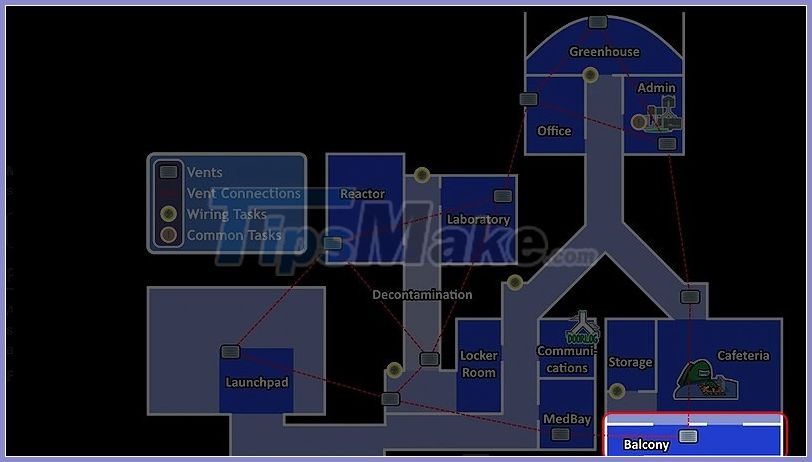
Mission position: Balcony.
How to play:
- This task when opened will display a green screen showing some meteors in flight. The player needs to move the cross with the mouse or drag it to touch the meteors to destroy them .
- The mission is only successful when 20 asteroids must be destroyed.

9. Fix Wiring
Mission location: randomly appear.

Note: To know exactly where the dashboard and task is located, you can follow them on the Tasks panel located in the left corner of the game screen.
How to play
- The player's task is to connect each end of the wire of the same color on the two sides together . When all four wires have been connected, that panel is done.
- Mission is successful after completing three panels.

10. Submit Scan
Mission position: Medbay.

How to play
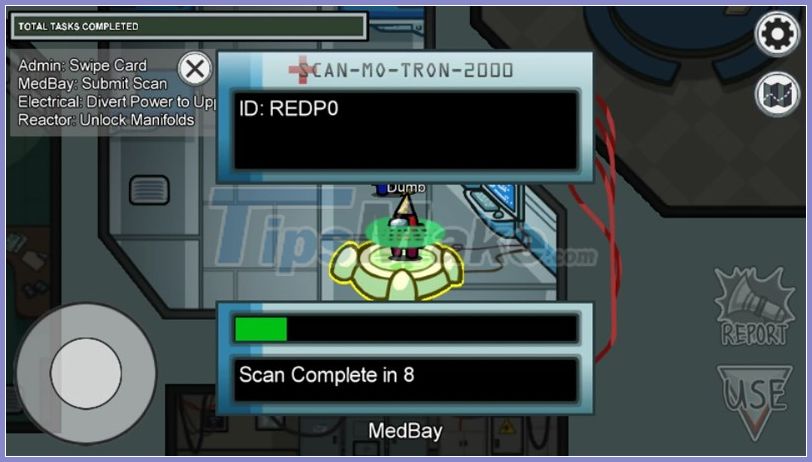
- In this mission, players must step up to stand in the middle of a circular platform in Medbay room . A green hologram scanner will start scanning the player's body and all information will be displayed on the screen . All process takes about 10 seconds.
- While on the mission, a hologram scanned over the player will be displayed to the other players, proving their innocence. And so it becomes easier to spot an impostor.
11. Start Reactor
Mission position: Reactor.
How to play
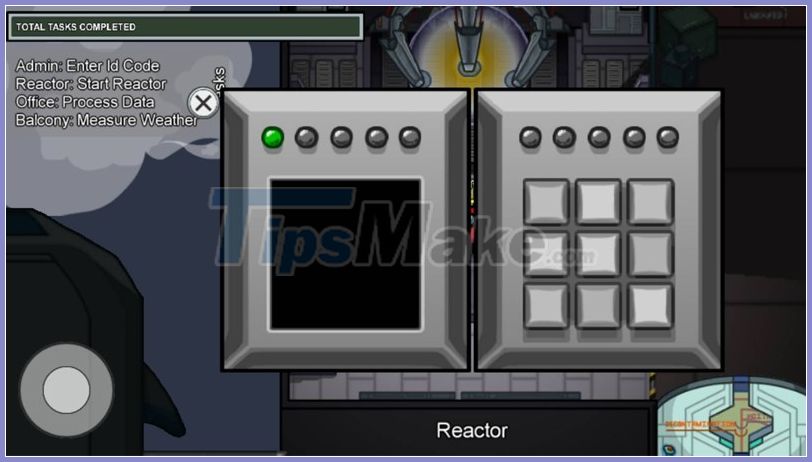
- When the player opens the quest, a screen with keyboard will appear. And on the left screen, the blue blocks light up one after another.
- The player's task is to remember the exact position and order of the lighted boxes . Then, select the buttons on the right keyboard in turn . If left out, the player must start over.
12. Unlock Manifolds
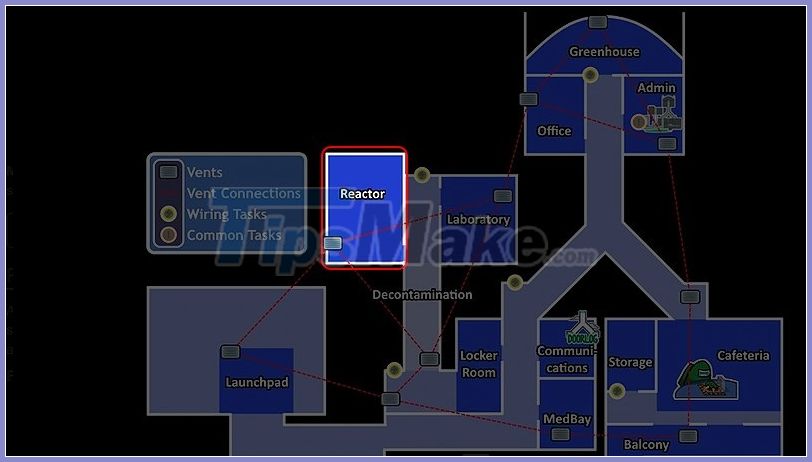
Mission position: Reactor.
How to play
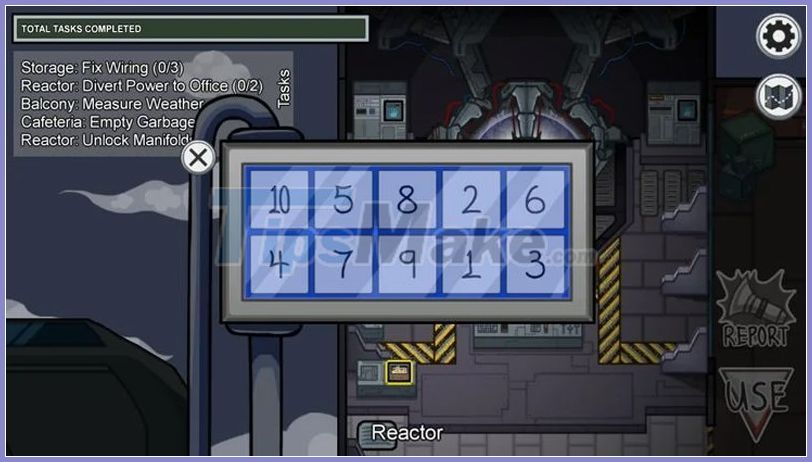
- The task will give the player a table of numbers from 1 to 10. To complete the task, the player needs to press the buttons numbered in order from 1 to 10 .
- The positions of the buttons may change with each play, but the order of the numbers that need to be pressed will never change.
13. Prime Shields
Mission position: Admin.

How to play
- The person performing the mission just need to go to the Admin booth, find the starting location and click on the three red hexagons . So the mission is complete!
IV. How to play mini games in the map Polus
The Polus map is being updated.

Above are all the quests and mini-games that you will likely have to complete as a Crewmate. Hope with information about the location and how to play the missions in the game Among Us will help you quickly repair the ship, find out the fake and win the final. Have a great time playing the game!
FAQ
What should I know about Play the Mini Game Among Us to Crewmate to Win?
Focus on the key features, requirements, limitations, and practical use cases explained in this guide.
How do I get the best results with Play the Mini Game Among Us to Crewmate to Win?
Follow the recommended steps, use current software or information, confirm compatibility, and review settings before major changes.
Are there any risks or limitations?
Potential limitations depend on compatibility, data quality, cost, privacy, support, and how the product or method is used.
Related Articles
 How to Complete All Tasks in Among Us for Crewmate26 minutes read
 Tips for Playing Among Us for Crewmate5 minutes read
 Tips to Play Effective Crewmate in Among Us7 minutes read
 Play Together: Tips to Win Mini-Games in the Game Party12 minutes read
 How to Play Squid Game Right on Google4 minutes read
 Instructions on how to download and play Mini World Royale6 minutes read
Reader Comments 0
Sign in with email or Google to join the discussion.