How to make Mid-Autumn lanterns with simple paper stars
In order to make the lamp, the familiar Mid-Autumn star from paper and bamboo stick has to go through many sophisticated steps, if you are not good, you will break the bamboo stick or connect the uneven bamboo bars, causing the lantern to be aesthetically pleasing. Instead, you can make your own Mid-Autumn star-shaped lantern with a simple paper but also extremely sparkling and the following eyes:
Tools to prepare for making star-shaped lanterns with Mid-Autumn playing paper include:
- Color paper
- Pencil, ruler, ruler
- Scissors, paper cutting knives
- Double-sided adhesive tape
- Hanging wire
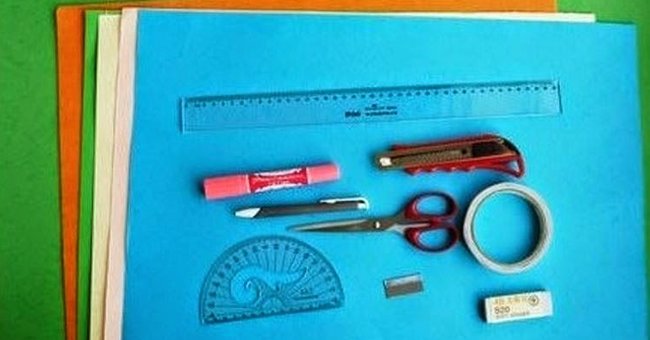
Mid-autumn lantern making tools with star-shaped pictures (Photo: Internet source)
How to make Mid-Autumn lanterns with simple paper stars
Step 1:
Take a sheet of colored paper, from the edge of the paper, draw a triangle with an angle of 120 o , then draw a symmetrical triangle with it across the opposite side of the obtuse angle (the two triangles share this same edge). Continue drawing the third triangle opposite the second triangle, repeating it until there are 4 equal triangles.

Draw 4 symmetrical triangle triangles on colored paper board (Photo: Internet source)
Draw the same on the next 4 sheets to form 5 star wings.
Draw more straight lines parallel to the paper border to paste.
Step 2:
Decorate the Mid-Autumn lamp by drawing more rich patterns on a triangle (so that when lit, the decoration will appear on the front of the lamp).
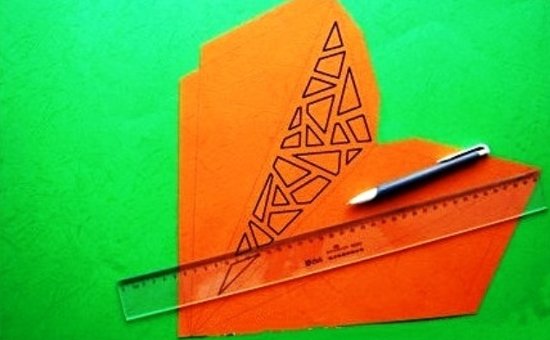
Decorative motifs on the star's wings (Photo: Internet source)
Use a paper knife to cut out the patterns just drawn, creating gaps that emit light when lighting the lamp.
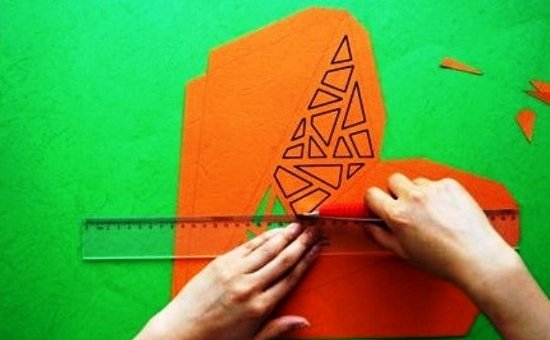
Empty the decorative pattern just to create space for the light of the Mid-Autumn light to go out (Photo: Internet Source)
Step 3:
Apply double-sided tape to straight lines parallel to the paper boundary drawn in step 1, then glue the folded edges together.
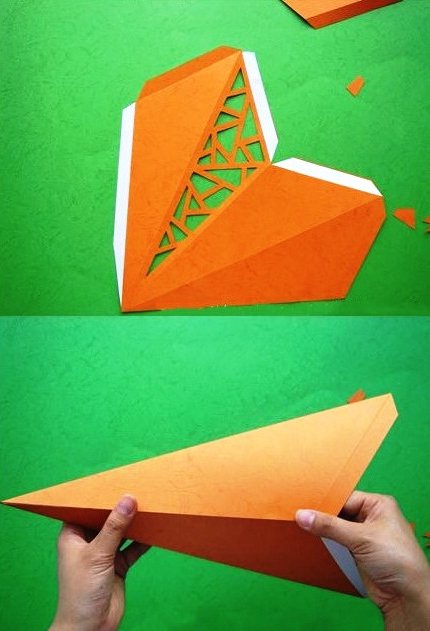
Paste the paper border that forms the wing of the star shape (Photo: Internet Source)
Step 4:
Use the double-sided tape to stick the 5 star wings together into a complete lantern
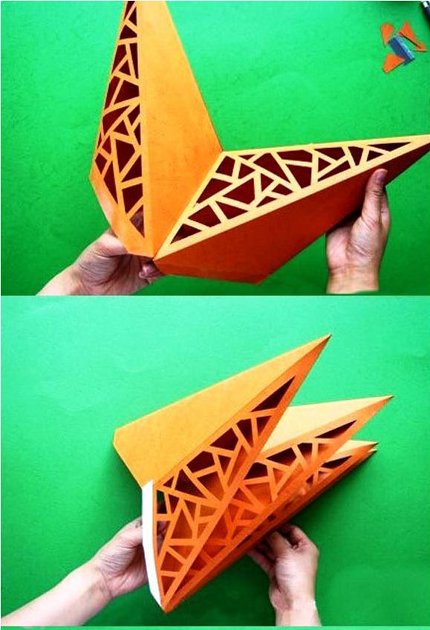
Completing Mid-Autumn lanterns with star-shaped pictures (Photo: Internet source)
When pasting the final star wing, you should not seal it but leave a part in order to install the lamp and thread it inside. You can hang this lamp up or tie a string to a stick for your baby to go play Mid-Autumn Festival.
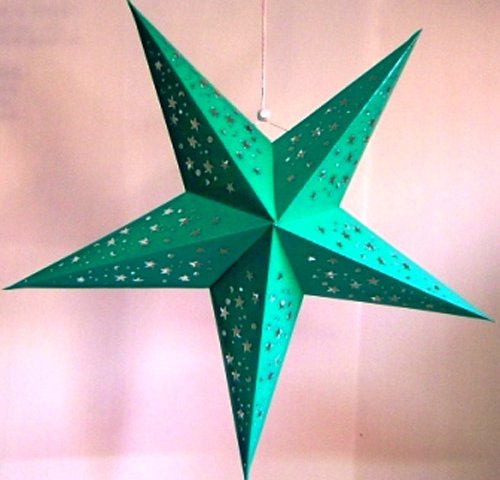
Star-shaped lantern with Mid-Autumn playing paper (Photo: Internet source)
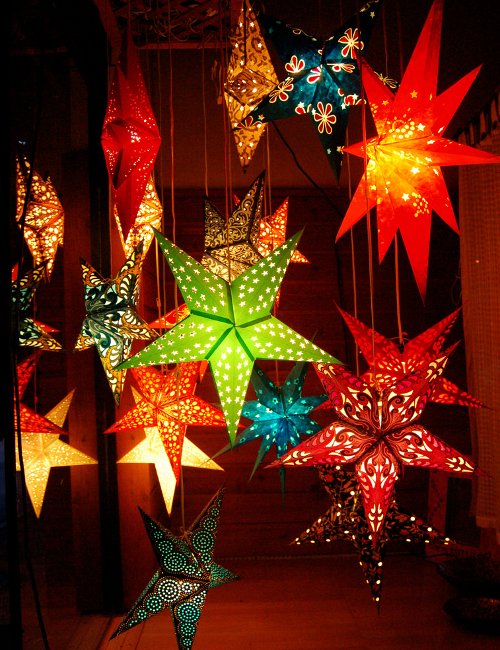
Brilliant star-shaped lanterns on the Mid-Autumn Festival night (Photo: Internet source)
Good luck!
You should read it
- ★ How to organize games for children happy Mid-Autumn Festival
- ★ How to make traditional star lights play Mid-Autumn Festival
- ★ Instructions for making Mid-Autumn lanterns from old cans
- ★ The best Mid-Autumn Photos for Facebook
- ★ 8 'divine' Mid-Autumn Festival toys of 8x and 9x generations make them crazy