Table of Contents
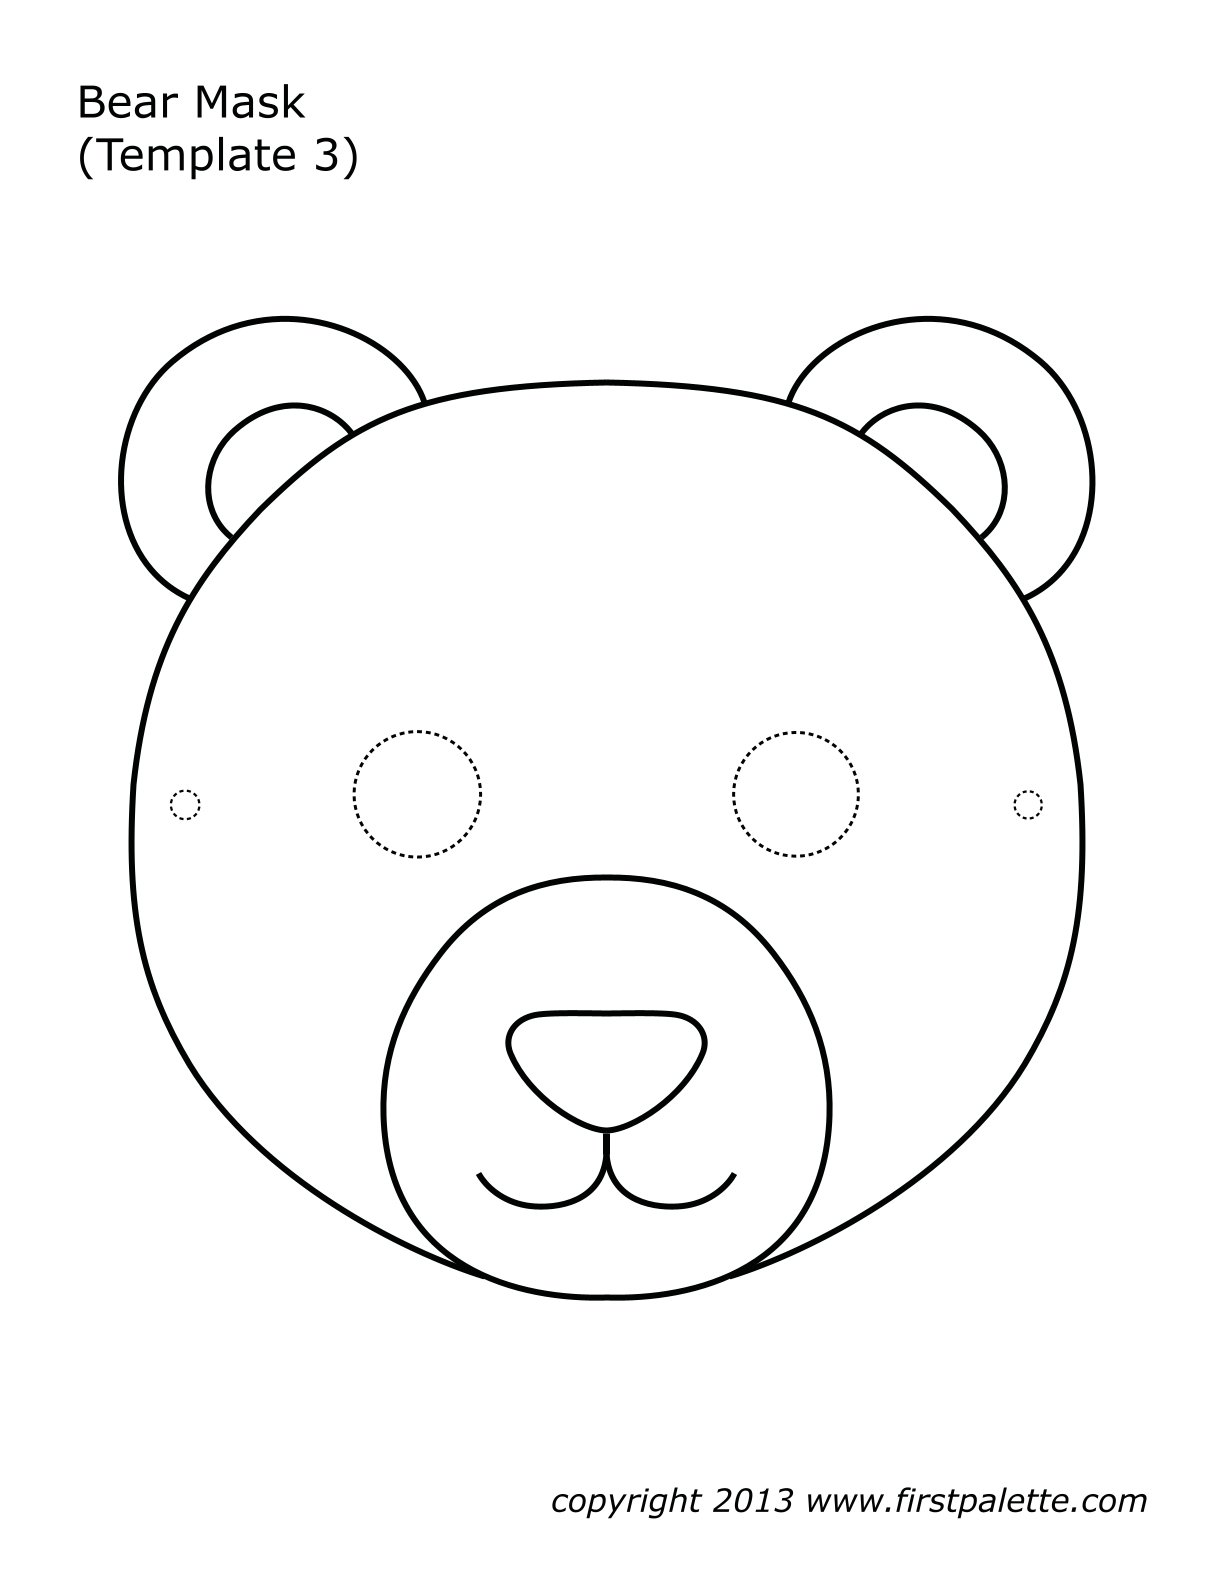
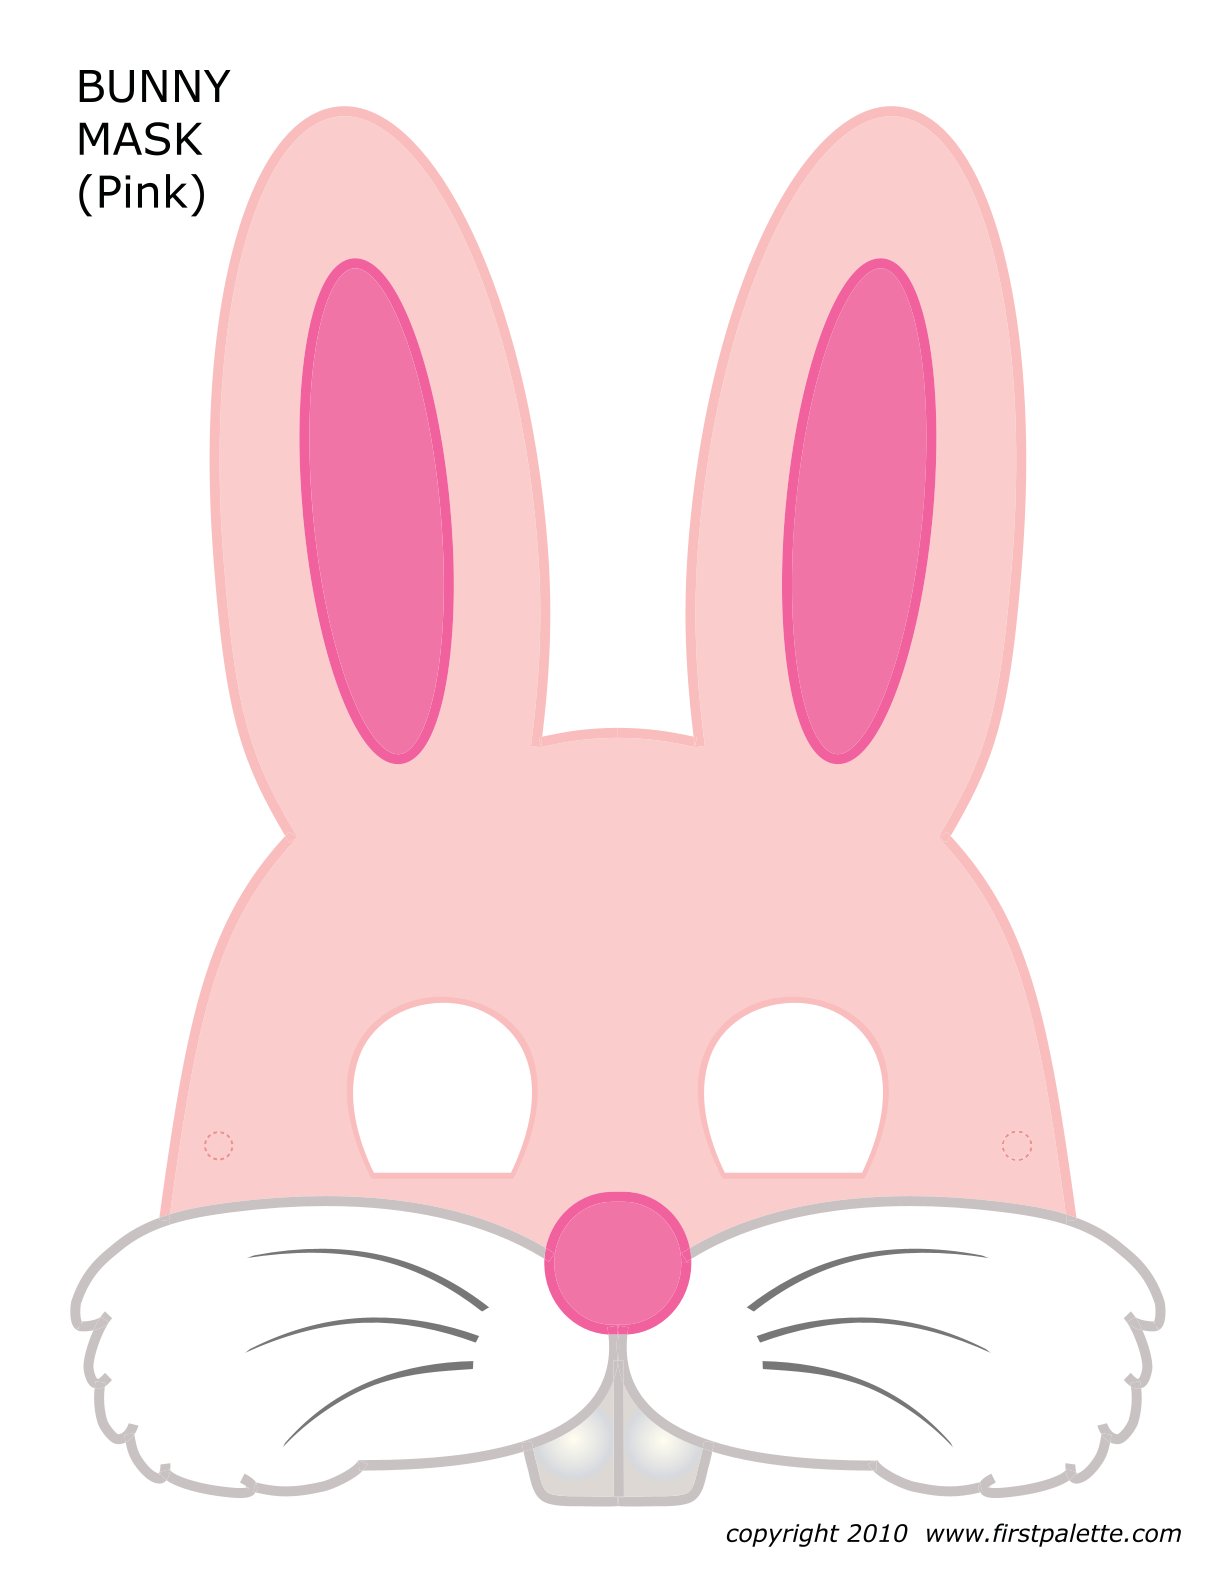
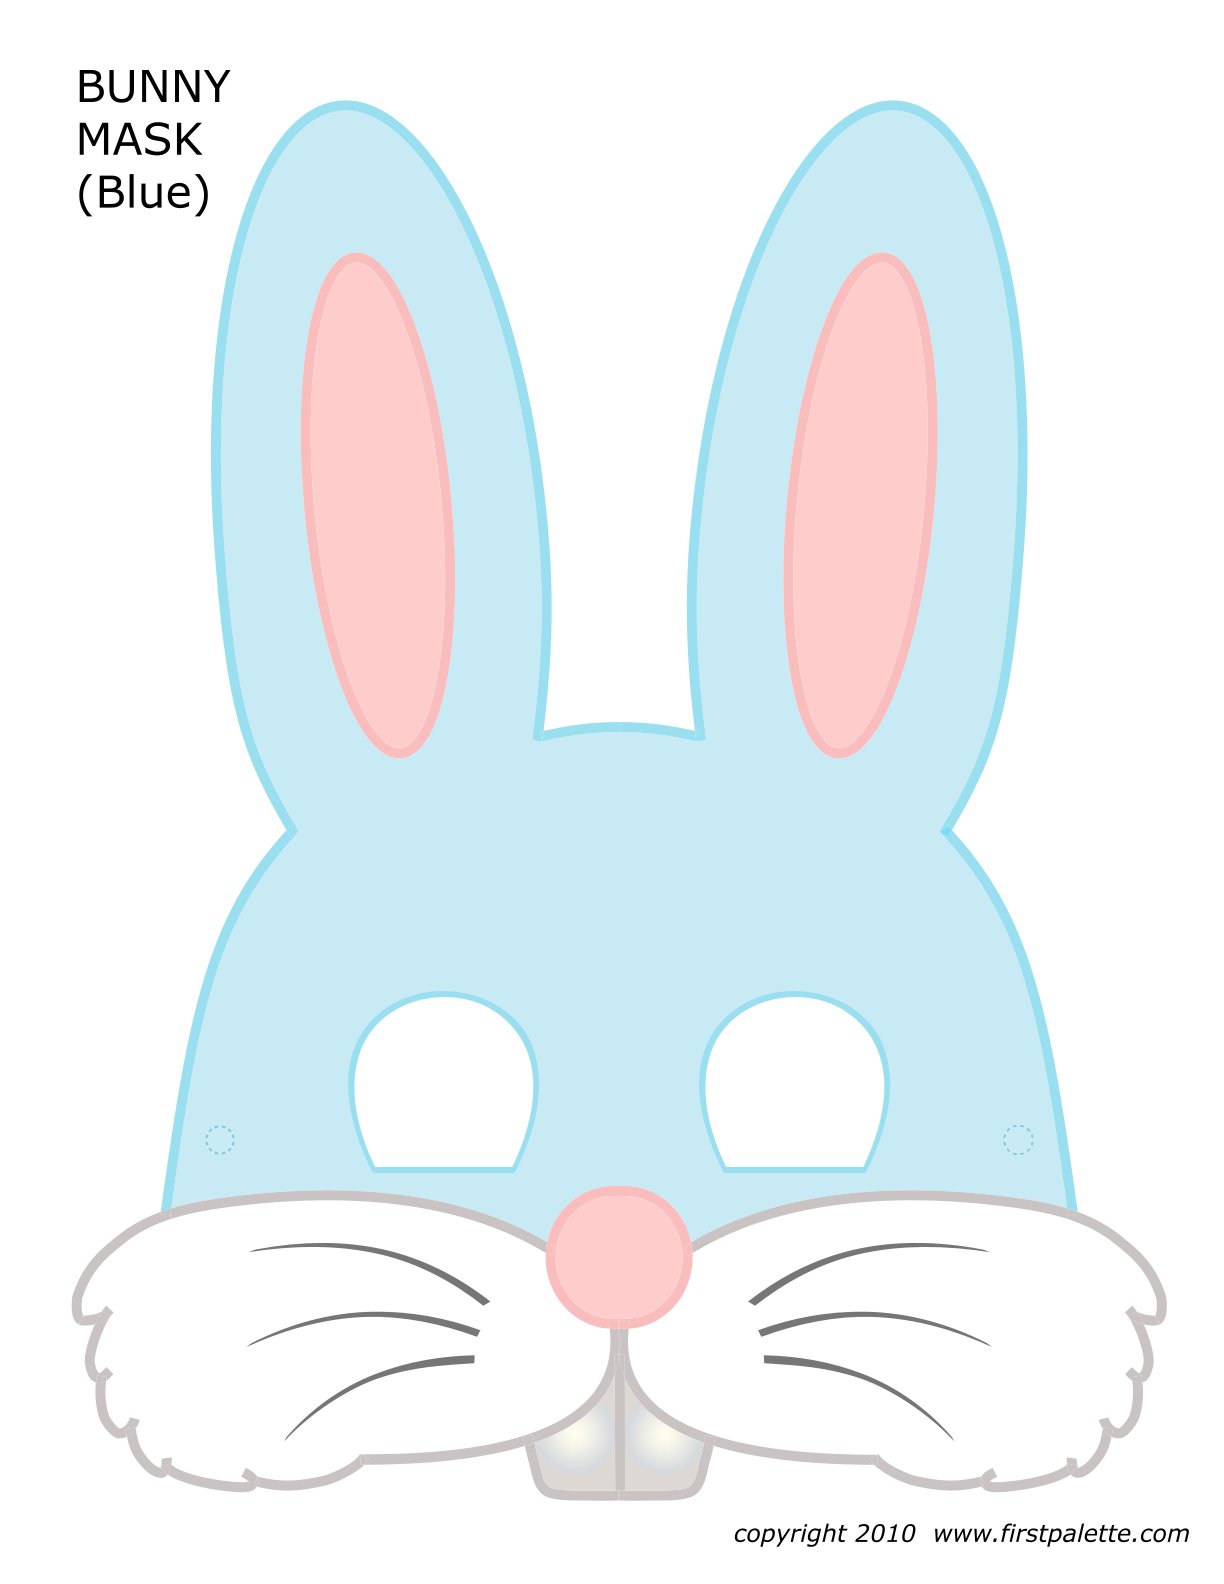
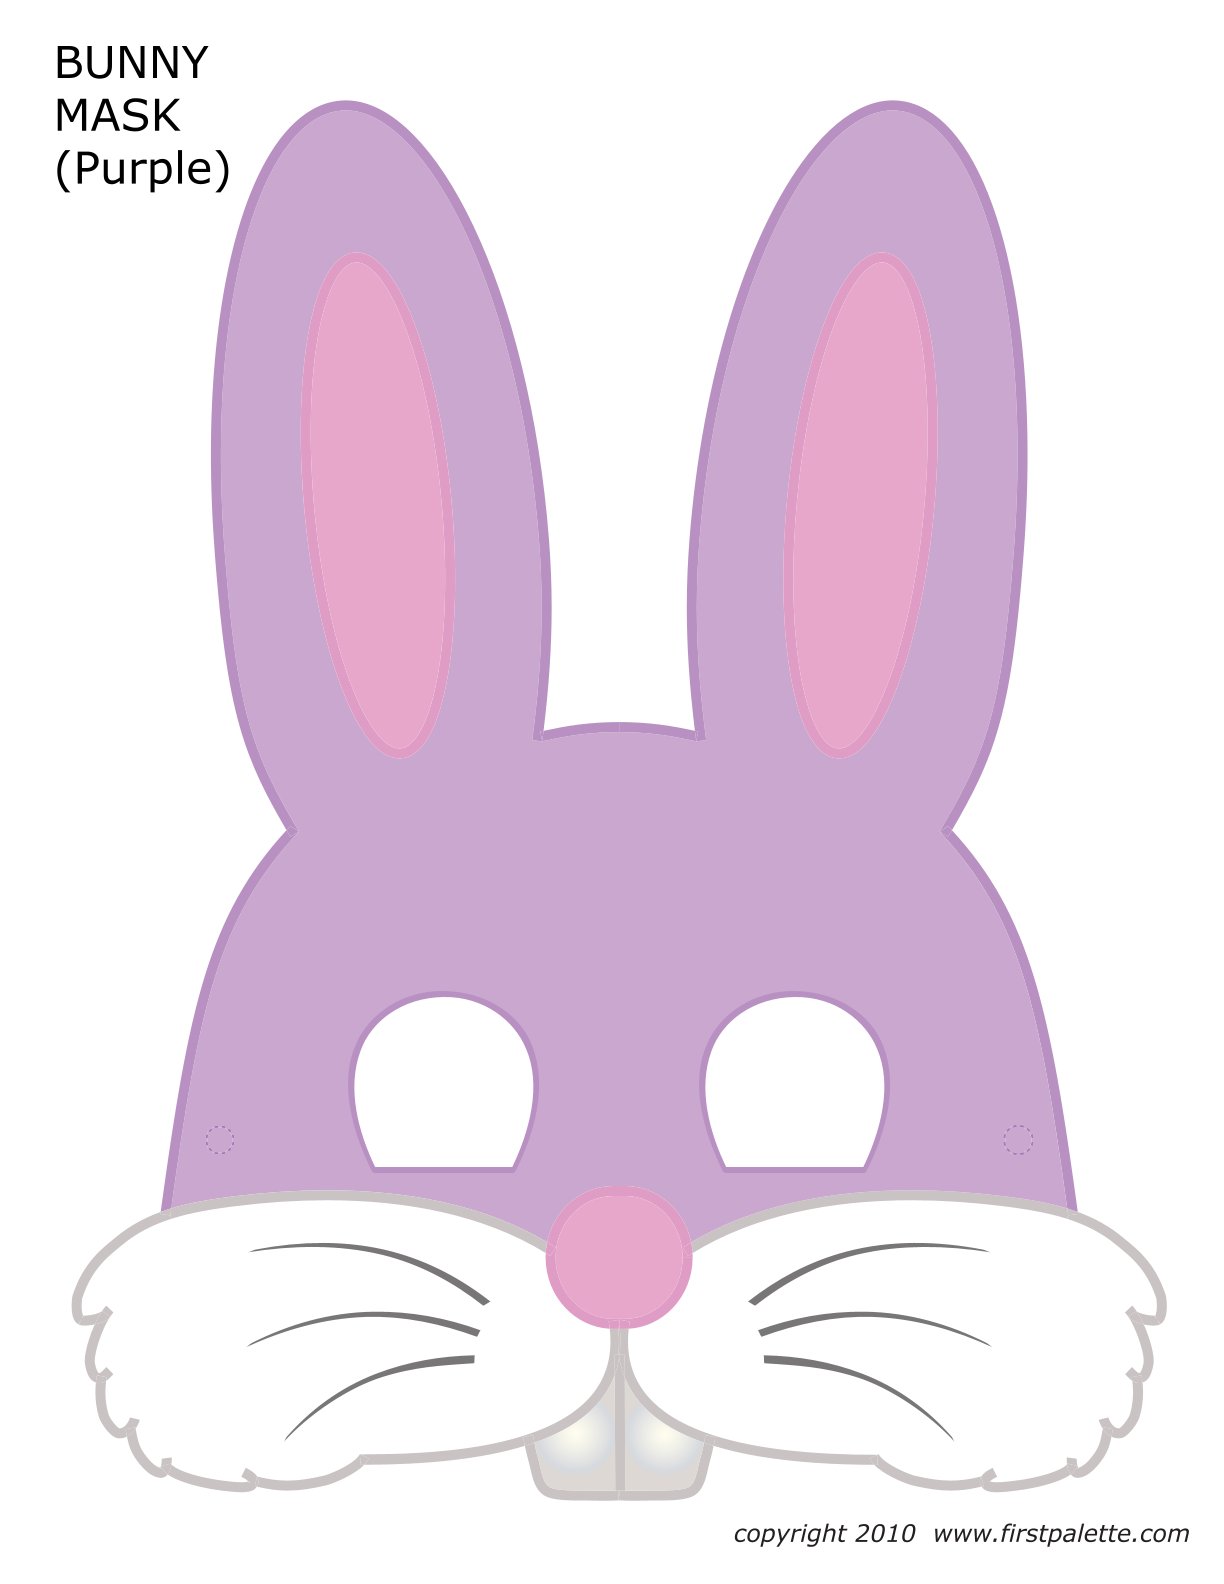
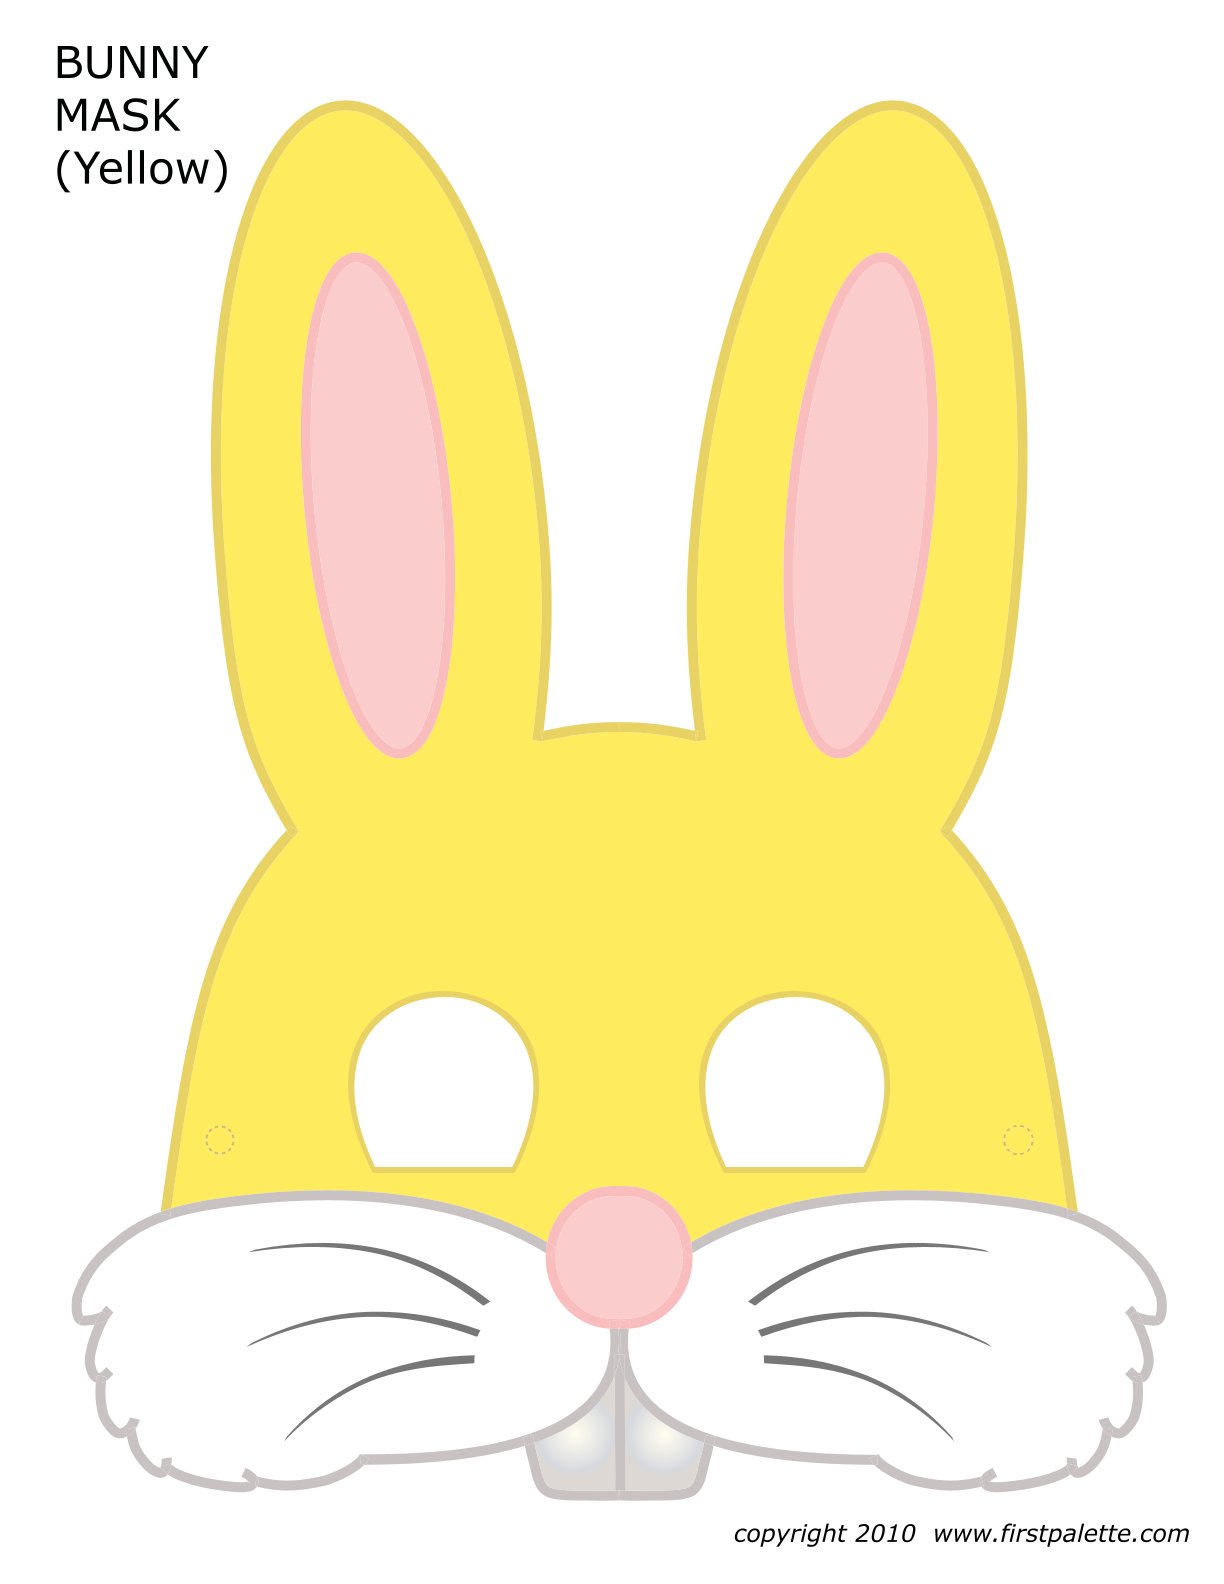
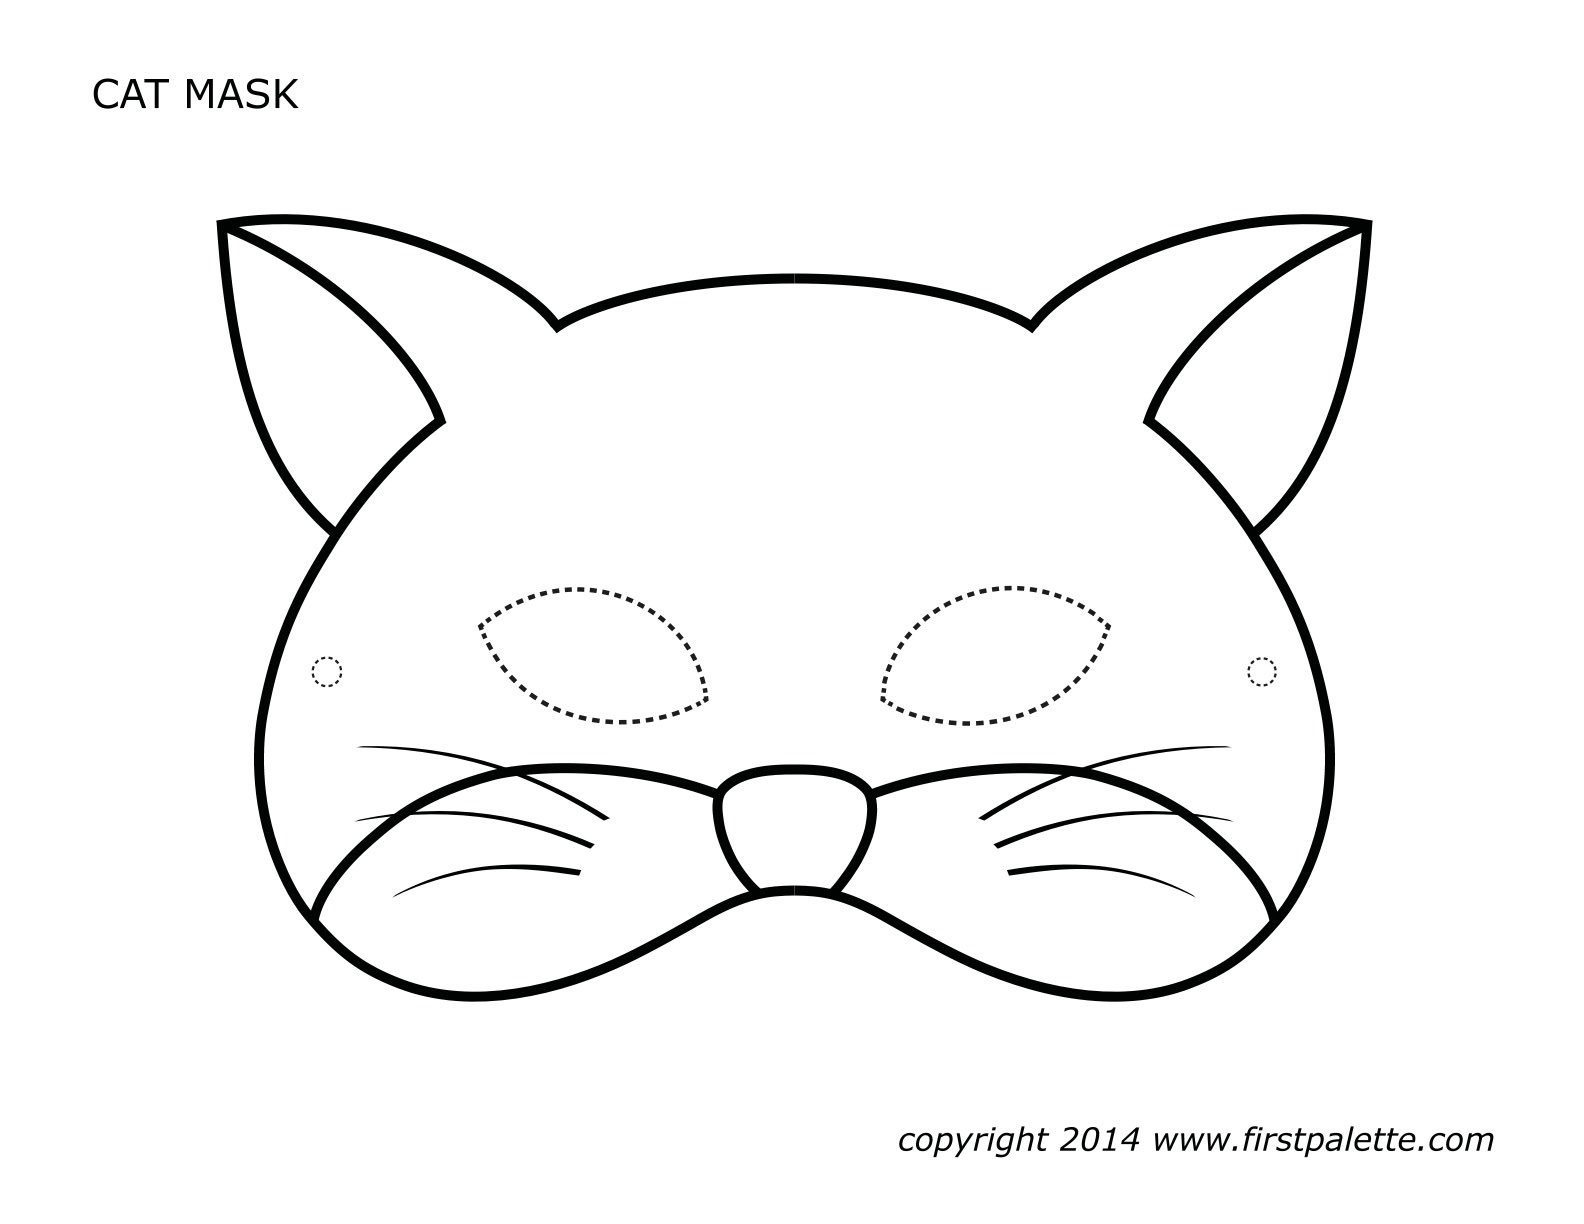
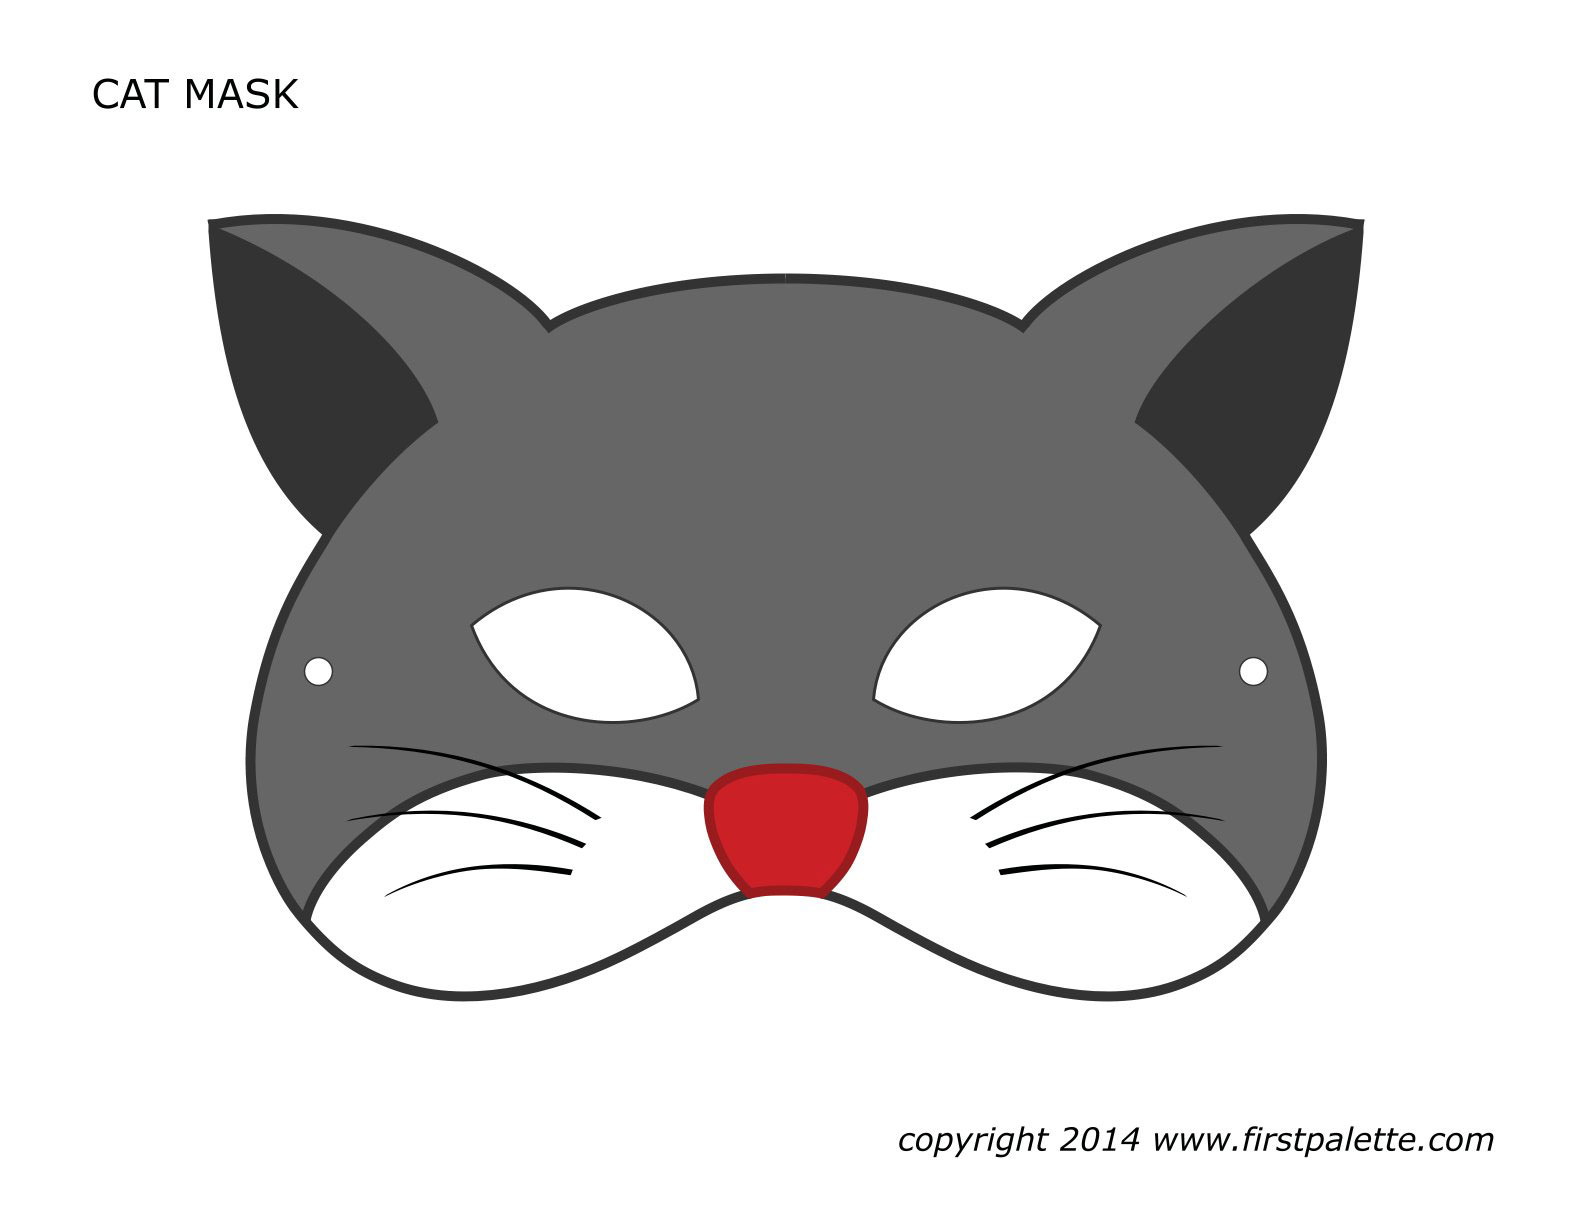
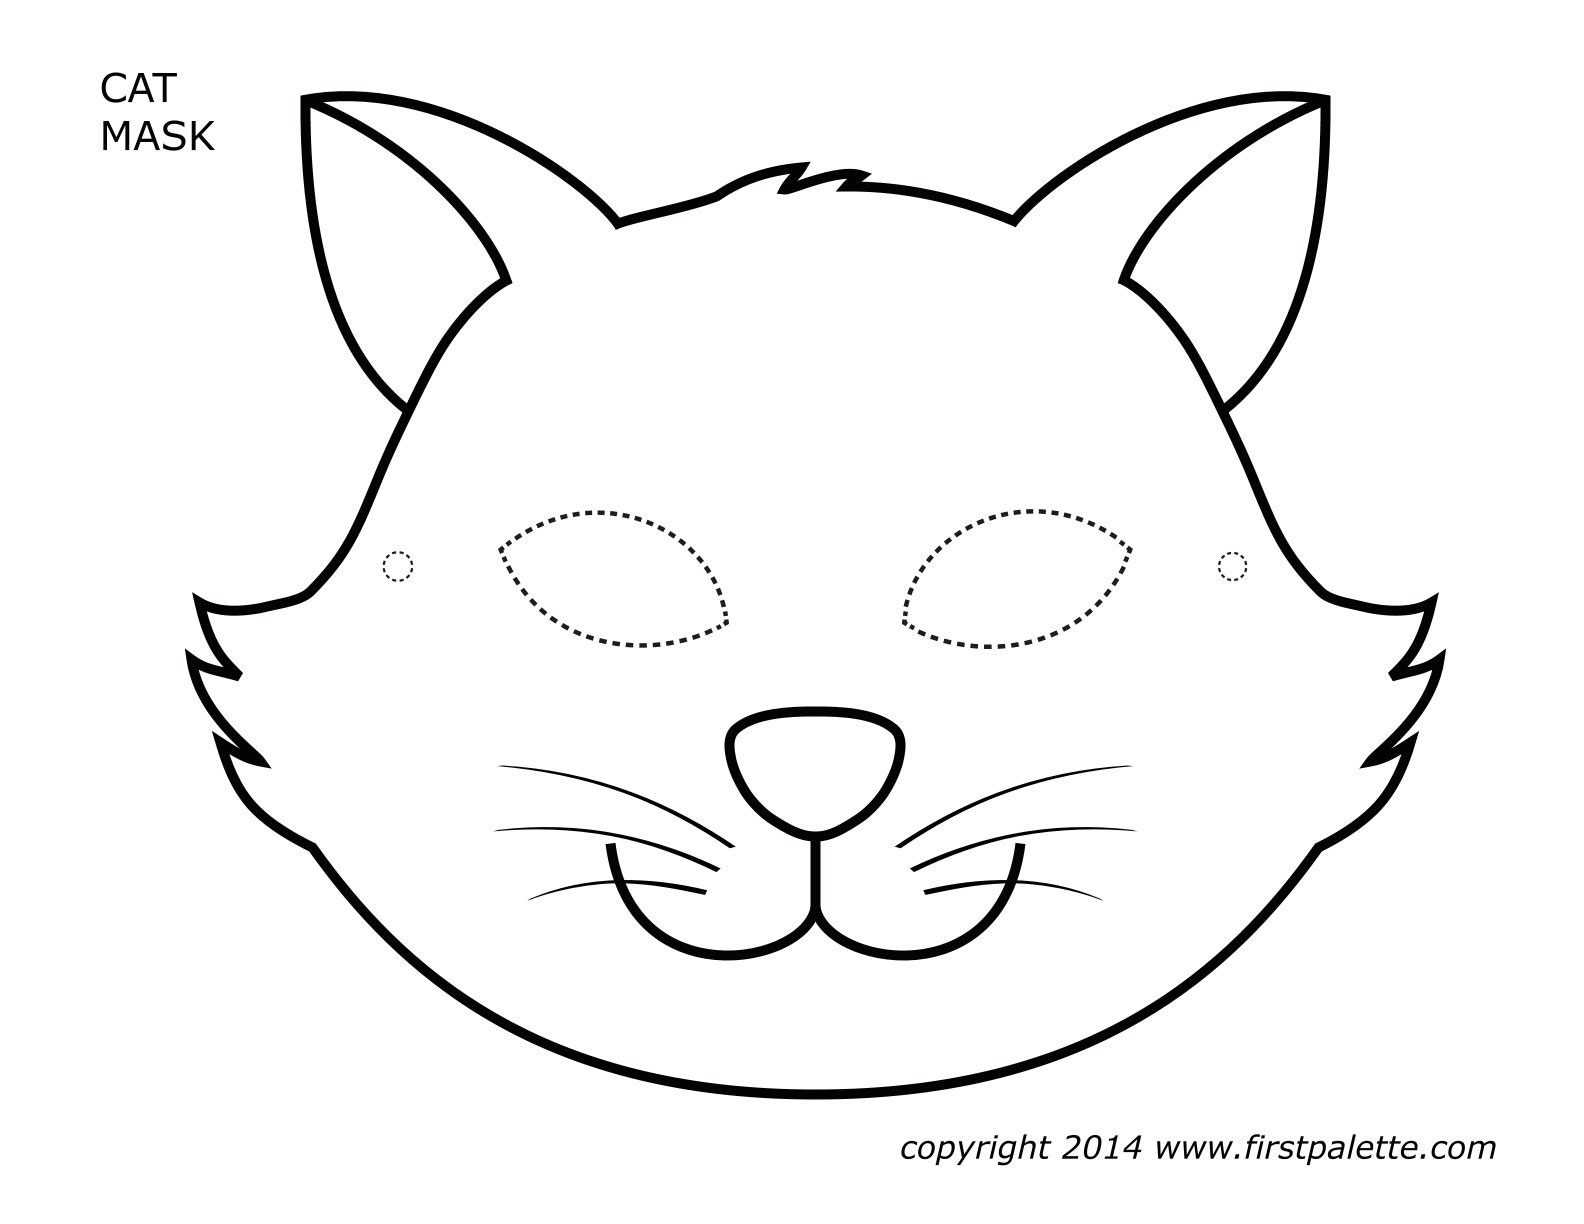
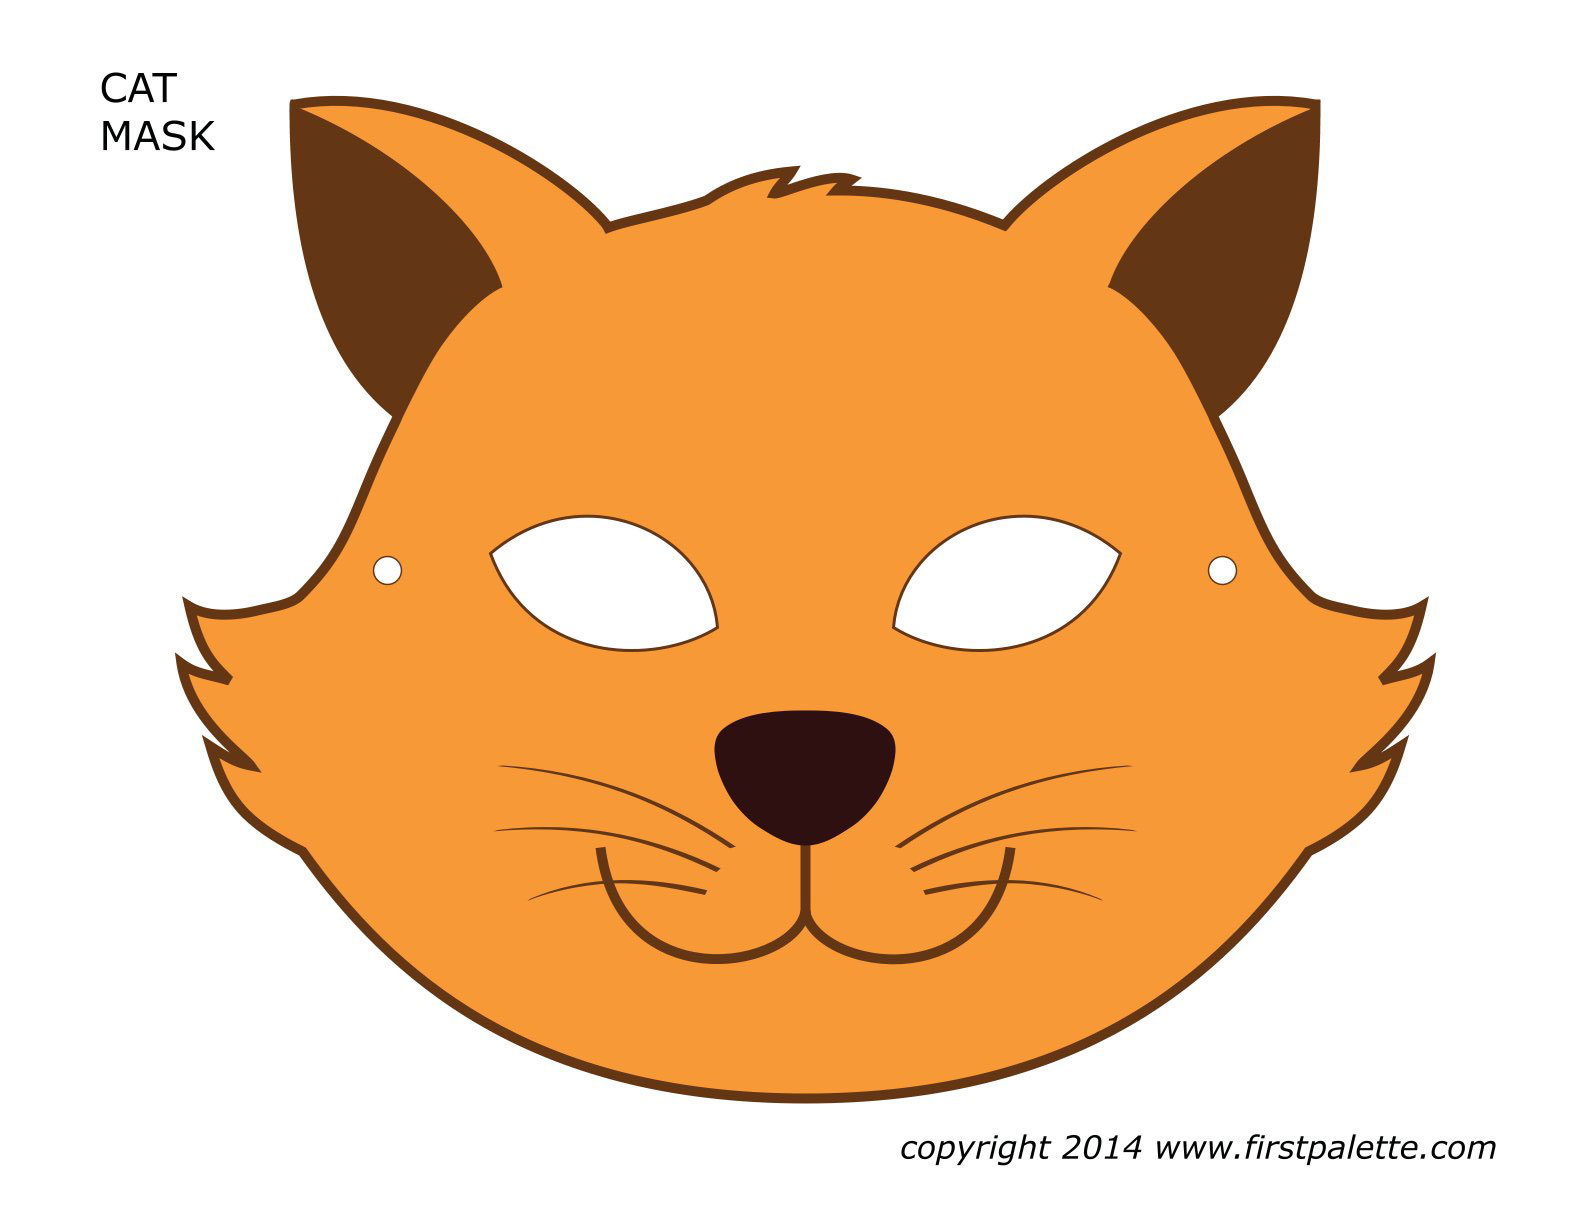
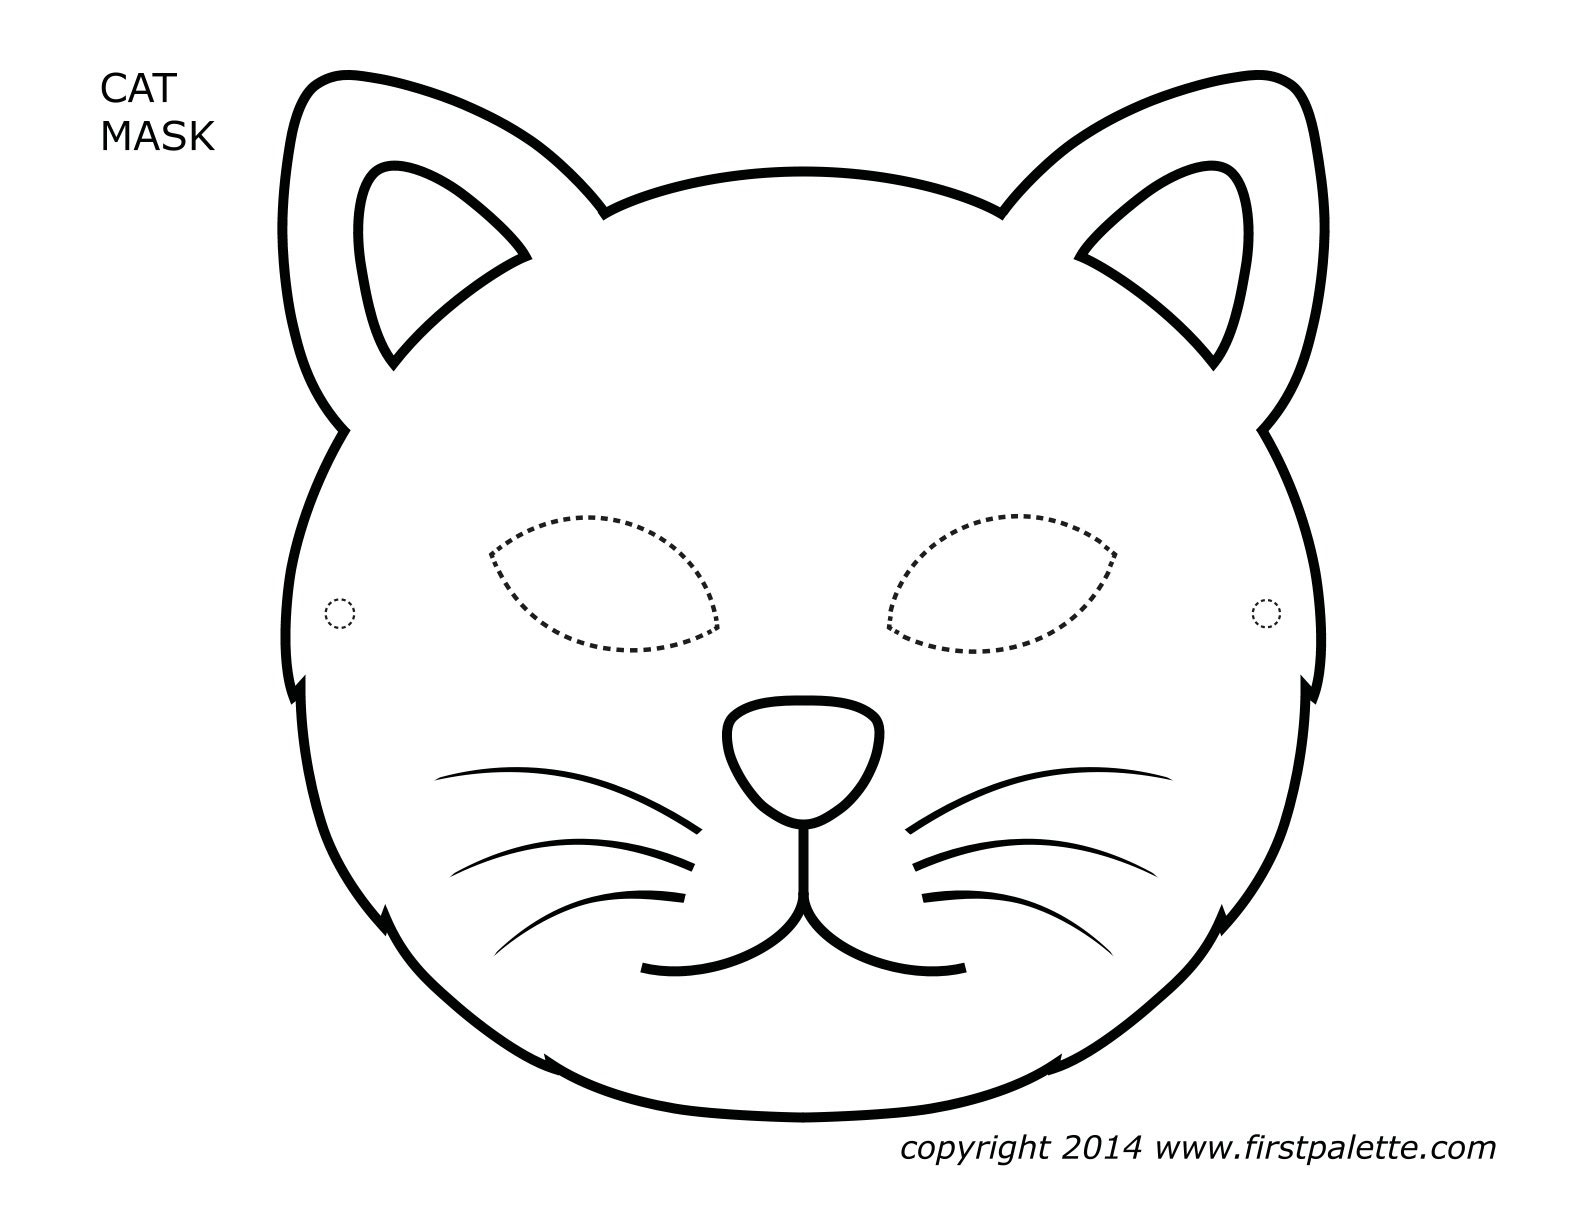
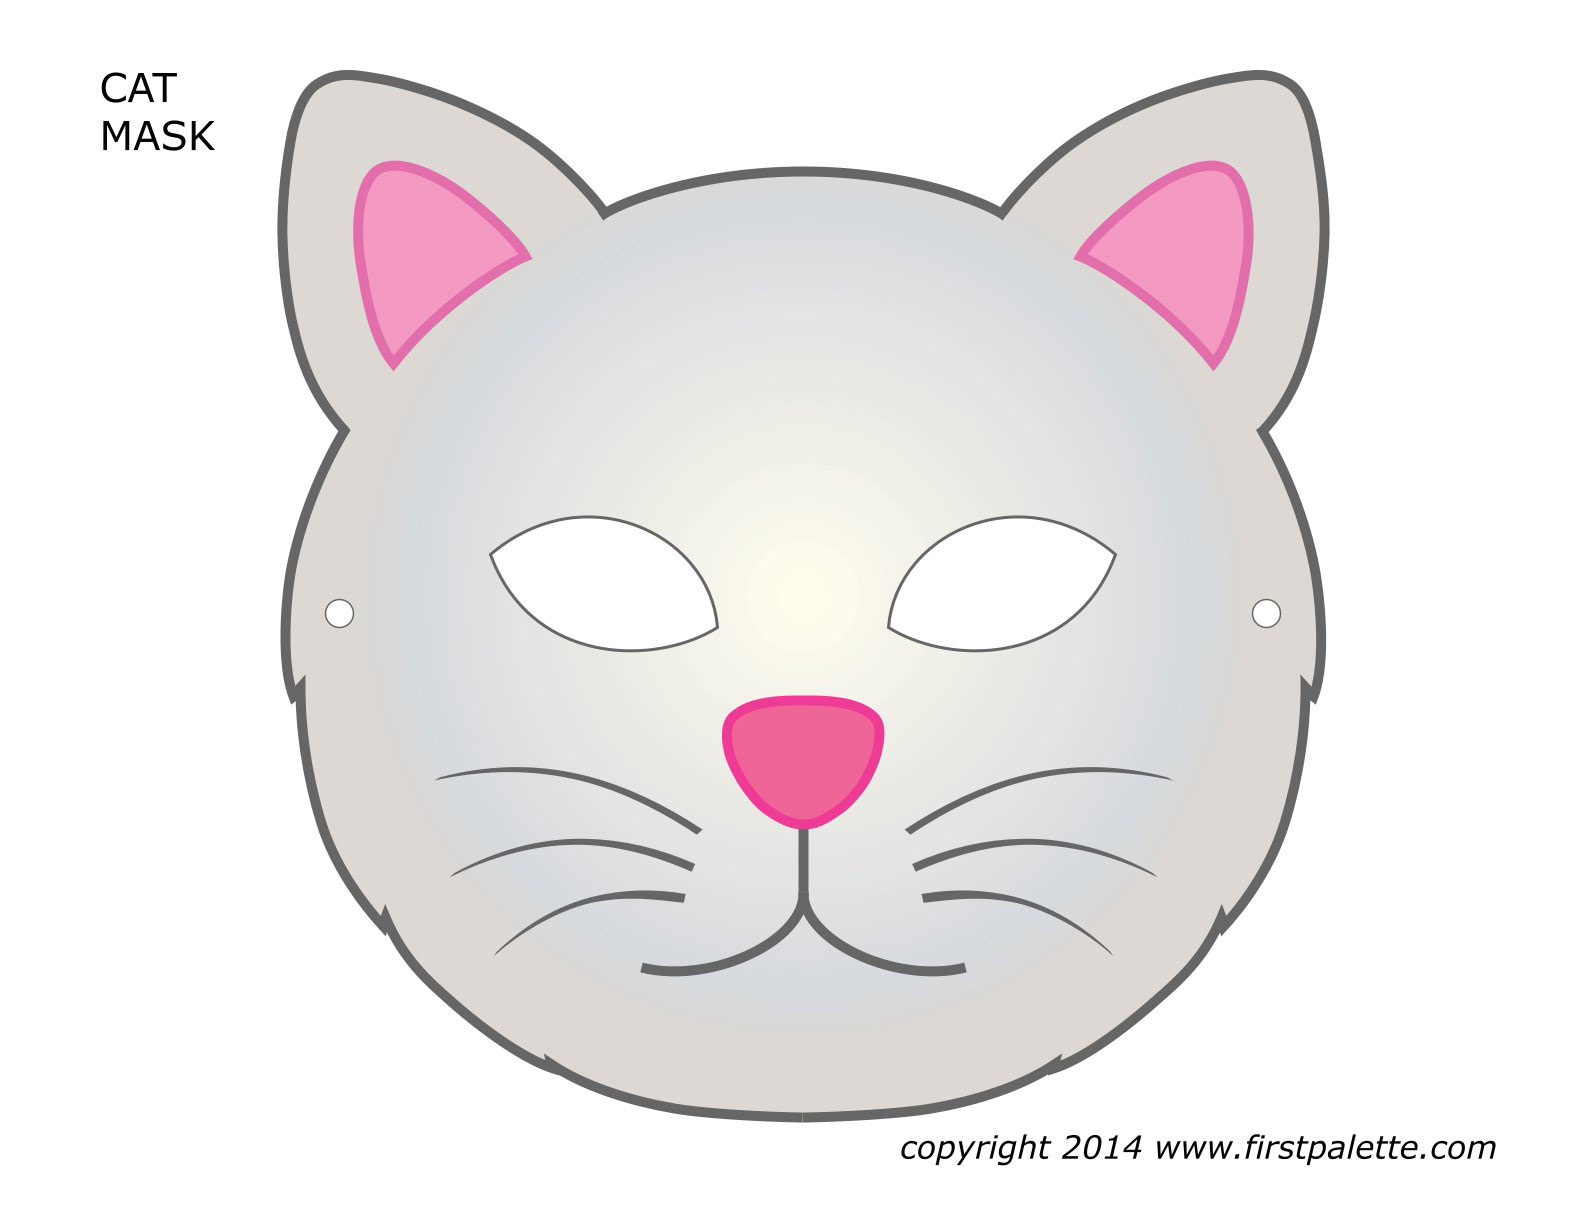
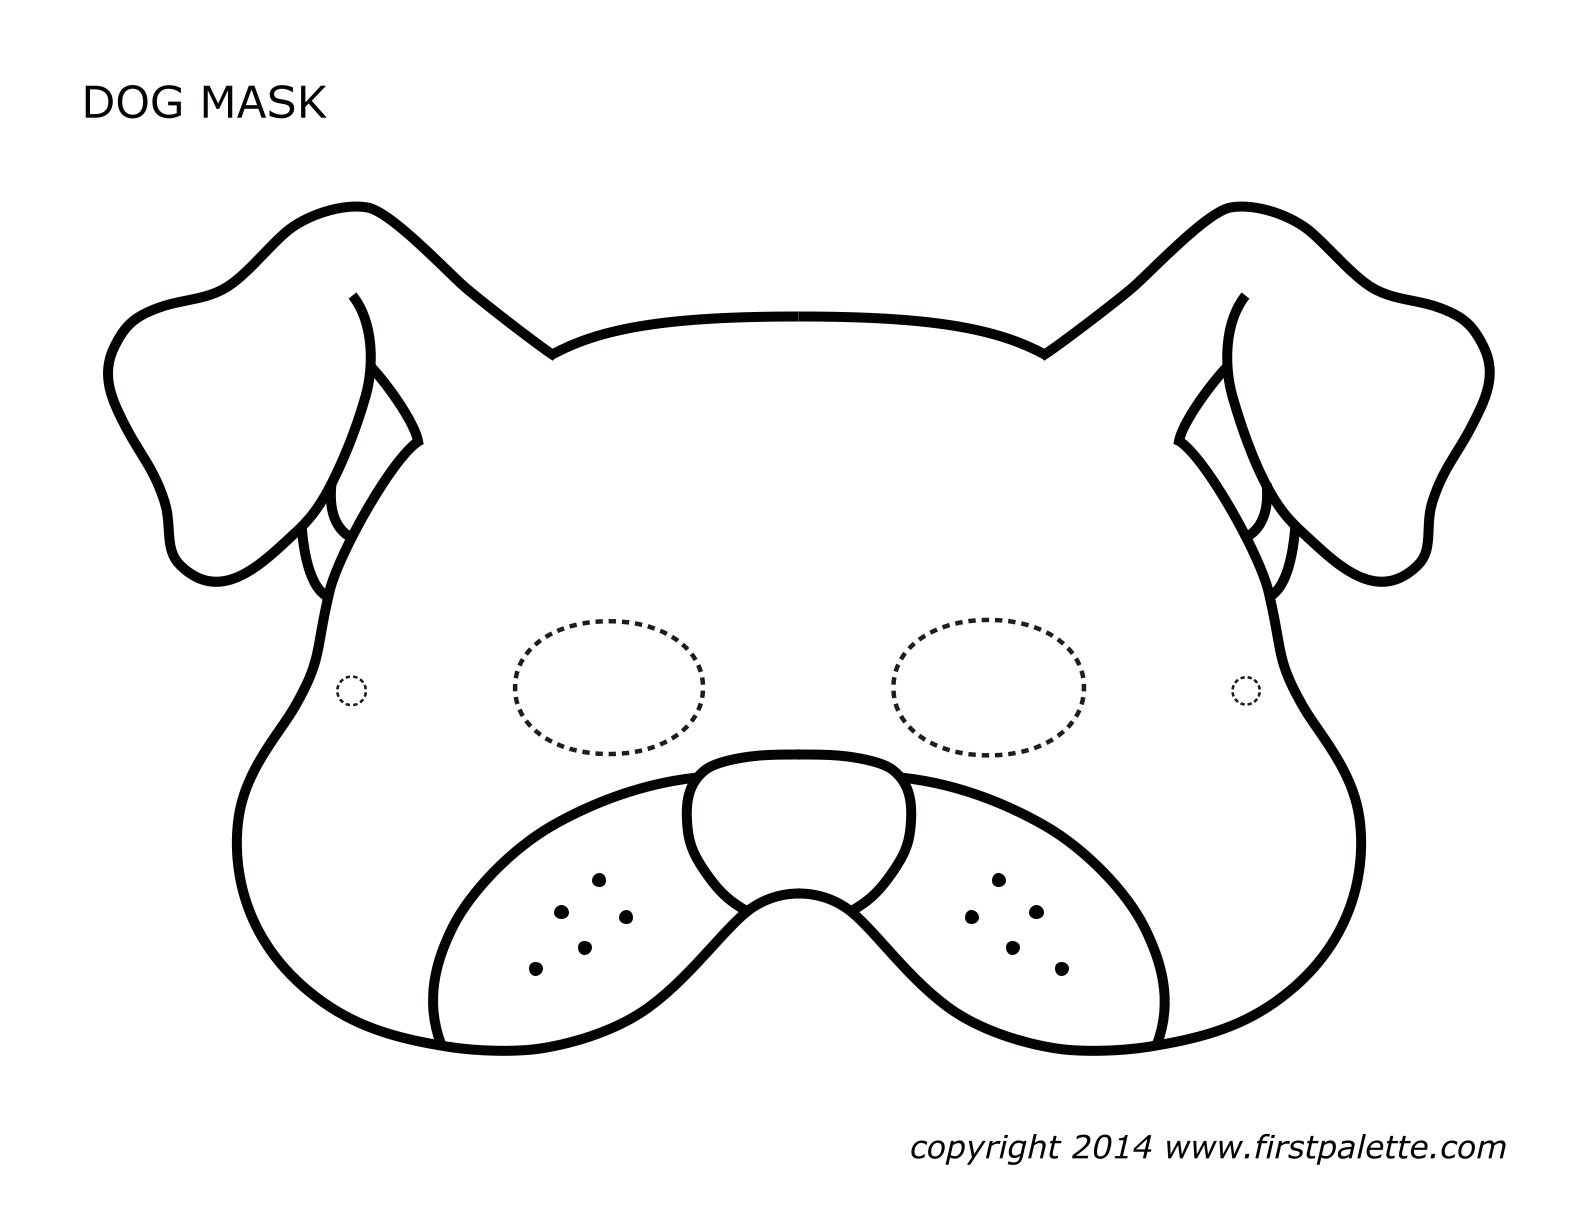
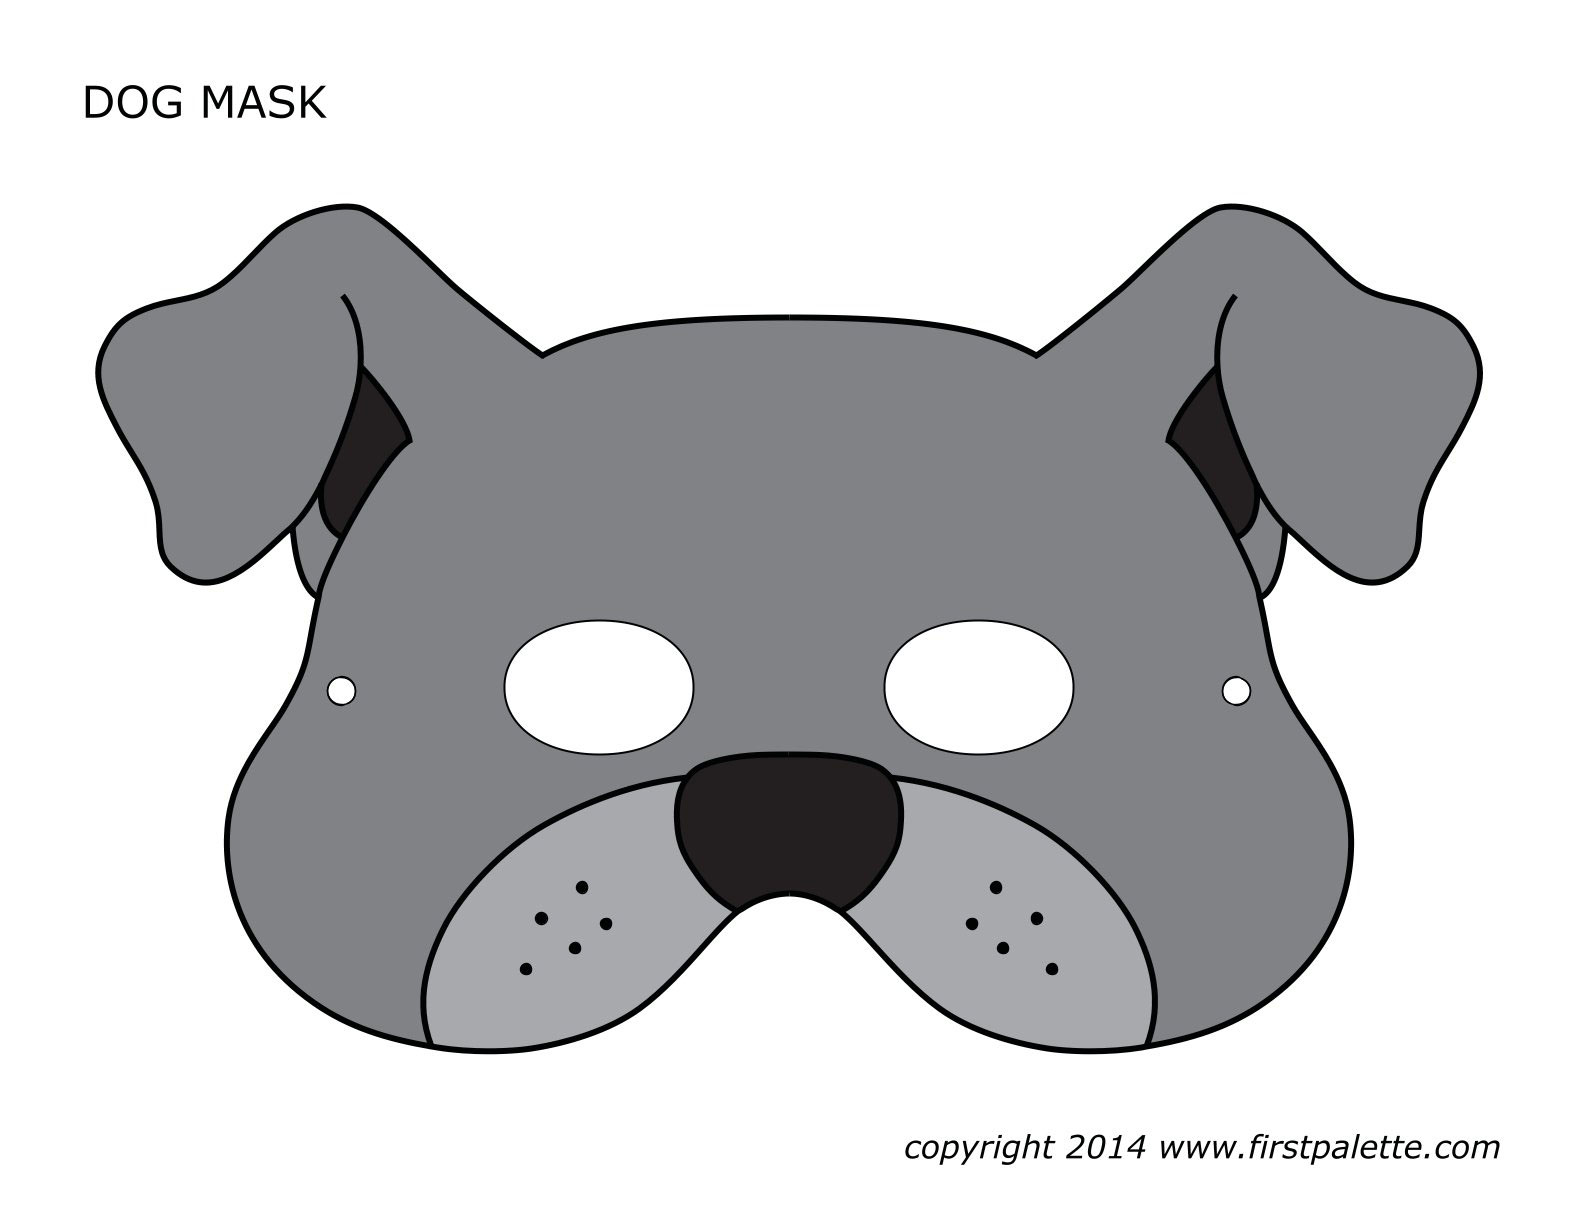
Make a lightweight animal mask for the Mid-Autumn Festival with cardstock, coloring tools, and a soft elastic band. The project can be adapted into a rabbit, cat, tiger, lion, owl, or an imaginary animal, and the printable examples below can be used as shape references.
Adult supervision matters: an adult should handle cutting, hole punching, hot glue, and any sharp wire. A wearable mask must leave vision and breathing unobstructed and should be removed during running, climbing, cycling, street crossings, or lantern processions in dim light.
Materials
- Colored cardstock or sturdy drawing paper
- Pencil, eraser, markers, crayons, or child-safe paint
- Scissors and a hole punch
- Double-sided tape or non-toxic craft glue
- Soft elastic cord or ribbon
- Optional contrasting paper, felt, craft foam, or decorative shapes
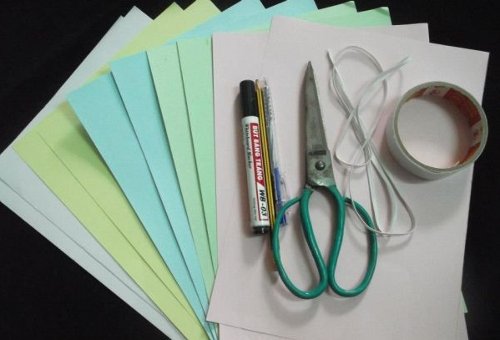
Basic materials for a paper animal mask.
Check adhesive and art-supply labels for the intended age group. Avoid loose glitter, sharp decorations, and small detachable pieces for children who may put objects in their mouths. If using a downloaded template, print it at a scale appropriate to the wearer's face rather than assuming A4 size will fit everyone.
How to make the animal mask
1. Choose and sketch the animal
Place the cardstock horizontally and lightly draw the outer mask shape in pencil. Add ears, horns, whisker panels, or a mane without making projections so long that they catch on clothing. Fold the paper in half temporarily if you want a symmetrical outline, then reopen it before decorating.
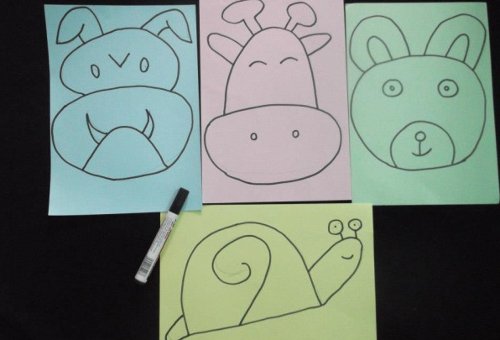
Sketch the animal outline on colored cardstock.
2. Position the eye openings safely
Measure the distance between the wearer's pupils and mark both eye centers on the paper. Do this with the paper held gently in front of the face; never cut or punch while the mask is being worn. Draw eye openings larger than the eyes so the wearer can see ahead and to the sides. Keep the lower edge clear of the nostrils and mouth.
Color the main features before cutting. Contrasting paper pieces can be added for ears, cheeks, spots, or a nose, but keep the inside surface smooth.
3. Cut the outline and openings
An adult should cut around the animal outline. To start each eye opening, gently bend the paper and make a small controlled snip, or use a safe craft punch, then cut outward to the marked line. Round sharp corners and remove any loose paper fibers.
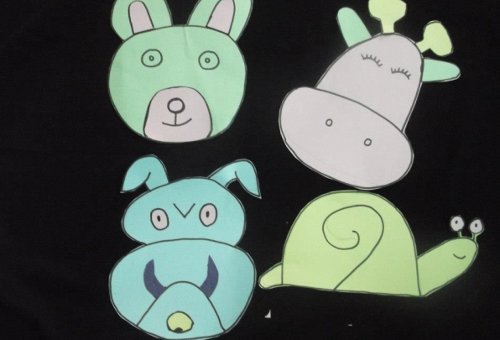
Cut around the animal outline and make generous eye openings.
4. Add the strap
Reinforce the inside left and right edges with small pieces of tape or cardstock. Punch one hole on each side, far enough from the edge that it will not tear. Thread the elastic through the holes and tie temporary knots.
With adult help, test the mask briefly. The elastic should hold the mask without pressing tightly on the eyes or skin. Shorten loose ends and secure the knots only after checking the fit. Use a handheld stick or supervised headband design instead of neck-length ties.
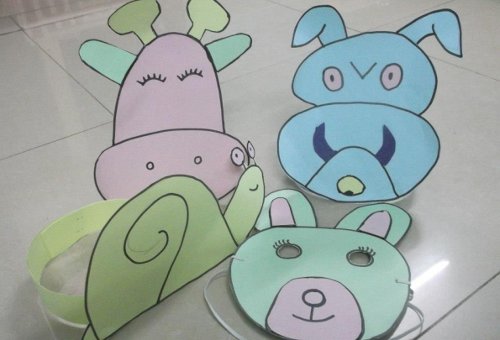
Attach a soft elastic strap through reinforced side holes.
5. Decorate and finish
Add paper shapes for eyebrows, cheeks, a muzzle, or ear details. Let paint and glue dry completely before the mask is worn. Check that decorations do not block the eye openings and that nothing rough touches the face.
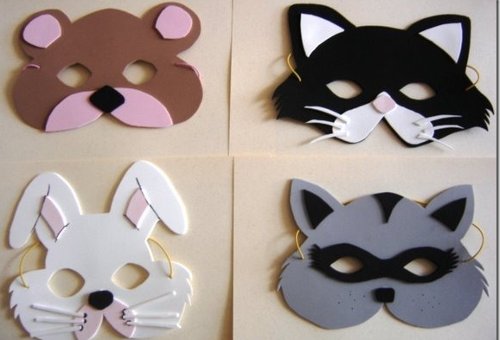
Layer colored paper shapes to personalize the mask.
Alternative: a felt mask
Thin felt is softer than cardstock and can be cut from the same template, but it needs clean eye openings and securely attached elastic. Sewn edges are more durable than loosely glued layers. Adults should handle needles and check the mask for detached threads or pieces before each use.
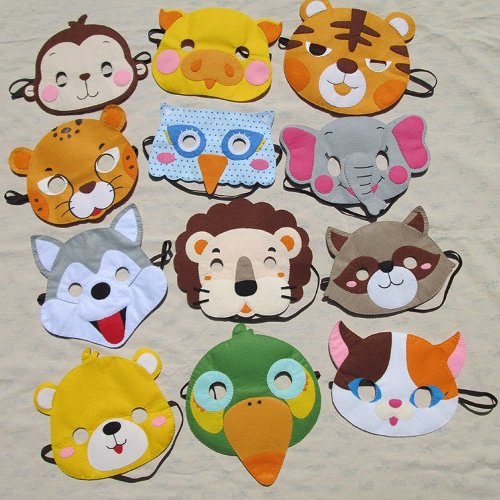
An animal mask made from felt instead of paper.
Printable animal-mask ideas
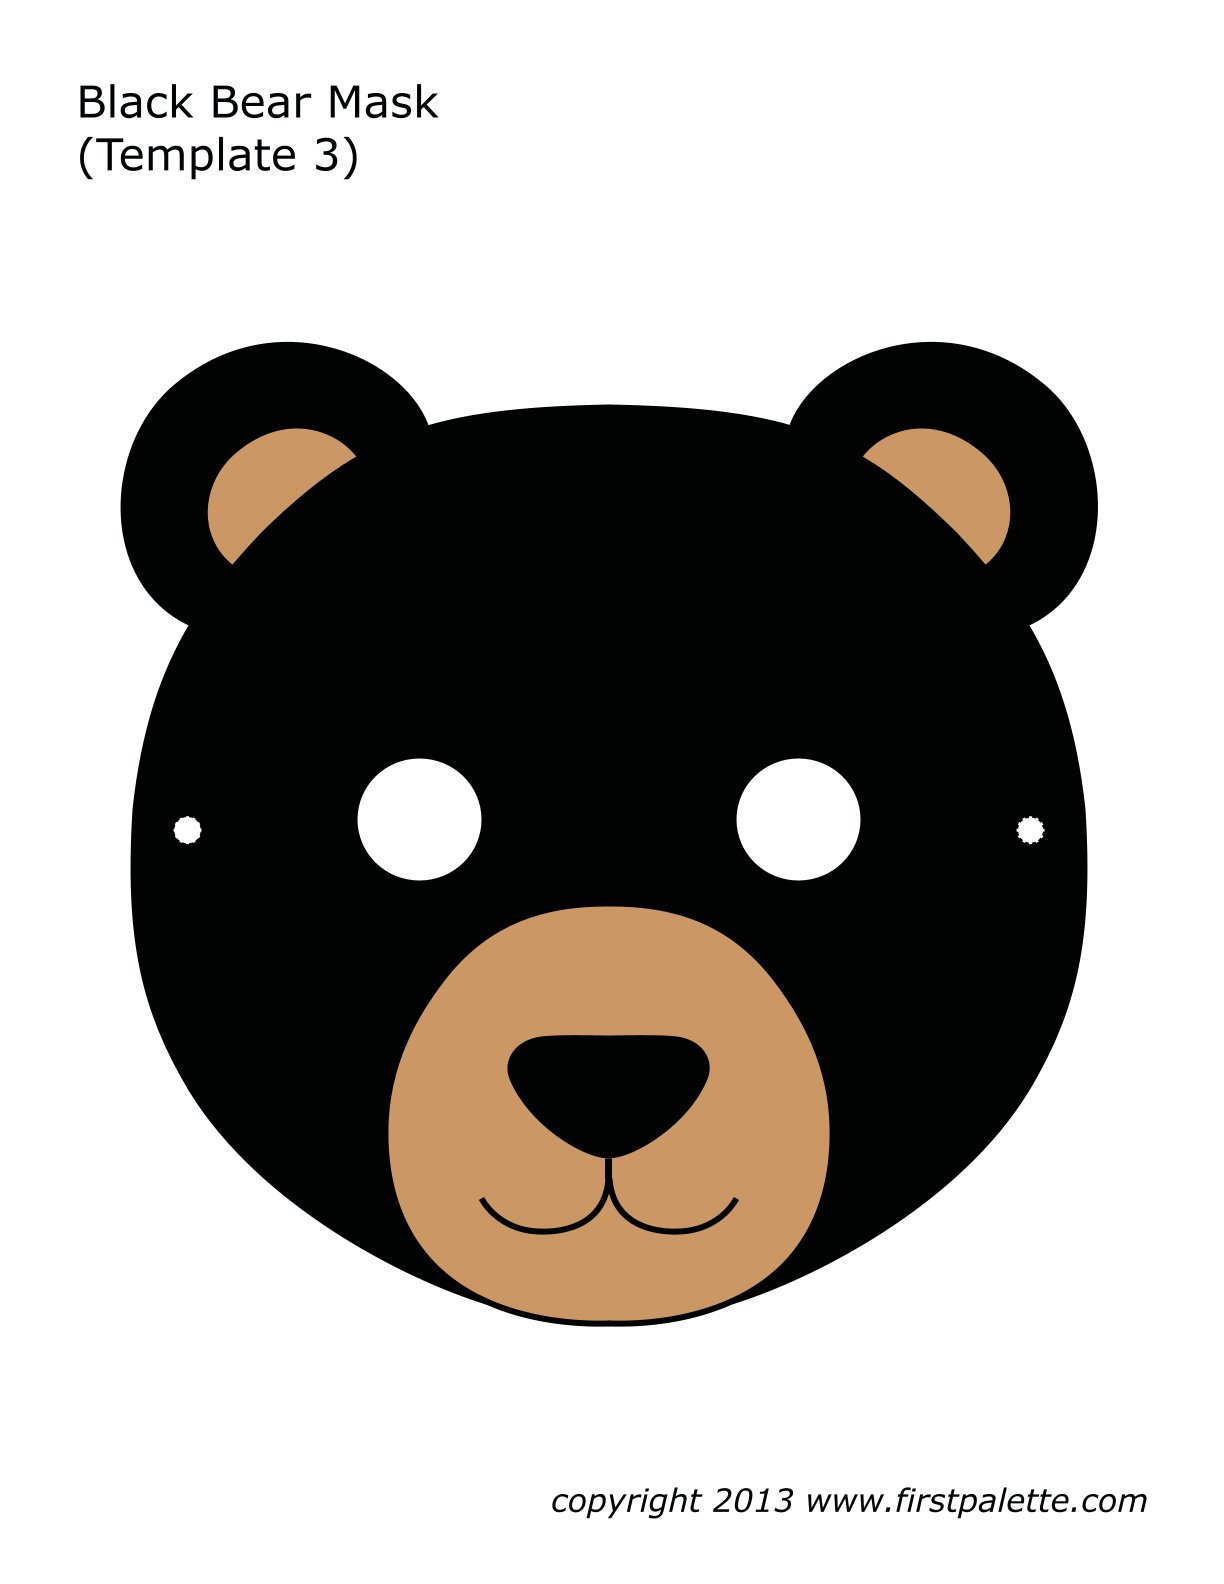
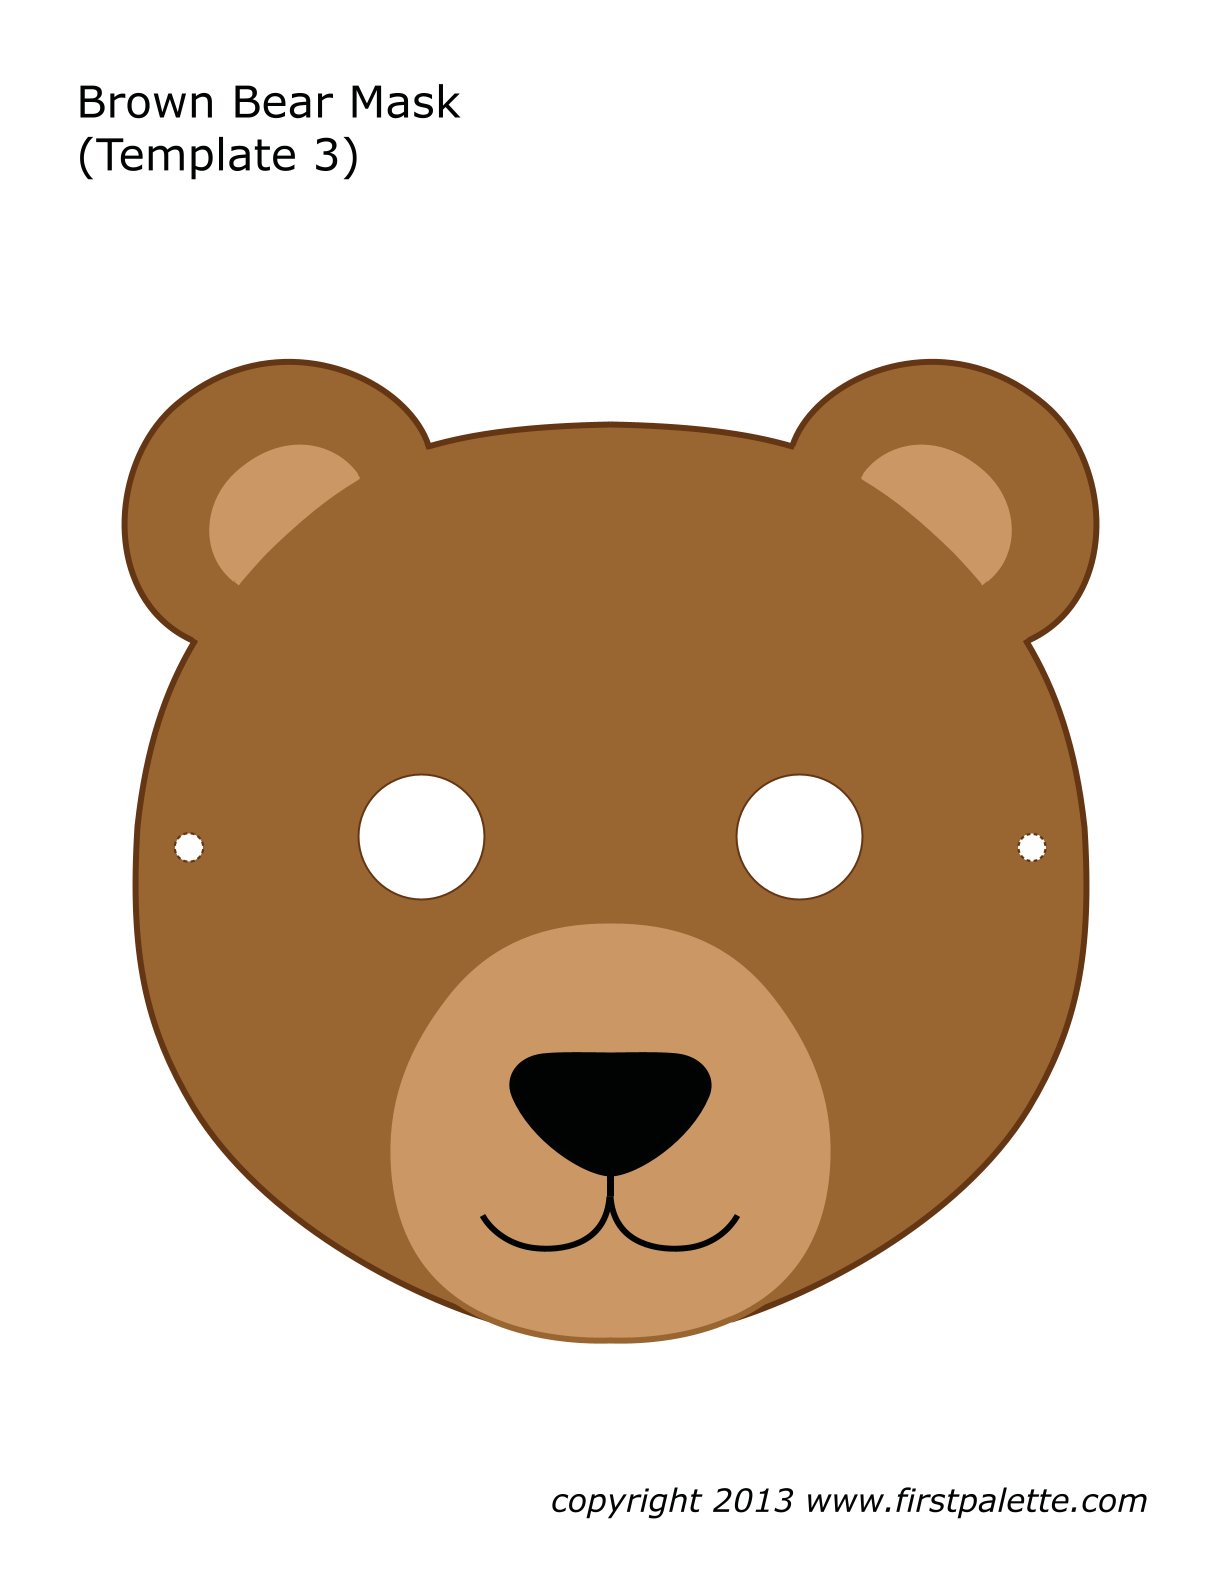
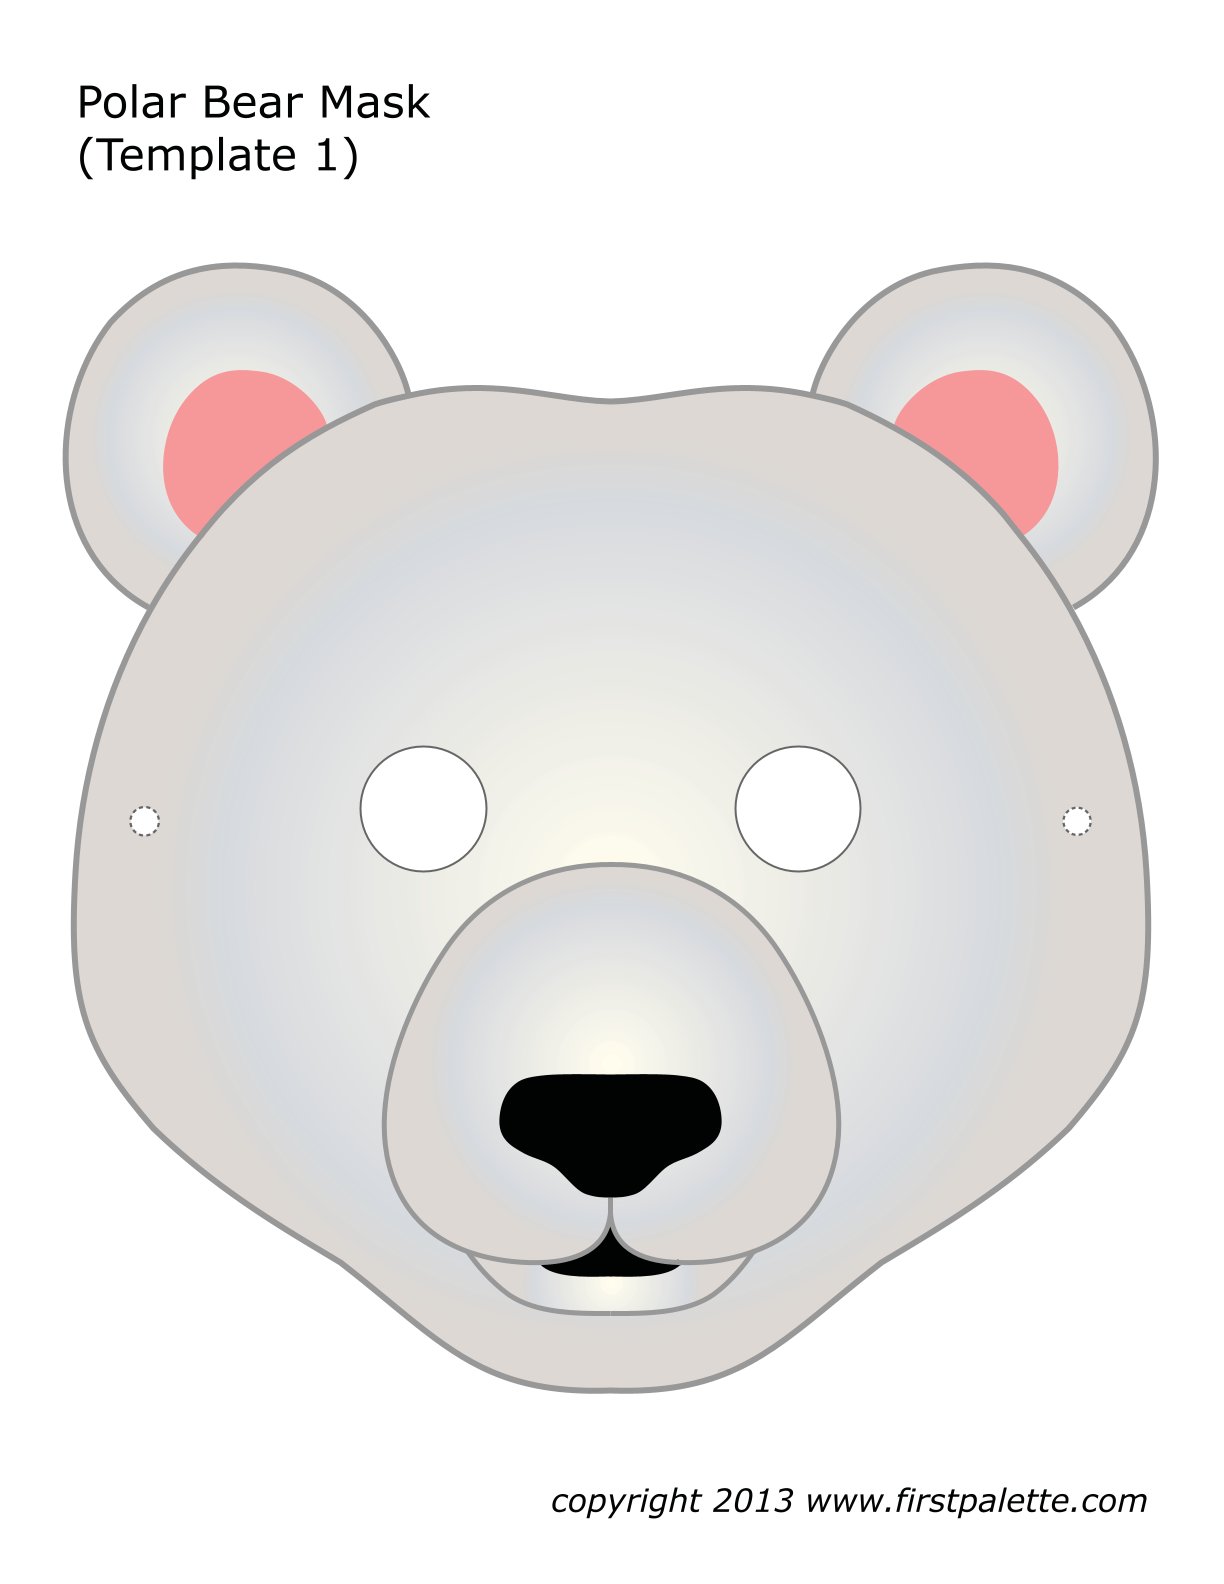
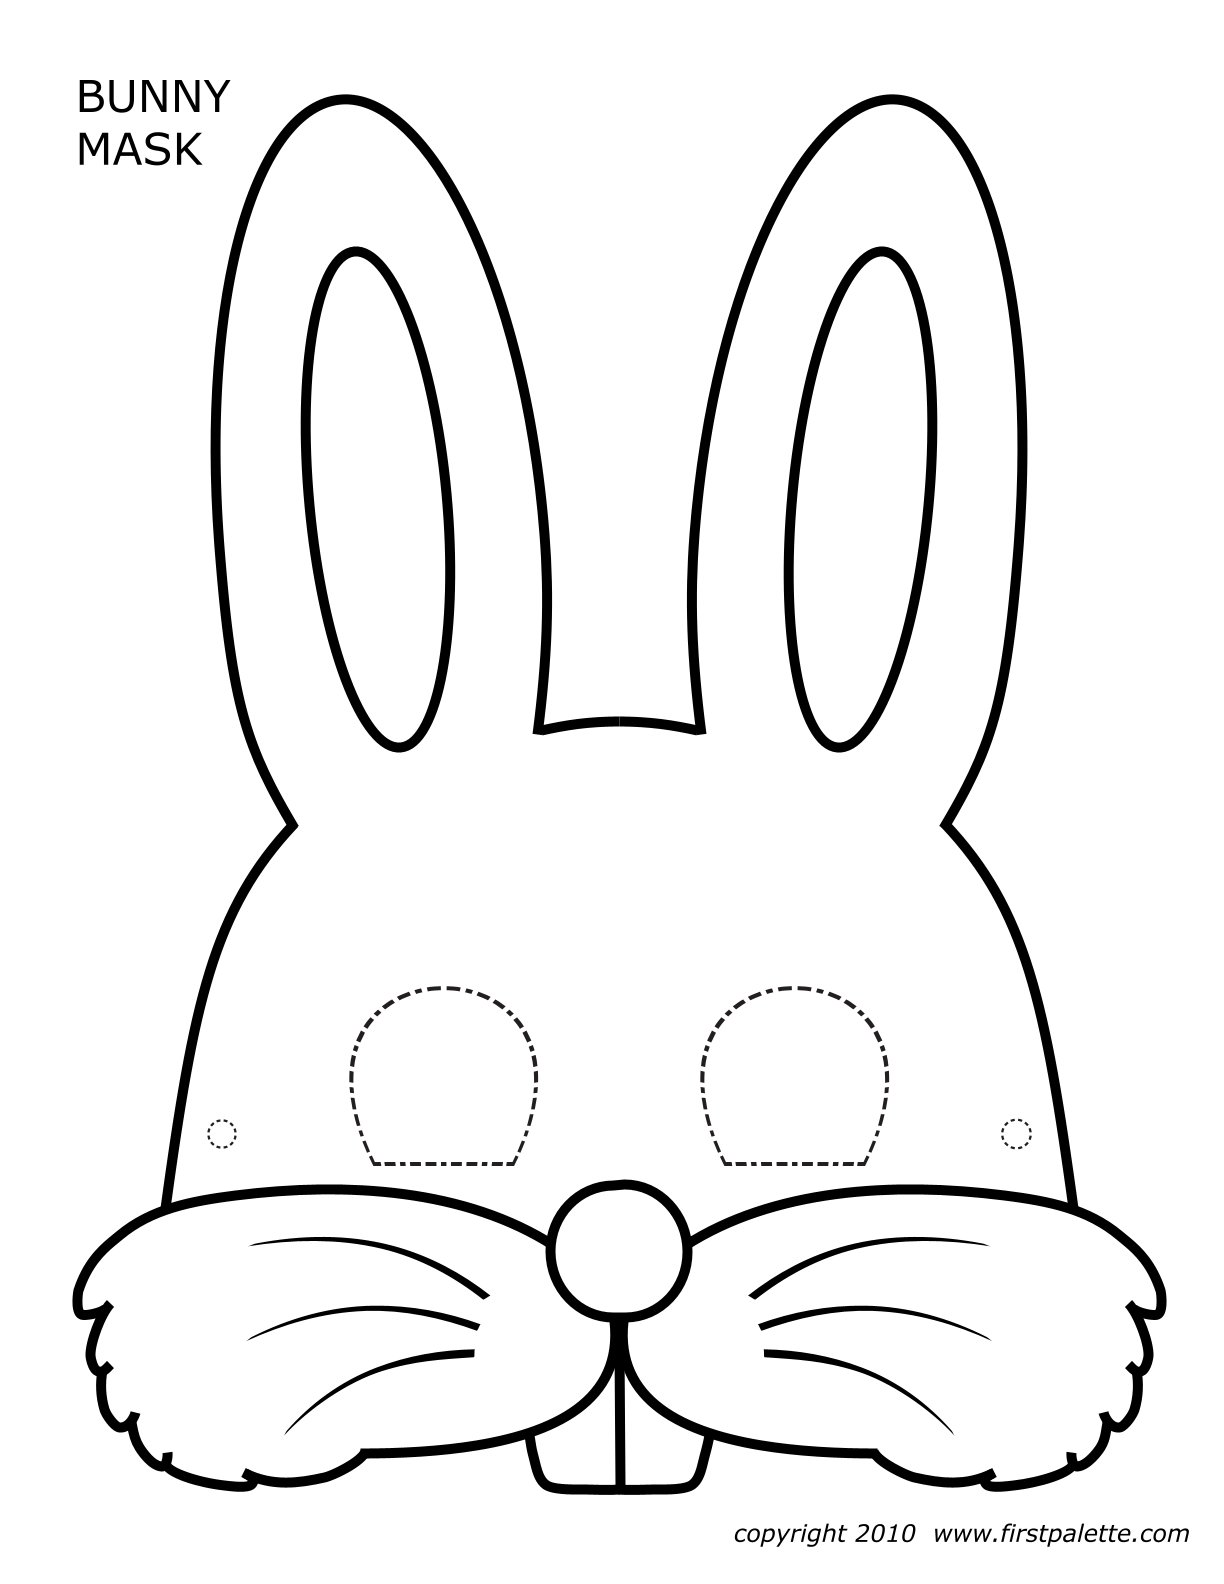
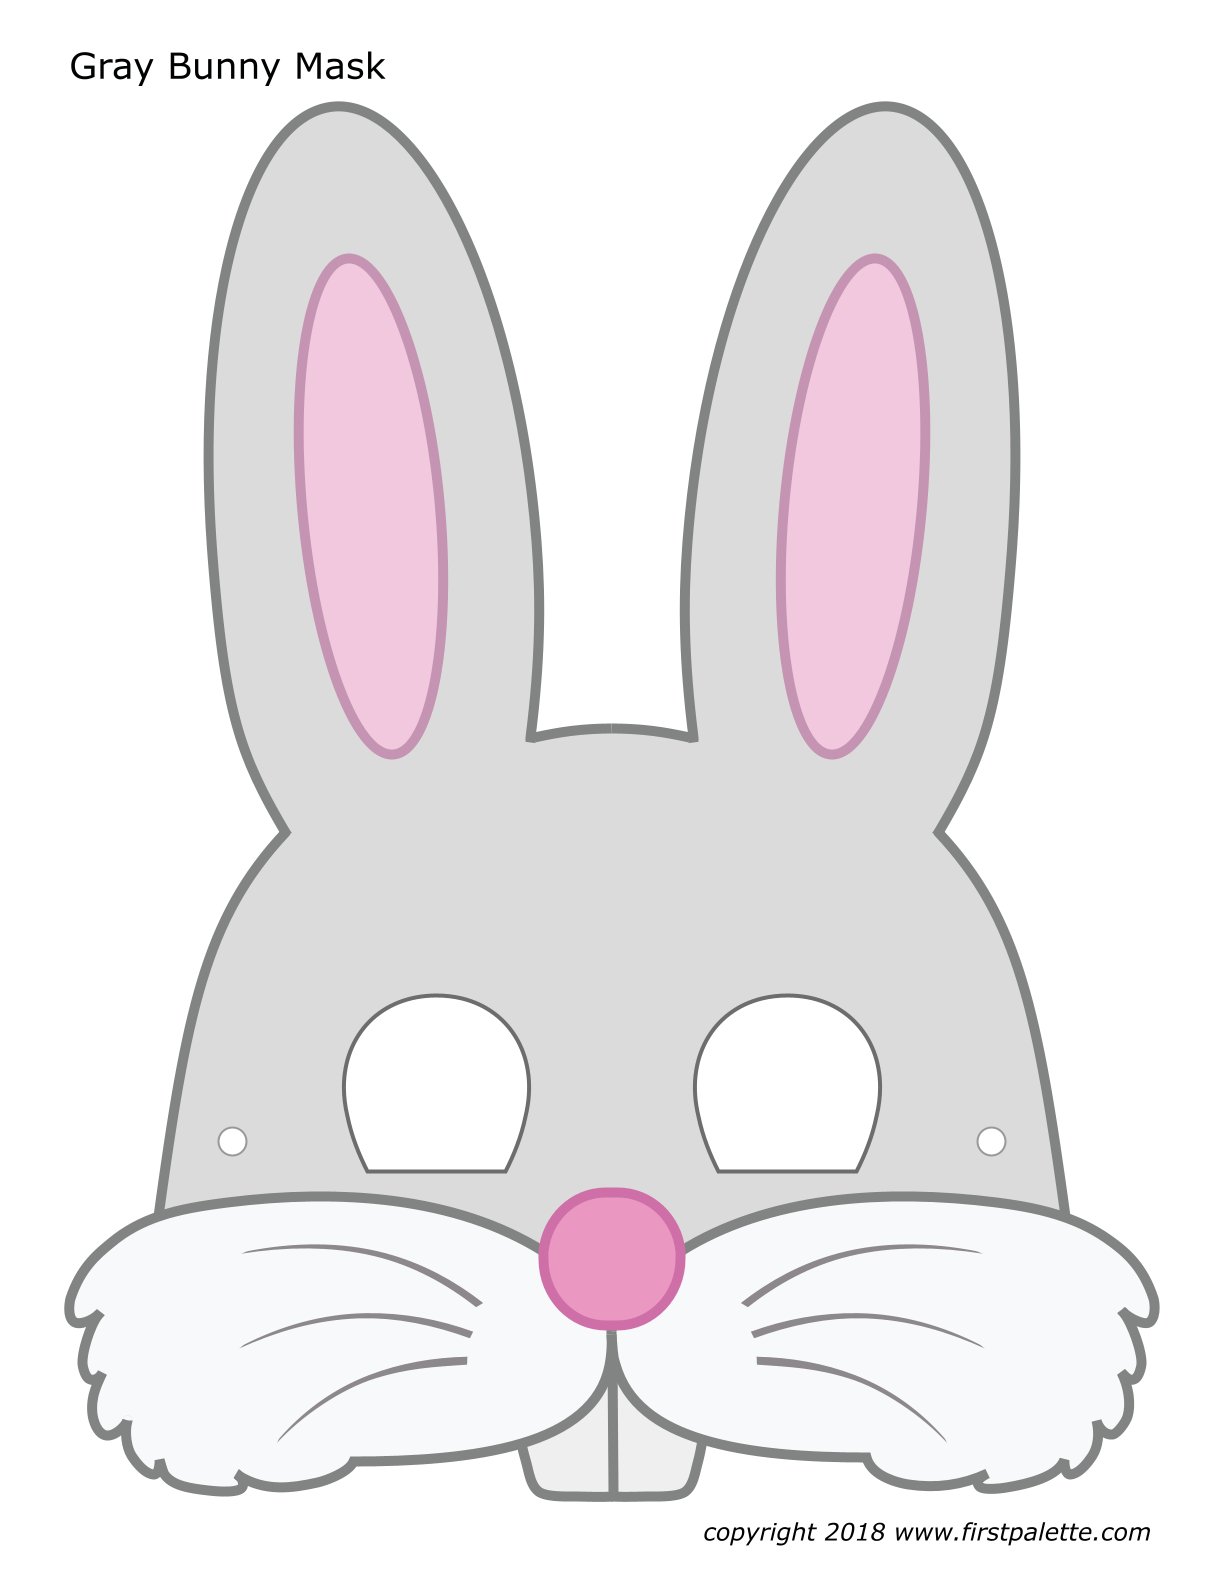
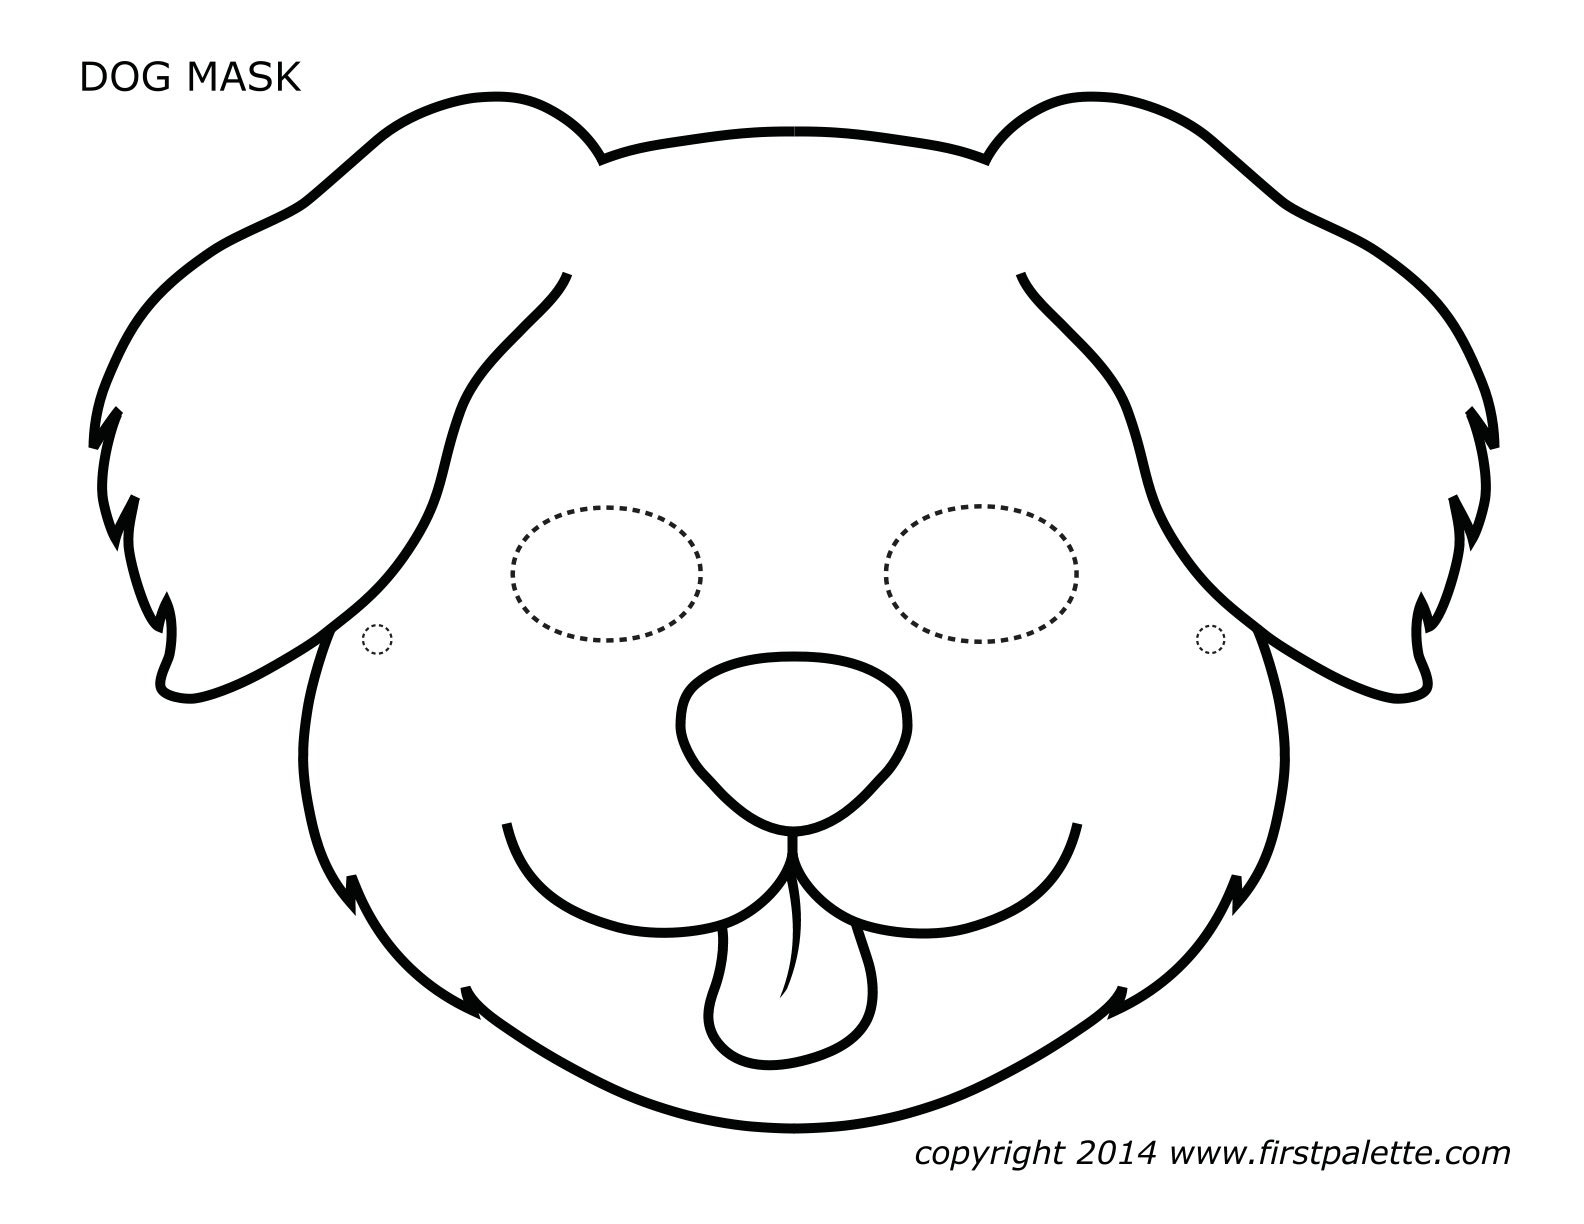
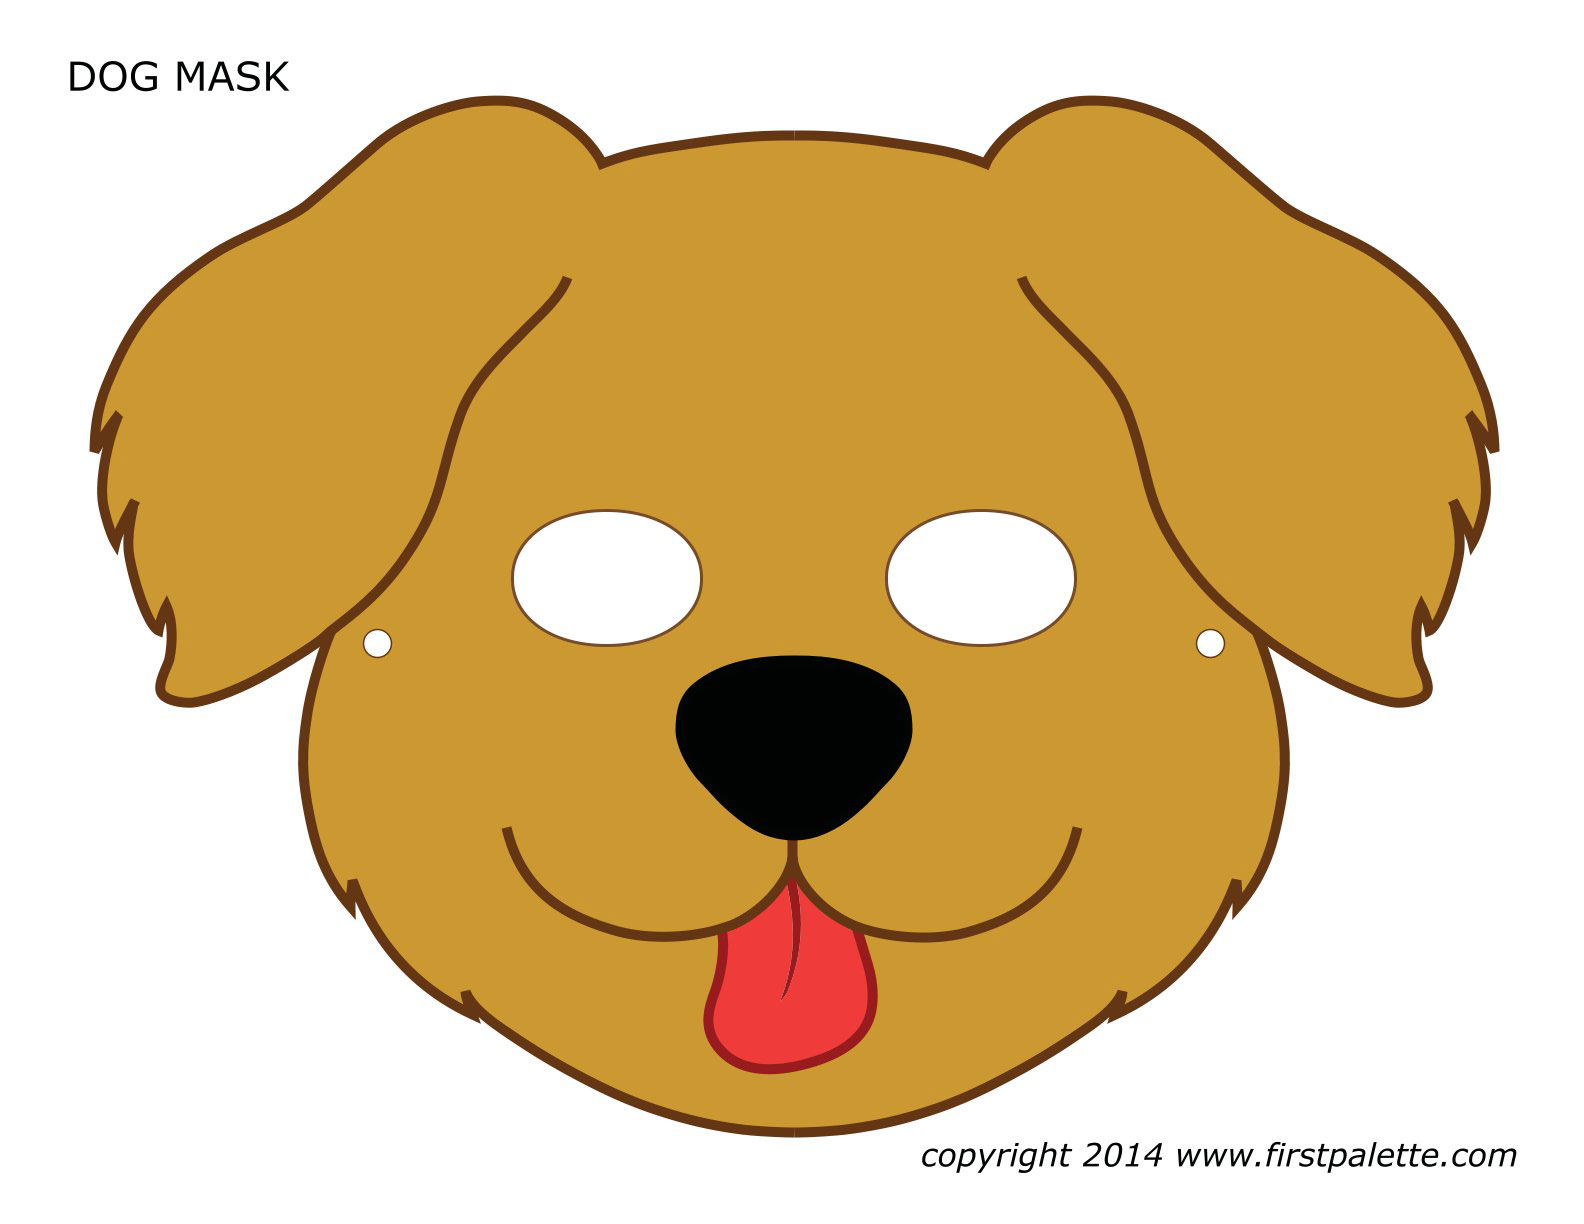
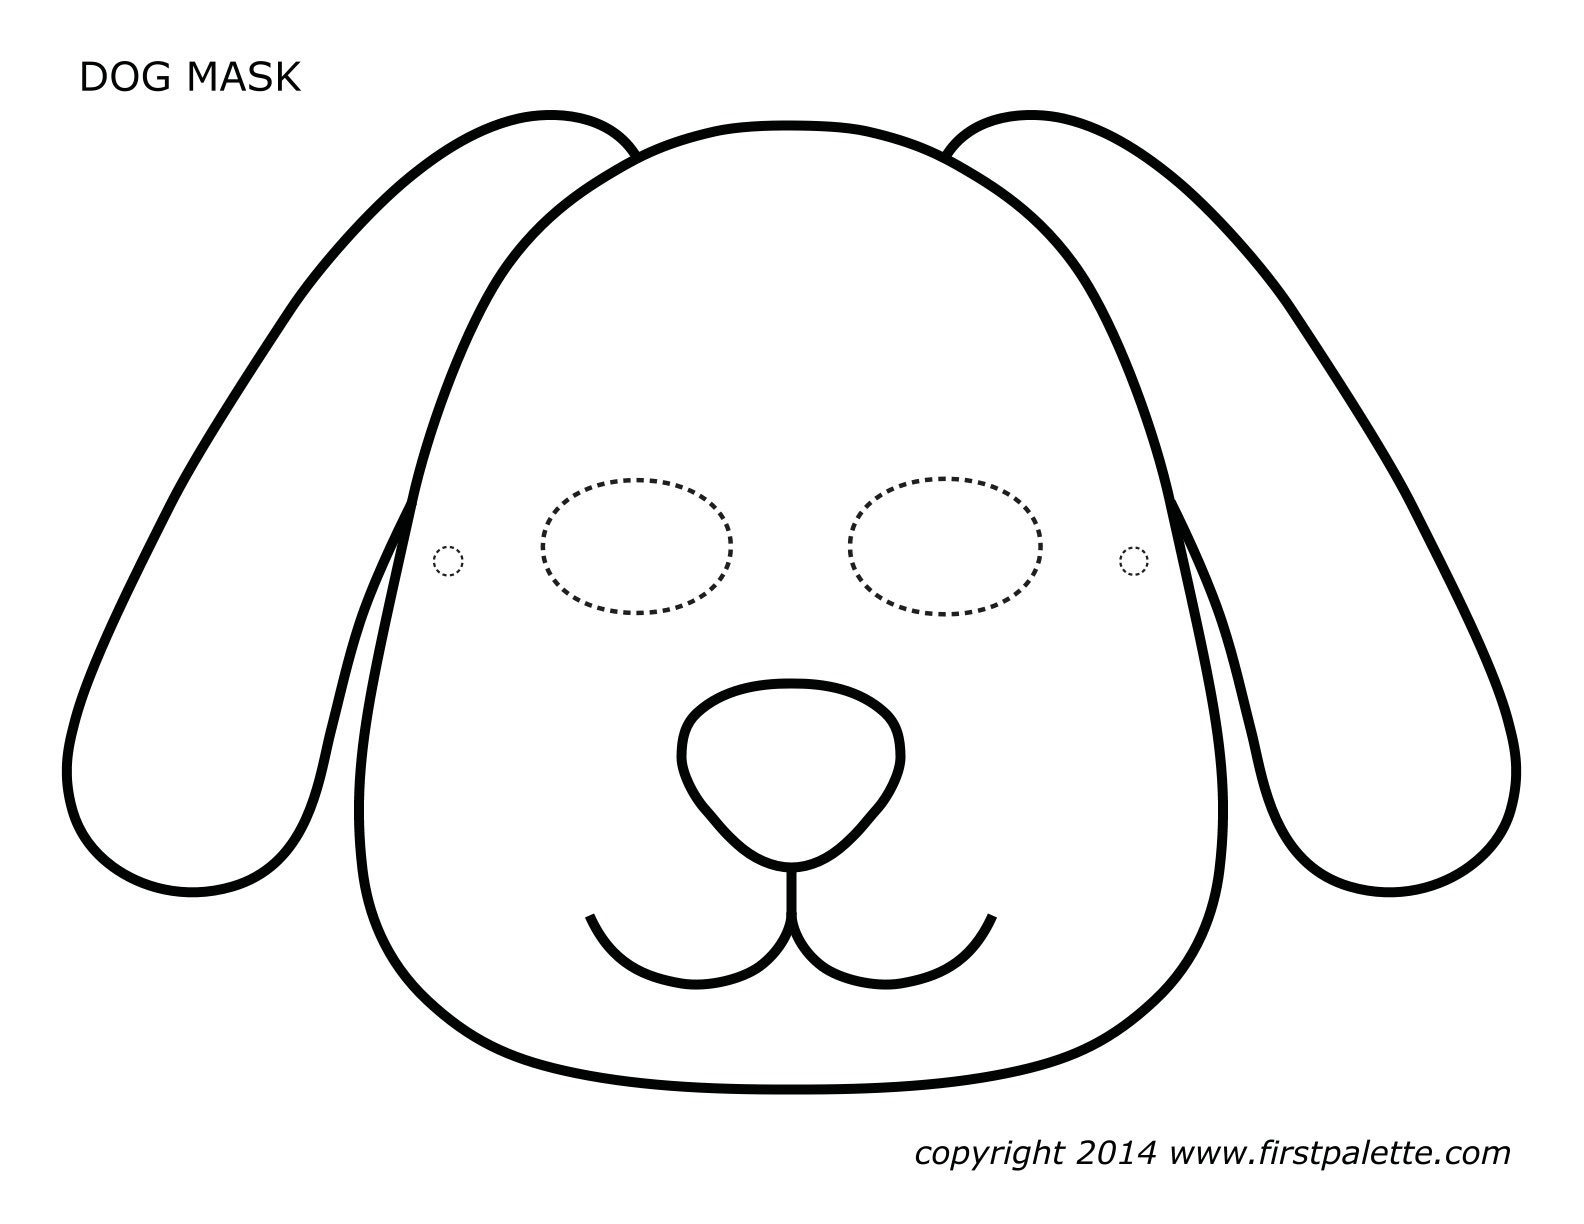
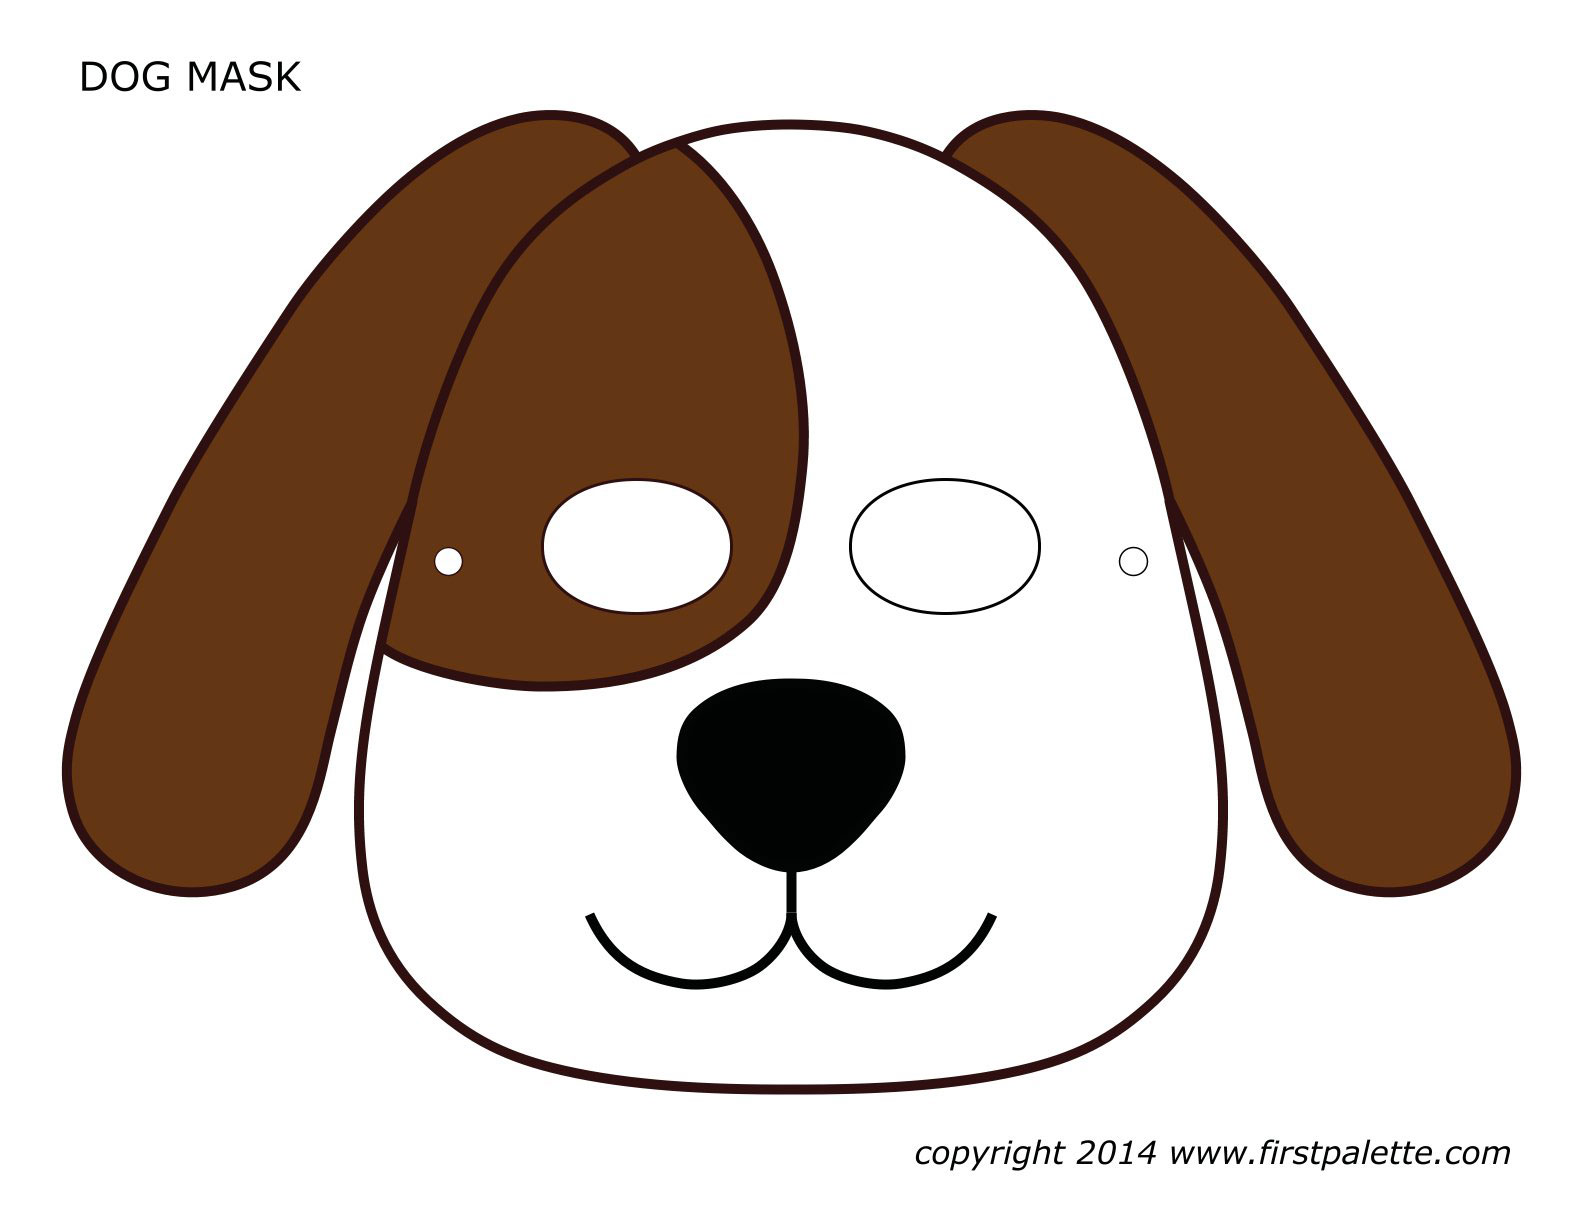
The examples below include colored designs and outlines that children can customize. When printing an image from a webpage, first save or open the full-resolution version, select “actual size” or a chosen percentage in the print dialog, and print one draft on plain paper. Measure the draft against the wearer's face before using cardstock.
Fit and safety checklist
| Check | What good fit looks like |
|---|---|
| Vision | Both openings align with the eyes and allow a broad view without turning the whole head. |
| Breathing | Nose and mouth remain completely clear. |
| Strap | Secure but not tight, with no long loose loop around the neck. |
| Edges | Rounded, smooth, and free of staples, wire ends, and hardened glue. |
| Decorations | Firmly attached and appropriate for the child's age. |
| Activity | Used for calm, supervised play—not traffic, climbing, running, or low-light walking. |
Make a headband instead
For children who dislike having their face covered, cut a cardstock strip wide enough to support an animal face or pair of ears. Wrap it around the head without tightening, mark the overlap, remove it, and glue or tape the ring closed. Attach the decoration to the front. A headband preserves peripheral vision and avoids eye-alignment problems.
Paper masks can be more enjoyable when children help design them, but they are not automatically safer than manufactured masks; material quality, fit, supervision, and the activity all matter. Discard a mask if it becomes wet, torn, tight, or difficult to see through.
For a larger celebration, combine the craft with these Mid-Autumn Festival activity ideas or make a display using this five-fruit tray guide.
Related Articles
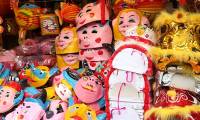 How to Make Paper Masks for Children Playing Mid-autumn4 minutes read
 Collection of the Best Fun Puzzles to Play in the Mid-autumn7 minutes read
 How to Organize Games for Children Happy Mid-autumn Festival7 minutes read
 How to Make Mid-autumn Lanterns with Simple Paper Stars4 minutes read
 Origin, Customs and Meaning of the Mid-autumn Festival8 minutes read
 Guide How to Make Mid-autumn Lanterns According to 6 Super Simple8 minutes read
Reader Comments 0
Sign in with email or Google to join the discussion.