Table of Contents
The boss route in How to Fish follows the island story: Spider Crab, Giant Piranha, Pufferfish, the Island 4 Tuna and Albatross sequence, then the Bowhead Whale and Magma Whale finale. Each encounter is tied to an NPC request or a specific bait item, so simply sailing to the right island is not enough.
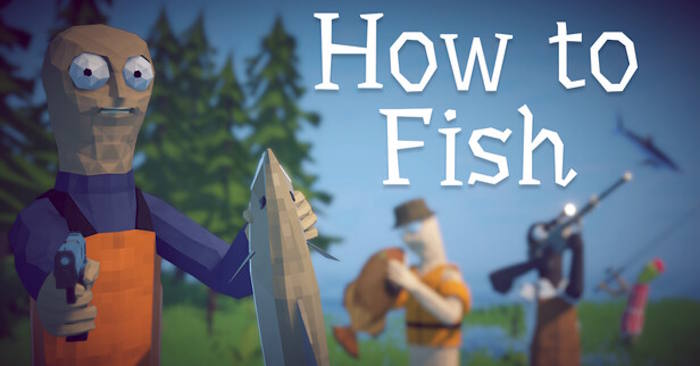
Keep every boss trophy and quest fish until the related NPC accepts it. Selling, cooking, or abandoning a shell, skeleton, tail, head, or whale body can stop progression and force you to repeat part of the sequence.
Boss order and summon requirements
| Encounter | Area | How to start it | Item to keep |
|---|---|---|---|
| Spider Crab | Island 1 / Lighthouse | Get the Empty Beer Can from the Lighthouse Keeper and use it as the quest requires | Spider Crab Shell |
| Giant Piranha | Island 2 / Forest | Collect three Leeches and turn them into Leech Bait | Giant Piranha Skeleton |
| Pufferfish | Island 3 / Desert | Give an Endangered Species fish to the Tourist, receive the Carrot, and use it | Pufferfish Tail |
| Tuna and Albatross | Island 4 / Rocks | Catch Tuna with the Professional Boss Lure, defeat it, then place its body as bait | Albatross Head |
| Bowhead Whale | Island 5 / Military Volcano | Complete the Scientist's requests and use the required fishing item | The whale body |
| Mutated Bowhead / Magma Whale | Volcano | Carry the defeated Bowhead Whale to the volcano and throw it in | Final progression reward |
If the Radar or next objective does not update, return to the NPC who issued the current quest and make sure the correct trophy is in your possession. A boss kill alone may not complete the hand-in.
Preparation that works for every fight
- Save before using a rare trigger. This is especially important before the Tuna lure and final whale sequence.
- Bring a familiar ranged weapon and enough ammunition. Reliable hits are more valuable than an expensive weapon you have not practiced with.
- Carry food or healing. Do not assume there will be time to shop once the boss appears.
- Fight inside the intended area. Pulling a boss too far from its arena can make it reset or disappear.
- Clear ordinary enemies first. Extra attackers make dodging and reviving much harder.
- In co-op, assign roles. One player can hold aggro while another attacks or handles revives.
How to beat the Spider Crab
Obtain the Empty Beer Can from the Lighthouse Keeper before starting the encounter. The Spider Crab exposes a punishable window after it commits to an attack: move away from the strike, attack during the recovery, then create distance again.
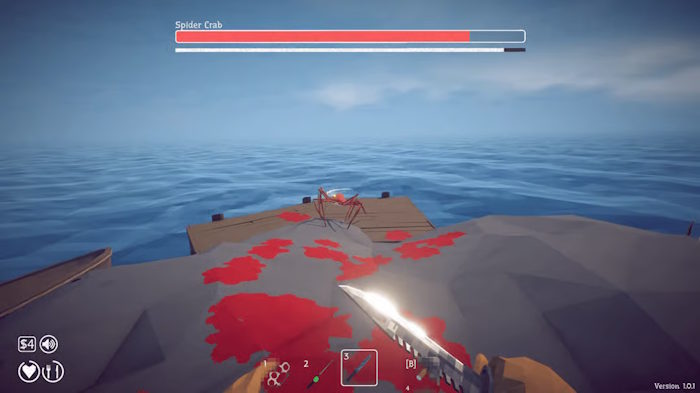
Avoid standing between the crab and the water, where its movement can leave you with fewer escape angles. After the fight, pick up the Spider Crab Shell and keep it. It is a progression item connected to the boat-key route, not ordinary sellable loot.
How to beat the Giant Piranha
On Island 2, collect three Leeches and convert them into Leech Bait. Confirm that the relevant NPC objective is active before consuming the bait.
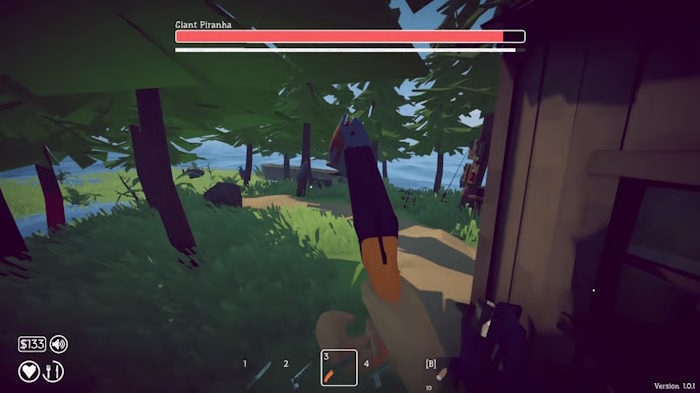
The Giant Piranha can add smaller threats to the fight. Keep moving and concentrate damage on the boss unless an add blocks your escape or is about to overwhelm you. A ranged weapon lets you preserve space, but watch ammunition rather than firing continuously without a clear shot.
Collect the Giant Piranha Skeleton after the kill and complete the NPC hand-in that opens Island 3.
How to beat the Pufferfish
Give the Tourist a qualifying Endangered Species catch, take the Carrot, and use it to trigger the Pufferfish encounter. If the Carrot does nothing, recheck the quest step and location instead of buying more gear immediately.
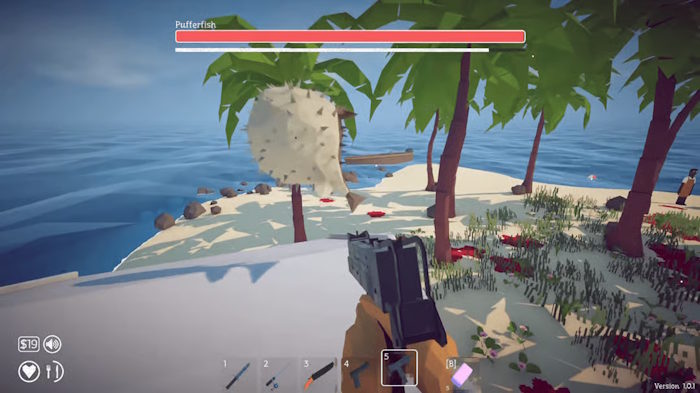
Positioning matters more than chasing damage. Use trees or solid terrain to break the boss's approach, attack from range, and keep a route open on both sides. Do not abandon cover just because its health is low; a greedy final push can waste the summon setup.
Preserve the Pufferfish Tail and deliver it to advance toward Island 4.
How to summon and defeat the Albatross
The “giant bird” is commonly identified as the Albatross. This is a two-stage encounter rather than a direct summon:
- Buy the Professional Boss Lure on Island 4.
- Use it to hook the quest Tuna.
- Defeat the Tuna without losing or disposing of its body.
- Place the fresh Tuna body on open ground as bait.
- Wait for the Albatross to arrive, then begin the fight.
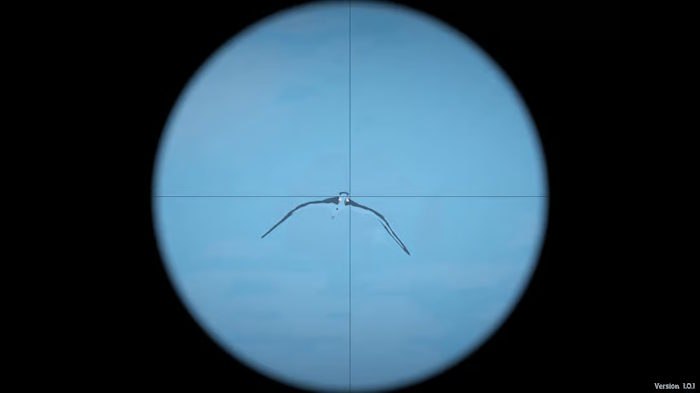
Fight near a sturdy building, wall, or other obstacle that can interrupt a dive path, but leave enough open ground to track the bird. Move sideways during committed passes, then fire when it turns or recovers. Chasing it across the island makes its aerial movement harder to read.
Keep the Albatross Head after the kill. Handing it to the next quest NPC opens the route toward the Military Volcano area.
Bowhead Whale and Magma Whale finale
On Island 5, work through the Scientist's experiment requests until the game gives you the step and equipment needed to capture the Bowhead Whale. Prepare weapons, ammunition, healing, and inventory space before starting.
- Catch the Bowhead Whale with the required quest item.
- Defeat it and keep the body intact.
- Carry the body to the volcano.
- Use the volcano interaction to throw it in.
- Move into position for the Mutated Bowhead Whale, commonly called the Magma Whale.
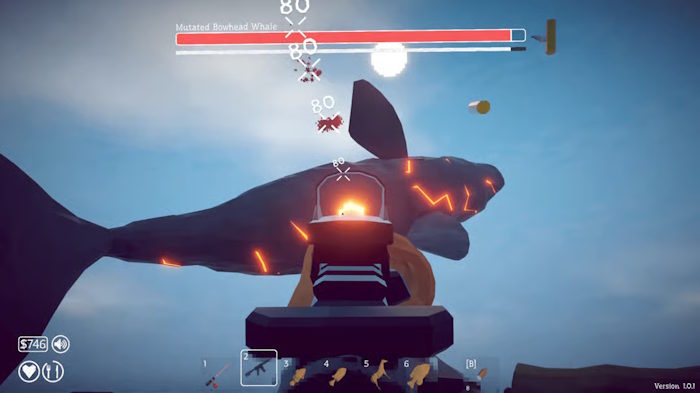
Do not flee far from the volcano. The final boss can reset when pulled outside its encounter region, which wastes the entire setup. After it lands or completes a major movement, pause long enough to read the next attack before closing in. Use the late-game ranged weapon you control best and fire from a stable angle.
If explosives appear to pass through the boss or fail to register, update the game and reload the encounter; recent patches have addressed explosive-hit problems. Save again while the normal whale body is safely available.
Handyman achievement
For the Handyman achievement, damage the Magma Whale with a weapon during the fight, then switch to unarmed attacks for the finishing blow. Lower its health carefully and stop firing early enough that a final bullet or explosion does not take the kill.
How to use Dynamite effectively
Dynamite is best used as planned burst damage. Place it on flat ground in the path of a charging or grounded boss, then draw the target across the blast area. Avoid slopes and cliff edges where the explosive can roll away.
The shop price and explosive behavior can change with patches, so verify the current cost rather than relying on an old fixed figure. For the Easy achievement, which asks for a very fast boss kill, combine pre-positioned Dynamite with a weapon you can aim consistently. Use an early boss you already understand instead of experimenting during the finale.
What to do when a boss will not spawn
- Check that the previous boss trophy was handed to the correct NPC.
- Confirm the current island quest is active.
- Verify that the bait or quest fish is the exact required item, not a similar catch.
- Move the trigger item to the intended location and interact again.
- Save, return to the menu, and reload if the objective marker remains stuck.
- In co-op, let the host perform the hand-in and summon interaction.
If the current version offers an Easy Mode, it can reduce the punishment while you learn attack patterns. Difficulty does not replace the quest sequence: the correct NPC steps and preserved trophies are still required.
Related Articles
 Fish Eat Fish: Go: Explained4 minutes read
 What to Do When the Relationship Between Staff and Boss Is Stressful7 minutes read
 Fish Have Nostrils and Mouths but Are Not Present3 minutes read
 Good Fish Oil, Uses and How to Drink: Omega 3 Fish Oil10 minutes read
 If Your Boss Has These 17 Features, Dedicate Yourself to It Because8 minutes read
 Marvel at Bizarre Fish in the Ocean10 minutes read
Reader Comments 0
Sign in with email or Google to join the discussion.