Add more power to your vacuum: Clean it the right way
Once upon a time, your vacuum had plenty of suction power. Now, it struggles to pick up even the lightest bit of lint and dust. There's no way a vacuum this feeble will clean your home properly. And with nasty microbes potentially lurking everywhere, it's high time return your machine to its former glory by giving it some much-needed maintenance.

In this guide, I lay out everything you need to do to fix the situation. That includes thoroughly washing its dust bin, to clearing its brushes, filters, and hoses of debris. After you've taken these simple steps, your upright vacuum should run just like new.
Step 1: Dump and wash
Start by emptying the dust chamber into the trash can. But don't put it back into the vacuum yet. While it's out, give it a nice wash in a sink full of warm, soapy water. Washing this tray likely won't improve its performance any, but since you'll need to take the vaccum apart anyhow, you might as well do this step.
Before inserting the dust chamber back into the vacuum, if there is a grille on the inlet to the dust chamber or bag, make sure it's not obstructed by any debris.
Step 2: Remove obstructions


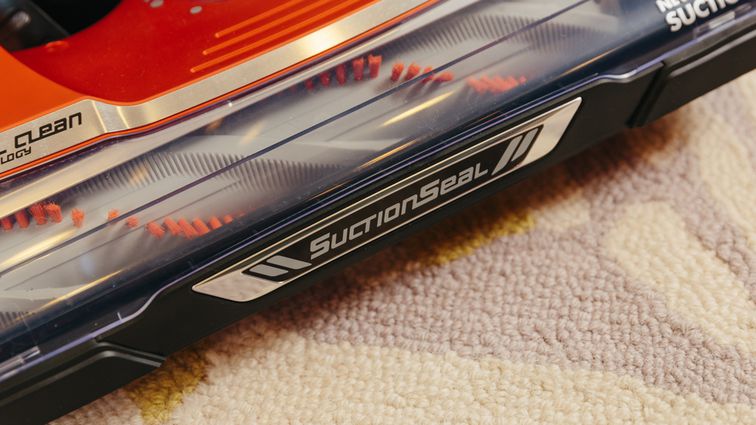
Lay the vacuum on its backside and take a look underneath. The brush roll should be free of debris and roll freely with a small amount of tension from the drive belt. If this is covered in string, hair or anything else that impedes its movement or clogs the bristles, you need to remove the brush roll and clean it.
You may need to consult your owner's manual (or the manufacturer's website) for instructions on how to remove the brush roll. Typically, it's held in place by a piece of plastic with a few quick release clips. Removing this guard will allow you to slide the brush roll out and remove the drive belt. Once its out, use scissors or a knife to carefully cut away anything that may be wound around it.
Also check to make sure nothing is obstructing the hose opening to the rear of where the brush roll sits. Clear any obstructions before reinstalling the brush roll.
Once everything is cleaned and free of debris, insert the brush roll back into its slot. First, slide the drive belt back into place. In most cases you will need to pay attention to the orientation of the brush roll, as it can only be inserted one way.
Replace the plastic cover and stand the vacuum back up.
Step 3: Replace filters

Next, take a look at the filter trays. If it's been a while since you replaced the filters, chances are it's time to do it again.
Filters for vacuum cleaners vary quite a bit in price, but replacing them should only set you back $5 (£4.21 or AU$8.40) to $20 (£16.83 or AU$33.59). Consult your manual or the manufacturer website for filter replacement part numbers and additional info on what type of filter your vacuum takes.
You can stretch the life of a paper or fiber filters with plastic trim by removing them and giving them a good shake outside or over a trash can. You can also tap it on the rim of a trash can or use a can of compressed air to forcibly remove the dust. This will cause a mess and might trigger some sneezing, but the plastic will help keep the filter rigid while you remove much of the dust build-up. This also won't restore the filter to its original condition and it won't be as effective as a new one, but it will work in a pinch until you can replace it.
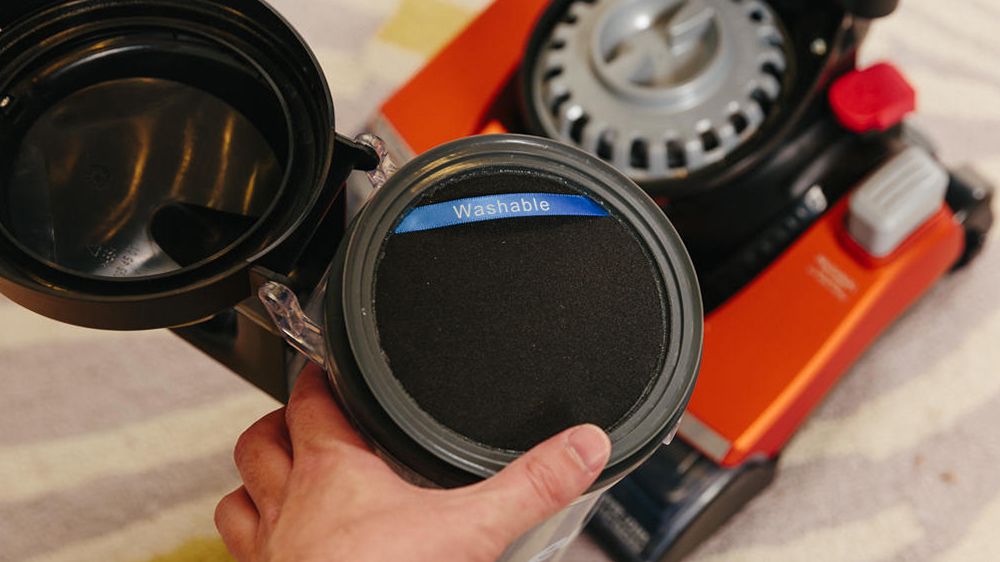
Some filters can simply be rinsed and reused. Often, this is noted on the filter itself (see above) or in the manual. A foam filter, for instance, can likely be rinsed and reinserted into the vacuum once dry. Just remove any excessive dust and debris by hand before running it under warm water. On the other hand, a HEPA filter needs to be replaced, since it's made of loosely connected fibers and will be far less effective after being introduced to water.
Step 4: Check the hoses

If the suction of your vacuum isn't what it used to be, check the hoses.
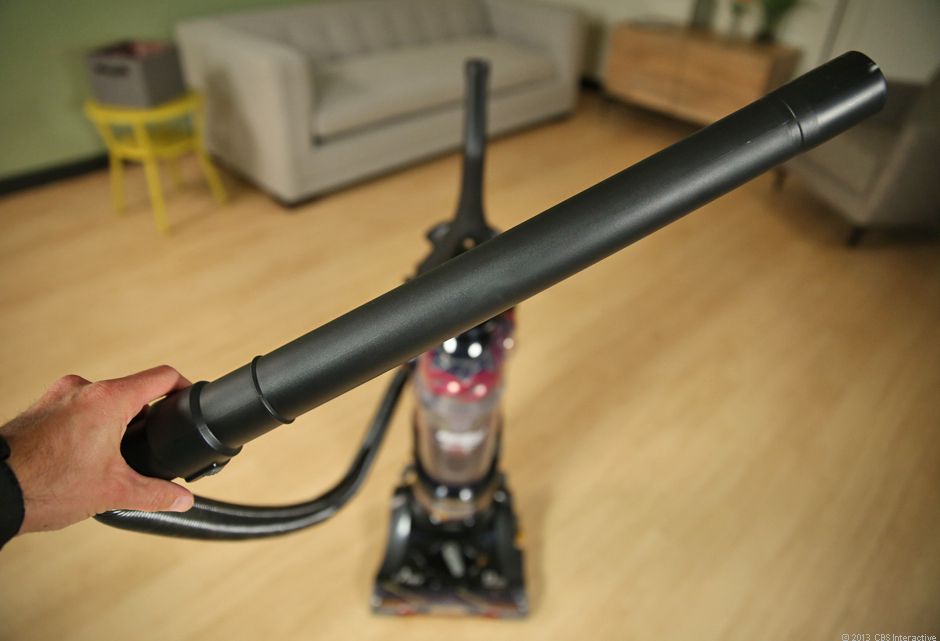
There are multiple points at which the hose could become disconnected: the intake of the motor, near the bottom of the vacuum where the hose routes to behind the brush roll and in-between if your vacuum has a hose attachments. Make sure all the joints are fully connected and sealed, as they can sometimes be jostled loose during use. And something as simple as a loose hose connection will make your vacuum ineffective and blow dust around rather than suck it up.
While checking, take the time to look inside the hoses for clogs or build-up. Larger items picked up by the vacuum can get lodged in a hose, which will negatively impact the power of the suction. You can use pipe cleaners or even your fingers to remove debris near the end of a hose. But if there is debris out of reach, you may be able to remove the hose altogether and shake the debris out.
Also check for cuts or tears in the hose. The tear wouldn't have to be very large to have a noticeable impact on the performance of the vacuum, and this is less likely scenario. But it's worth checking yourself before contacting a service repair center. Turn the vacuum on and run your hand or even a piece of paper along any exposed hoses. If there is a cut or tear, you should feel or see a small amount of suction.
Is it time for an upgrade?

If you've maintained your vacuum cleaner and it's still not performing as it should, you may want to consider contacting the manufacturer or a repair center to further diagnose the issue.
In many cases, you can have a part replaced for far less than the cost of buying a new vacuum cleaner.
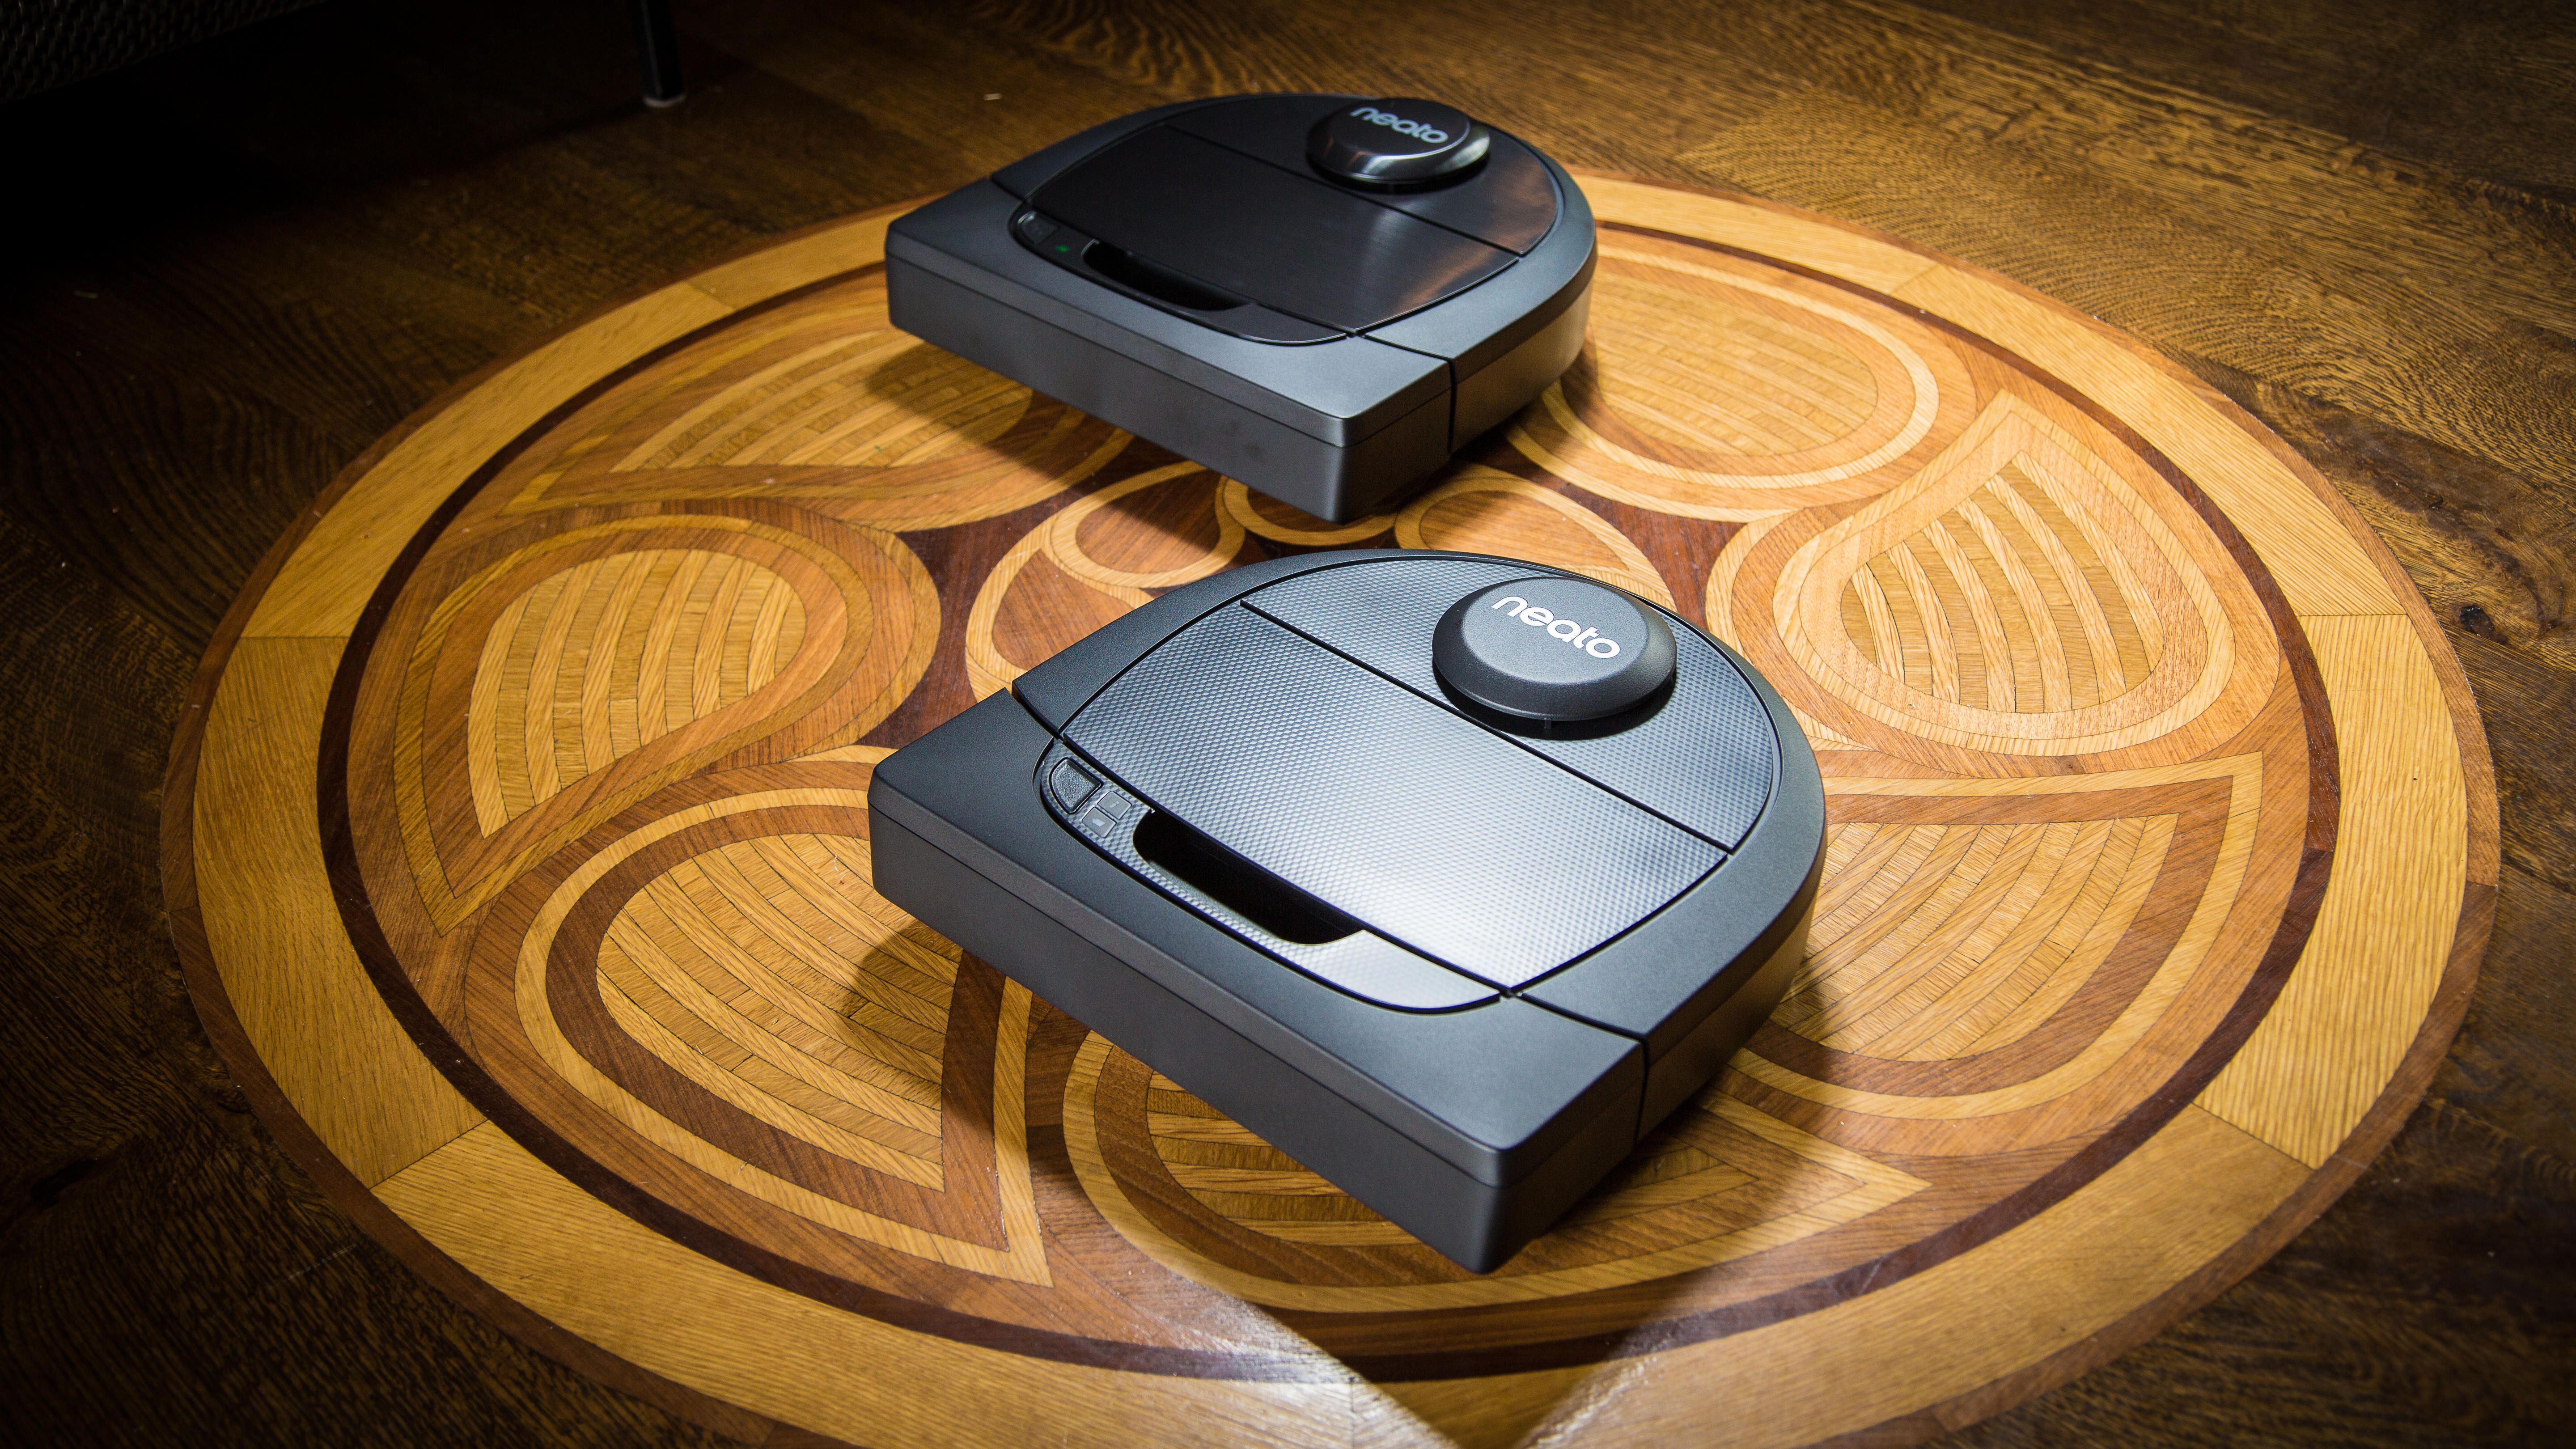
Then again, this is the future. Vacuum cleaners have probably changed a lot since you bought your existing one. Maybe it's time to let a robot do the dirty work.
You should read it
- ★ Buy vacuum where cheap, genuine?
- ★ Should use a mini or handheld vacuum?
- ★ Homemade portable vacuum cleaner is easy to imagine
- ★ Top vacuum cleaners priced under 2 million are hunted for the end of the year
- ★ What is fine dust? The harmful effects of inhaling ultra-fine dust in the air you need to know