What you will learn
- Read and use a Windows file path.
- Navigate with the address bar, navigation pane and useful keyboard shortcuts.
- Search from an appropriate folder and refine results with sorting and views.
- Recognize the difference between a shortcut, a recent item and the file's real location.
What you need
- A Windows PC with File Explorer.
- A non-sensitive practice folder containing several sample files.
- Permission to create, rename and move practice files.
Understand the File Explorer map
The navigation pane on the left provides entry points such as Home, OneDrive, This PC and Network. The address bar at the top shows the current path. The main pane displays the contents of that path. A selected item can appear in Home or Recent, but that does not change where the file is stored.
Microsoft documents Home/Quick access and This PC as different starting views. You can choose which view File Explorer opens to, but the choice changes navigation convenience—not the location of your files.
Search from the narrowest useful location
Windows search can look for files from File Explorer, but the starting folder controls the search scope. Beginning in a project folder produces cleaner results than beginning in This PC when you already know the likely location.
Use descriptive file names before relying on search. After results appear, sort by Date modified, Type or Size to expose the most likely item. Details view is particularly useful because it shows columns that can be sorted. If two files have similar names, open Properties or use Open file location instead of guessing from a thumbnail.
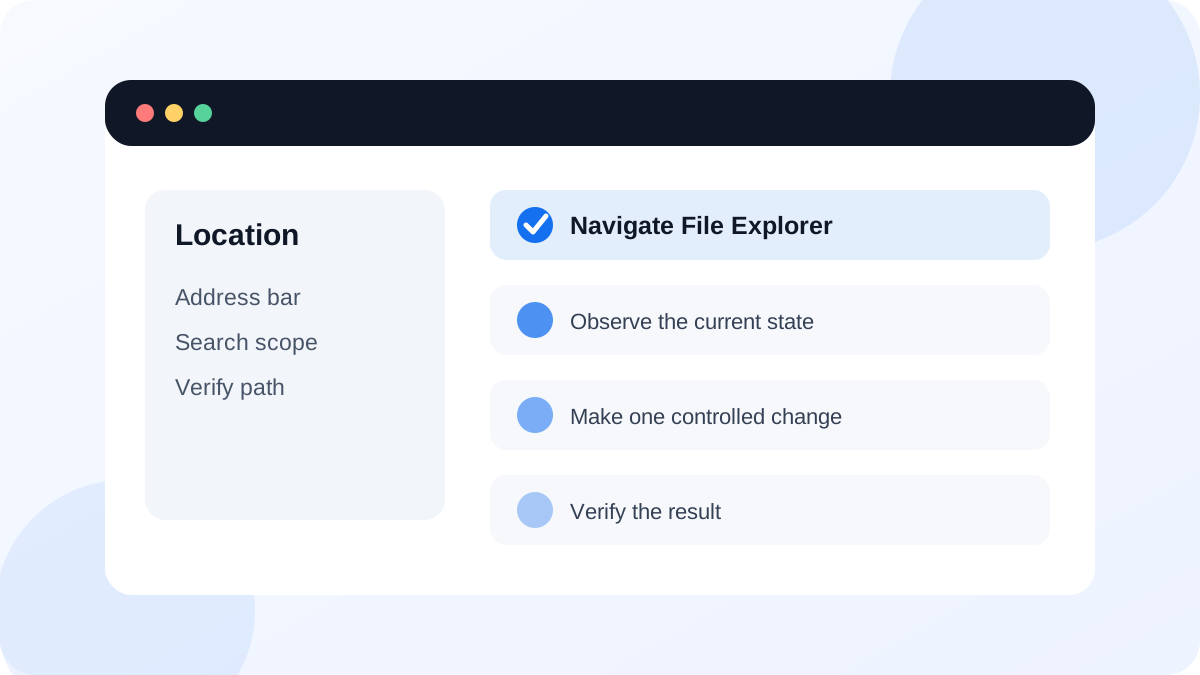
- The address bar shows the expected practice-folder path.
- Search results come from the intended folder rather than the entire PC.
- Details view shows Name, Date modified, Type and Size.
- A test file can be found both by navigating to its folder and by searching its name.
Copy, move, rename and delete with a verification step
Before moving or deleting an item, confirm the path and inspect the file if the name is ambiguous. Rename files with a meaningful project, subject or date—not words such as final-final-new. When copying to an external drive or cloud folder, open the destination copy before removing the original.
The Recycle Bin is a recovery layer for many local deletions, but not every deletion goes there. Very large files, network shares, removable drives and Shift + Delete can behave differently. Treat the Recycle Bin as a convenience, not as a backup.
Organize and recover a small practice project
Use navigation, search and verification to manage a group of sample files without losing track of their locations.
- 1
Create three text files in the Source folder with descriptive names.
- 2
Copy one file to Review and confirm both copies open.
- 3
Move another file to Archive and verify it no longer appears in Source.
- 4
Search for a word from one file name starting at Explorer Practice.
- 5
Sort the results by Date modified and record the full path of the newest file.
Common mistakes to avoid
- Treating Home or Recent as the file's actual storage folder.
- Searching the entire PC when the likely project folder is known.
- Moving the only copy to an external destination without opening it there.
- Using vague file names that make search results indistinguishable.
Key takeaways
- The address bar is the most reliable proof of a file's location.
- Search is faster and cleaner when it starts from an appropriate folder.
- Every copy, move or delete action should end with a location and opening check.
Frequently asked questions
Why did a file disappear from Recent after I moved it?
Recent is a convenience list, not the real folder. Navigate to the destination path or search from the relevant project folder.
What is the difference between copying and moving?
Copying leaves the original and creates another file. Moving changes the item's location. Across drives, Windows may perform a copy-then-delete operation, so verify the destination before removing anything manually.
Sources and further reading
- Set File Explorer to open to This PC instead of Quick accessMicrosoft Support
- Find your files and apps in WindowsMicrosoft Support
Ready to continue?
Mark the lesson complete so your Learning Path progress stays current on this device.