What you will learn
- Distinguish styles, themes and templates.
- Apply styles according to content role.
- Create a template without embedded project data.
- Test a template through a new document workflow.
What you need
- Microsoft Word or a word processor with styles and templates.
- A sample document containing repeated manual formatting.
Separate content roles from visual choices
Word styles apply a coordinated set of formatting characteristics to text and can be updated centrally.
A Word document can be saved as a template so future documents start with predefined layout, formatting and content controls.
The role “Heading 2” should remain stable even when branding changes from blue to green. A template should define roles and reusable structure, not freeze every paragraph into a rigid page. Themes influence colors and fonts; styles assign formatting to semantic roles.
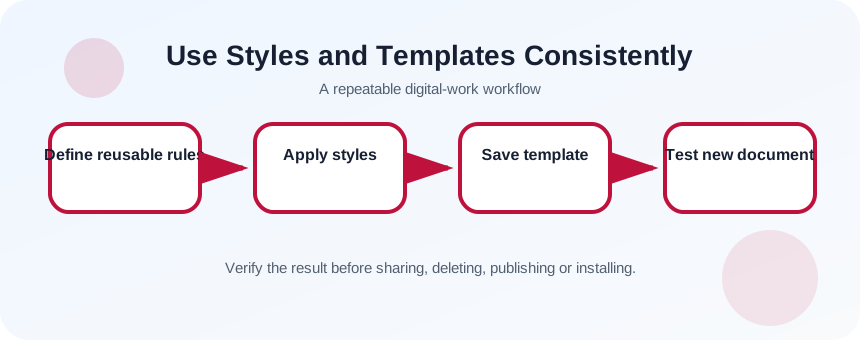
Audit repeated formatting
Find text that performs the same role but looks different: section headings, notes, captions, table headings and body paragraphs. Identify manual font sizes, colors and spacing. Decide which distinctions communicate meaning and which are accidental.
- 1
Duplicate the sample document.
- 2
Open the Styles pane.
- 3
List repeated content roles.
- 4
Find manually formatted examples.
- 5
Choose built-in styles where possible.
- 6
Write the minimum template sections needed.
Apply and modify styles centrally
Apply a style to all text with the same role, then modify the style once. Avoid creating many near-duplicate styles. After the document is clean, remove project names, comments, tracked changes and hidden metadata before saving a template.
- 1
Apply Normal to body paragraphs.
- 2
Apply Heading styles in hierarchy.
- 3
Create or reuse styles for captions and callouts.
- 4
Modify spacing and fonts through the style definition.
- 5
Inspect headers, footers and page setup.
- 6
Remove sample private content.
- 7
Save as a template in the appropriate format.
Design editable fields and instructions
Use clear instructional text or content controls for fields such as title, author, date and approval status. Instructions should disappear or be replaced in the final document. Avoid locking the template so tightly that users must break formatting to complete normal work.
Version the template itself. Record owner, review date and change notes outside the visible deliverable area. If branding or legal text changes, update the template and communicate whether existing documents must also change.
- 1
Add title and owner fields.
- 2
Insert brief instructions for required sections.
- 3
Create one sample table using styles.
- 4
Add template version and review date.
- 5
Generate a new document from the template.
Test with a new document, not the template file
Create a new document from the template and complete a realistic task. Add and remove sections, paste plain text and update headings. Confirm the original template remains unchanged and no sample content leaks into the final file.
- Formatting remains consistent when sections are added.
- A new document opens without confidential or obsolete content.
- Users can identify required fields and finalization steps.
Create a one-page report template
Turn a manually formatted report into a reusable template.
- 1
Identify title, summary, findings and next-action roles.
- 2
Apply built-in styles.
- 3
Modify styles centrally.
- 4
Remove project-specific content.
- 5
Save as a template.
- 6
Create and complete a new test report.
Common mistakes to avoid
- Creating a new style for every visual variation.
- Formatting headings manually after applying styles.
- Leaving old comments or names in a template.
- Testing only the template file instead of a new document.
Key takeaways
- Styles assign consistent formatting to content roles.
- Templates provide a clean repeatable starting point.
- Sanitization and test creation are part of template quality.
Frequently asked questions
Should I use a template or copy the last document?
Use a maintained template. Copying the last document can carry old data, comments, links and formatting exceptions.
Why does pasted text ignore my styles?
Pasted content may bring source formatting. Use paste options such as Keep Text Only, then apply the intended style.
Sources and further reading
- Use styles in Word for the webMicrosoft Support
- Save a Word document as a templateMicrosoft Support
Ready to continue?
Mark the lesson complete so your Learning Path progress stays current on this device.