How to Use Brake Spring Pliers
Though many automobile enthusiasts like to do repair and maintenance work on their own vehicles, it can be difficult without having the proper tools. A common vehicle repair task like changing components of the brakes of a vehicle, such as....
Part 1 of 5:
Preparing to Do Brake Work
-
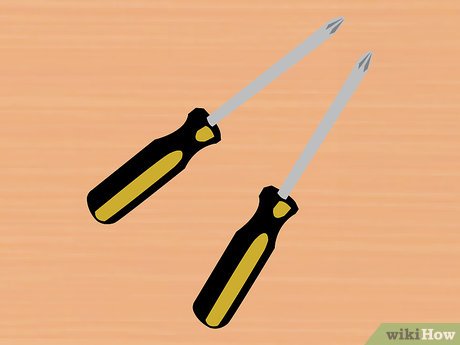
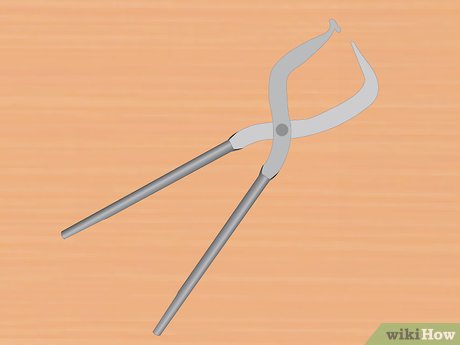 Purchase a quality pair of brake spring pliers at your local automobile supply store. You can also choose to purchase them online if you do not need them right away.
 -
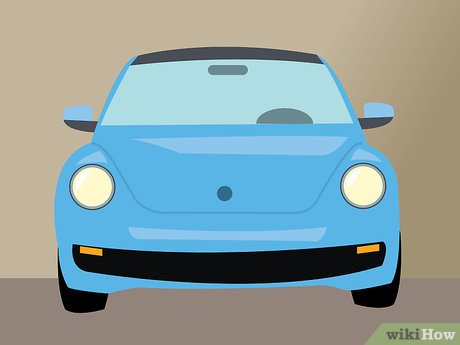 Pull the car onto level, solid ground. It is important that your car does not sink or roll away while resting on a jack or on jack stands.
 -
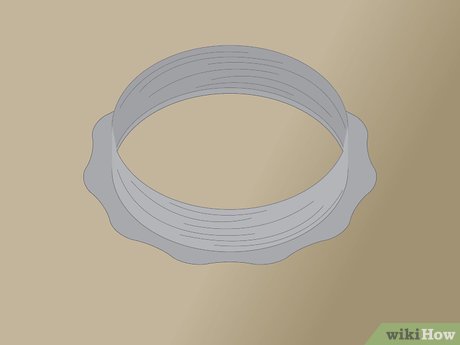
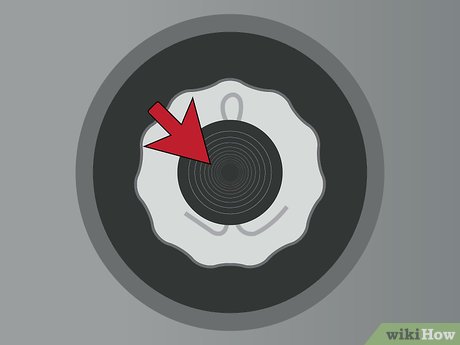
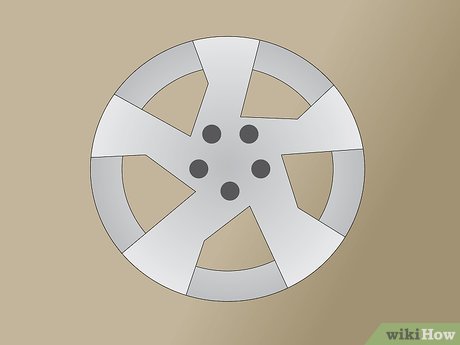 Remove hubcaps from the wheels you will be working on. If any of the wheels you will be working on has hubcaps, use a wrench or screwdriver to remove them.
 -
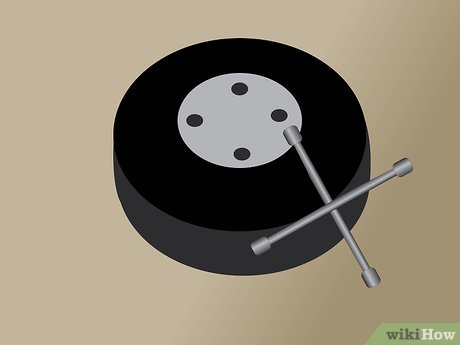
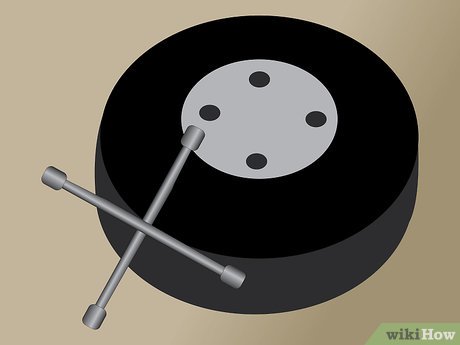
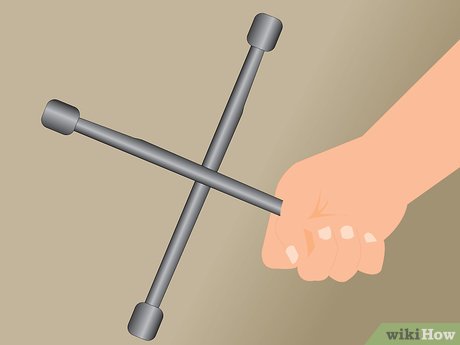
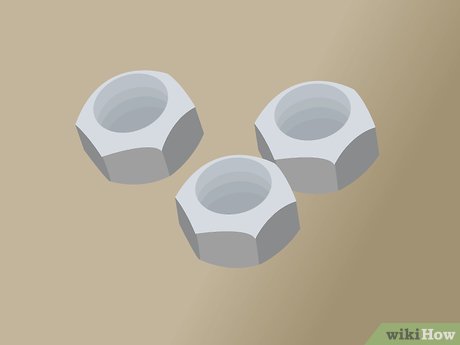 Loosen the lug nuts with a lug wrench (tire iron) or impact wrench. It is important to remember to loosen, or break, the lug nuts before you jack up the vehicle. This way the weight of the vehicle is still on the wheels and it prevents them from spinning dangerously while you turn the lugs.
 -
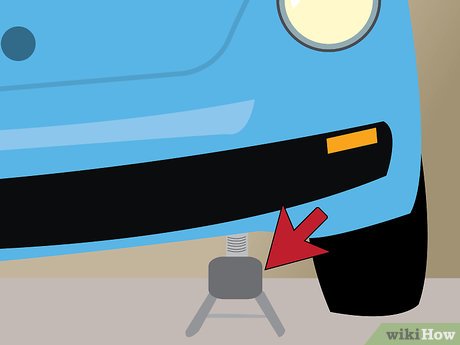
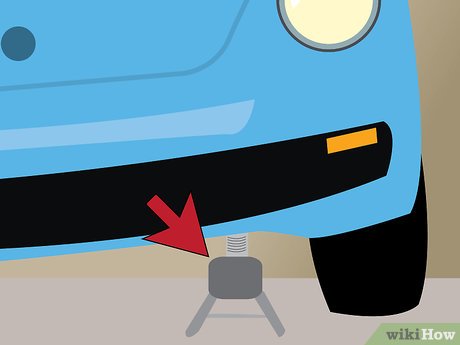 Jack up the car. Once the lugs have been loosened, it will be necessary to jack the care up so that the wheels can be removed. As mentioned above, this should be done on level concrete or some other hard, level surface. Some important things to remember when jacking up the care are:
- Your owner's manual will recommend jacking points
- The most common way to elevate the car is a floor jack or trolley jack.
- You should use jack stands to stabilize the car.
- If you have access to a hydraulic lift it will save you time.
-
 Remove the wheels. At this point, the lugs may be loose enough to remove by hand. If not, finish removing the lugs with the lug wrench or impact wrench. Once the lugs are removed, pull the wheel off of the wheelbase. Place wheels under the car as back-up protection in case the jack stands fail.
Part 2 of 5:
Getting to Your Brake Springs
-
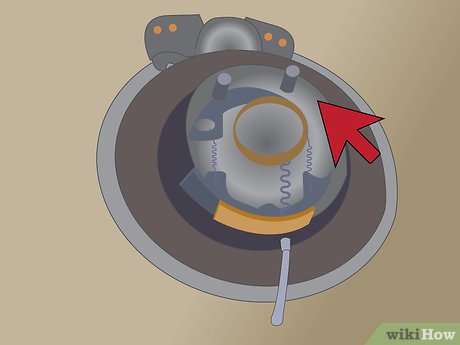
 Remove the grease dust cap. This cap will be in the center of the hub and can be removed by simply prying away from the hub. This will expose the retaining nut.[1]
 -
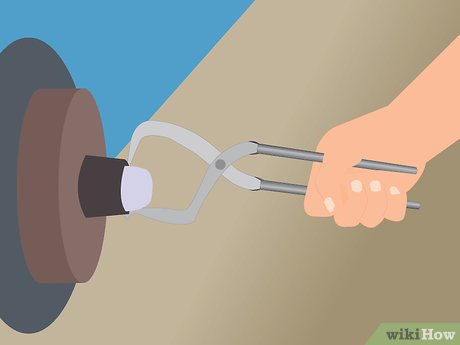
 Pull out the cotter pin. There will be a pin in front of the retaining nut that prevents the nut from loosening (referred to as a cotter pin). Remove it by straightening the bent end of the pin and prying it out of its hole with pliers or a screwdriver.[2]
 -
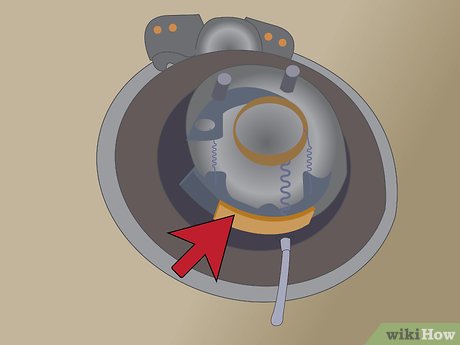
 Remove the retaining nut. Using a wrench or ratchet, turn the nut counter-clockwise (to the left) to loosen it. If the nut is stuck lubricate it with WD-40 or similar lubricant.
 -
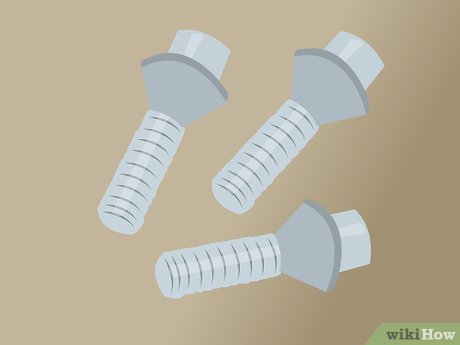
 Inspect the drum. Some drums have small bolts holding them to the hub. If this is the case you will need to remove those bolts. [3]
 -
 Attempt remove the drum. Pull the drum straight off of the hub. You may have to wiggle a little to get it started. If the drum appears stuck and will not pull off, you should:
- Check to make sure all bolts holding the drum to the hub are removed.
- Check to see if the drum is getting caught on the brake shoes.[4]
-
 Retract the brake shoes. This step is only necessary if your drum is getting caught on the brake shoes. You will need to look on the back side of the backing plate (the steel plate on which the brake components are mounted) for a small rubber plug. Removing this plug will provide access to the brake shoe adjuster. Use a flat head screwdriver or a brake adjuster bar to retract the brake shoes.
- The adjuster is designed to self-adjust the shoes into a tightened position, so loosening them may be tricky. If the drum gets harder to turn as you adjust, you are going in the wrong direction.
- Once the drum is removed you can continue.
Part 3 of 5:
Using your Brake Spring Pliers to Remove Brake Shoes
-
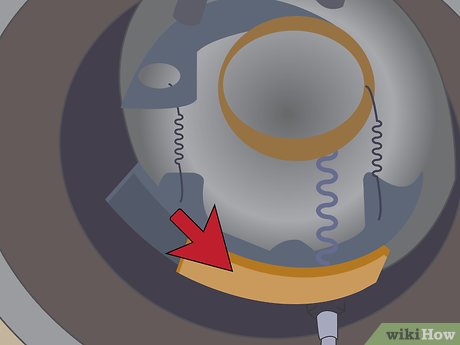
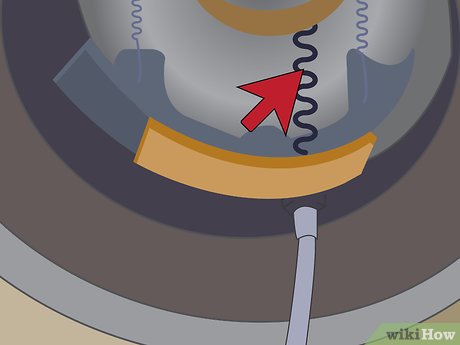
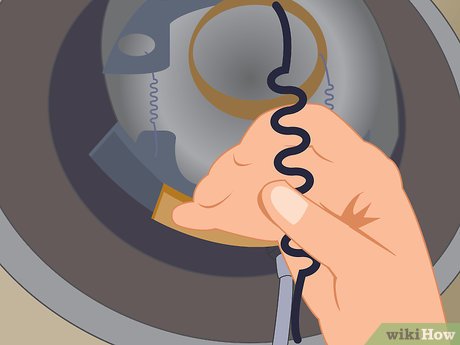
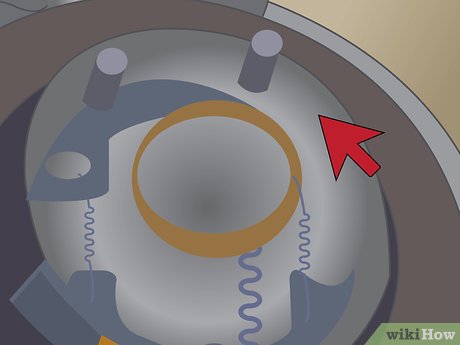
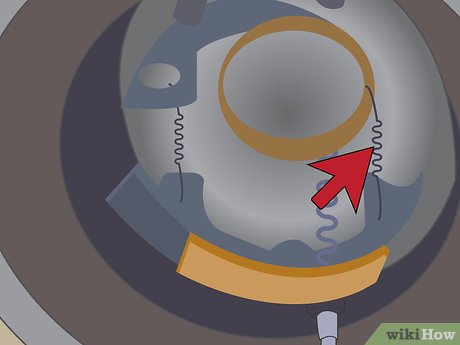 Remove the return springs with your brake spring pliers. These springs attach to the brake shoe and the shoe anchor and hold tension on the brake shoe. Once the brake pedal is released, they return the brake shoe to its original position. To remove them use the round, notched part of the brake spring pliers. Place the round part on the anchor pin (the nob that the springs are hooked to) and turn it until the notch catches the spring, and then twist and pull to remove the spring.[5]
 -
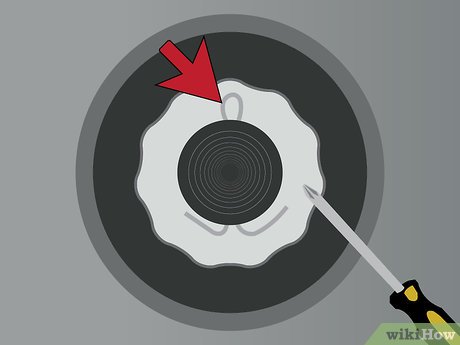
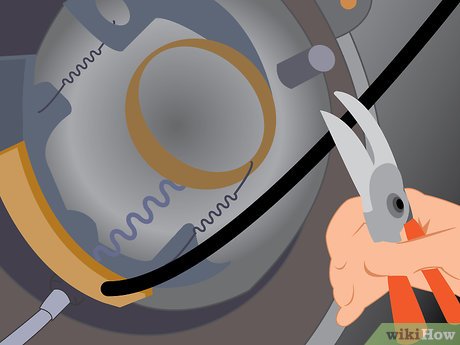
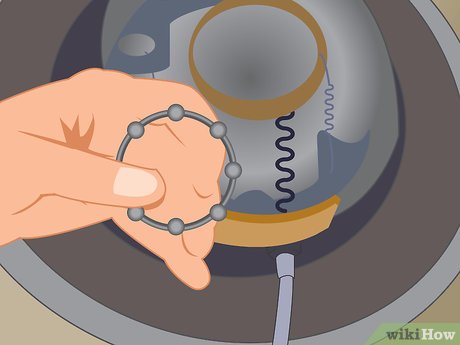
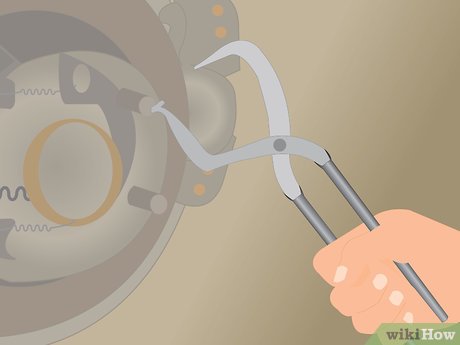
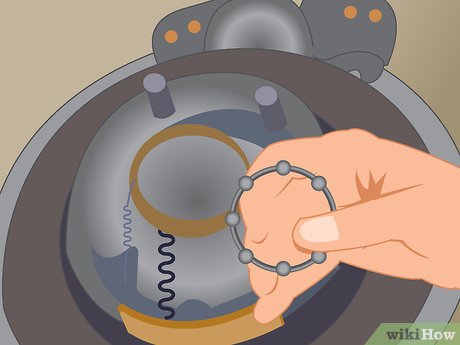
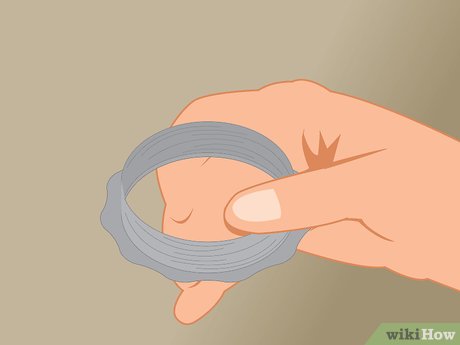
 Remove the retaining rings that hold the brake shoes in place. To do this, lightly grip the outside of the retaining ring with pliers, push in, and twist until the ring comes off.[6]
 -
 Pull the brake shoe off. At this point the shoe should easily pull away from the backing plate. There will be another spring attached at the bottom of the shoe, but it will no longer be tensioned so you can just slide it off of the shoe.
 -
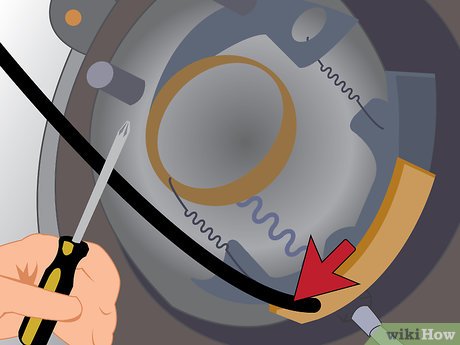
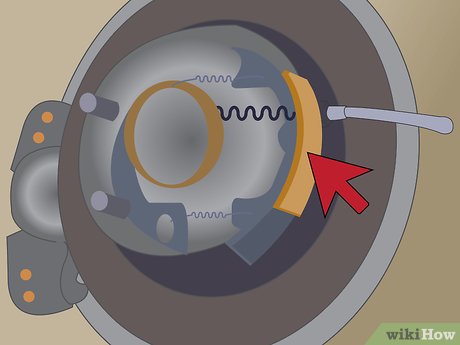
 Remove the emergency brake line. One of the brake shoes will be connected to an emergency brake line. To remove it, pull the spring cover back and slide the cable sideways away from the shoe.[7]
Part 4 of 5:
Replacing the Brake Shoes Using Your Brake Spring Pliers
-
 Re-install the emergency brake cable. Fasten the emergency brake cable to the replacement brake shoe on the same side your removed it. Pull up the cover again and slide the cable into the proper slot on the shoe (it will look the same as the one you removed it from). .[8]
 -
 Remove any parts from the old brake shoes and transfer them to the new brake shoes. You will need to transfer the return spring (at the top of the shoe) and the small emergency brake spring (near the center of the shoe). If your vehicle has any other hardware on the brake shoe, transfer it to the new one as well. .[9]
 -
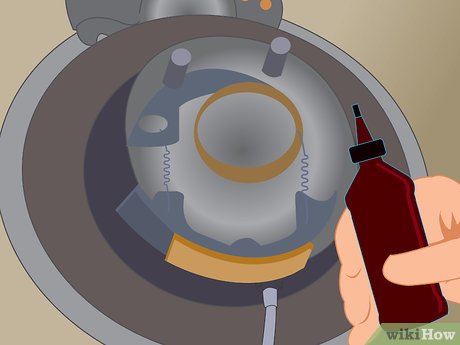 Grease the backing plate. You want to avoid squeaking and rubbing of the brake shoes. For this reason, you should grease any bare or rubbed spots on the backing plate. .[10]
 -
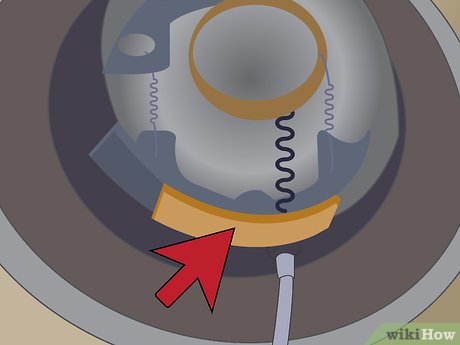
 Slide the bottom spring onto the new brake shoe. There will be a hook at the end of the spring and a slot in the bottom of the brake shoe. Hook the spring into that slot.
 -
 Slide the show into place against the backing plate. Now it is time to put the first brake shoe back into place. Once you get it lined up, hold it there until you can replace the retaining ring.
 -
 Replace the retaining ring for the first shoe. Put the spring that goes with the retaining ring in place over the small rod that protrudes from behind the brake shoe. Place the ring over the spring and press in and twist until the ring slides over the rod and locks into place.
 -
 Slide the bottom spring onto the second brake shoe. Now it is time to begin installing the second brake shoe. Again, you are going to start with the bottom spring.
 -
 Put the brake shoe into its proper place against the backing plate. You will need to line it up with the adjusting spring lever.
 -
 Fasten the adjusting spring onto the second brake shoe. Here you will use the flat end of your brake spring pliers to pry the spring into place and hook it at the top of the second brake shoe. This will connect the two brake shoes.
 -
 Replace the retaining ring for the second shoe. Follow the same procedure as you did with the first retaining ring. Place the spring first, then push and twist the ring into place.
 -
 Use two screwdrivers to set the adjusting screw. This screw changes the position of the adjusting spring, which in turn changes the position of the brake shoes. Since the new shoes are thicker than the old ones, you will need to set the adjusting screw to account for that. Use one screwdriver to push the automatic adjuster assembly down and the other to twist the cog that loosens the adjuster.
Part 5 of 5:
Putting It All Back Together
-
 Put the drum back on. Slide the drum back onto the hub. You will want to spin it and make sure that it has just a little drag. If the drum does not spin then your shoes are too tight and you need to loosen them (using the adjusting screw). If the drum spins freely with no drag at all then your shoes are too loose and you will need to tighten them (using the adjusting screw).
 -
 Replace any bolts that hold the drum to the hub. You may or may not have bolts to fasten your drum to the hub. If you do, they should be reinstalled now.
 -
 Reinstall the retaining nut and cotter pin. You want to tighten the retaining nut that holds the drum in place, and also put the cotter pin back through the hole to keep the nut from loosening.
 -
 Put the dust cap back on. The dust cap should push right back into place. Make sure that it is snapped back into place tightly.
 -
 Re-install the wheels. You should slide the wheels back onto the wheelbase and thread the lug nuts on tight enough to hold wheels in place while the car is still on the jack stands.
 -
 Remove the jack stands and lower the vehicle to the ground using the floor jack. Do this slowly and carefully. You do not want the vehicle to drop suddenly.
 -
 Tighten the lugs to the specified torque. Once the weight is back on the wheels, use a lug wrench or impact wrench to tighten the lugs to the proper torque specifications in your service manual.
 -
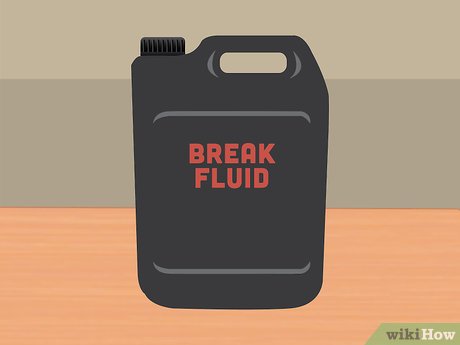 Add brake fluid if needed. You should check your brake fluid and add more if needed anytime you do brake work.
 -
 Test the brake. Before you drive your car you want to be sure that your new brake shoes are working properly.