What you will learn
- Explain the scope and limitations of System Restore.
- Enable System Protection for the Windows system drive when appropriate.
- Create and verify a clearly named restore point.
- Prepare for a restore without confusing system rollback with personal-file backup.
What you need
- A Windows PC and an administrator account.
- Enough free space on the system drive for restore-point storage.
- A separate backup of important personal files.
Know what a restore point protects
Microsoft explains that System Restore returns system files, registry settings and installed applications to an earlier state without affecting personal files. Applications, drivers or updates installed after the selected point may be removed or changed.
Because personal documents are outside that promise, a restore point cannot replace a backup. If ransomware, accidental deletion or drive failure affects your files, System Restore is not the recovery plan. Use it as one layer in a broader approach that includes verified copies of important data.
Check System Protection before you need it
Search Start for Create a restore point and open the System Properties result. On the System Protection tab, select the system drive—normally C:—and read the Protection status. If it is Off, choose Configure, turn on system protection and set a reasonable maximum usage. Windows deletes older points as the allocated space fills.
Do not enable protection on every removable or data drive by default. The main use is the Windows system volume. On organization-managed devices, policy may control the setting; follow the administrator's recovery process rather than overriding it.
- 1
Open Start and search for Create a restore point.
- 2
Select the system drive and verify its Protection status.
- 3
If authorized and protection is Off, choose Configure and enable system protection.
- 4
Set a modest disk-space limit that does not worsen an already full drive.
- 5
Choose Create and enter a descriptive name including the planned change and date.
- 6
Wait for the success message, then close System Properties.
Verify the point and preview a possible restore
Open System Restore and choose Next to confirm the new point appears with the correct date, time and description. Select it and use Scan for affected programs where available. That report shows applications and drivers likely to be removed or restored, helping you decide whether rollback is appropriate.
Cancel the wizard during this lesson; do not restore a healthy PC merely to test the button. When a real rollback is needed, save work, connect power, understand affected programs and allow Windows to complete without interruption. System Restore can also be launched from recovery options when Windows does not start normally.
- System Protection is On for the intended system drive.
- The restore point appears with the expected name and timestamp.
- Important personal files have a separate backup.
- The effect on recently installed programs and drivers is understood before any restore.
Pair restore points with a real file backup
Microsoft positions Windows Backup and related recovery options as separate tools. Windows Backup can protect selected folders, settings and credentials depending on configuration, while System Restore addresses system-state changes.
Before a high-risk change, use both layers: copy irreplaceable files to a separate destination and create a restore point. Verify the copied files open. A backup on the same physical disk does not protect against disk failure, and a cloud sync folder can propagate deletions, so know which recovery versioning features are available.
Prepare a two-layer recovery baseline
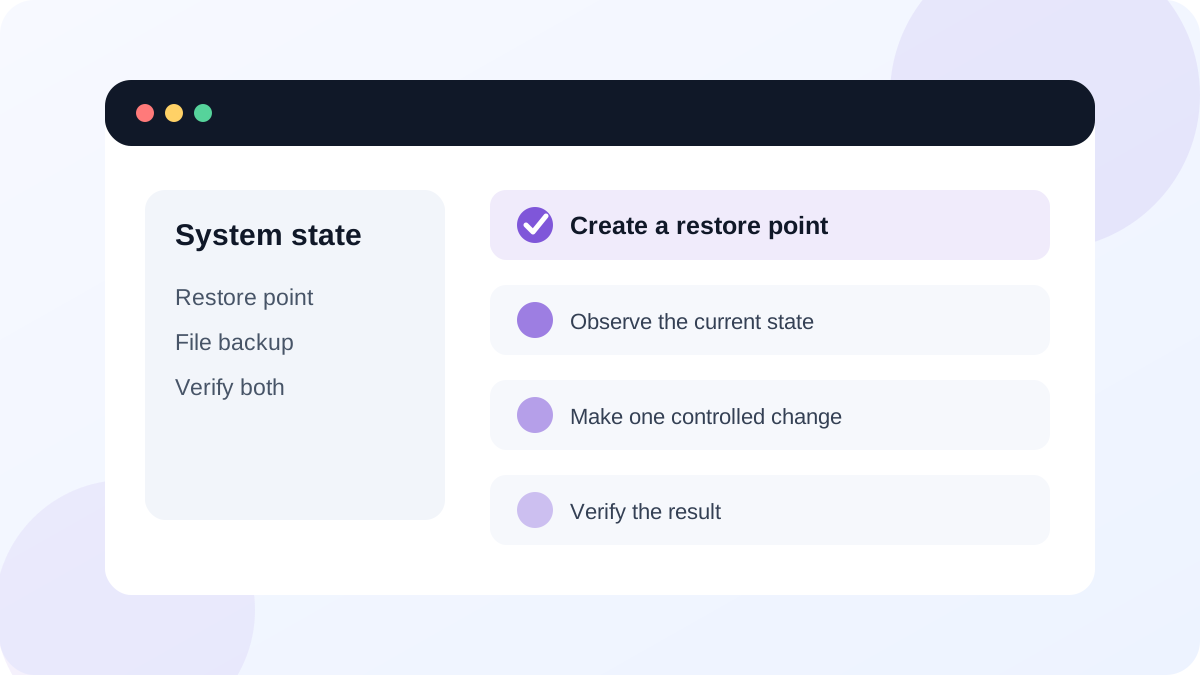
Create a restore point and a separate verified copy of one important folder before a non-critical application change.
- 1
Confirm System Protection for C:.
- 2
Create a restore point named for the upcoming change and date.
- 3
Copy one important folder to a separate backup destination.
- 4
Open one file from the backup destination.
- 5
Open System Restore, confirm the point appears, review Scan for affected programs and cancel.
Common mistakes to avoid
- Believing a restore point contains personal documents.
- Allocating restore storage on a nearly full system drive without first addressing capacity.
- Restoring without reviewing affected applications and drivers.
- Keeping the only backup on the same physical disk as the original files.
Key takeaways
- System Restore rolls back selected system state, not personal-file history.
- A useful restore point must exist before the problematic change.
- Use a restore point and a verified file backup together for safer maintenance.
Frequently asked questions
Will System Restore delete my documents?
It is designed not to affect personal files, but it can remove apps, drivers or updates installed after the restore point. Keep a separate file backup before recovery work.
Why are there no restore points?
System Protection may have been off, storage may have been reclaimed or older points may have been deleted. Enable protection and create a point before future changes; do not depend on a point you have not verified.
Sources and further reading
- System RestoreMicrosoft Support
- Back up and restore with Windows BackupMicrosoft Support
Ready to continue?
Mark the lesson complete so your Learning Path progress stays current on this device.