Table of Contents
This practical guide explains how to draw anime hair covering one eye with clear steps and useful context. It also covers common requirements, potential problems, and the details that can help you get better results.
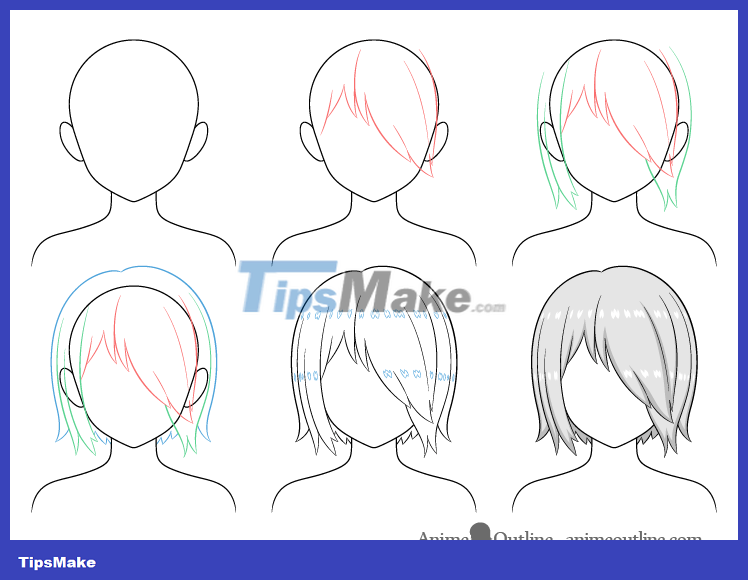
In anime and manga, the hairstyle that covers one eye is often used for characters with a shy personality. This hairstyle has several variations but of course, its most striking feature is that it only shows one eye.
Note, use a pencil to draw on the paper and an eraser. Start by drawing very thin and translucent lines to easily erase the unnecessary parts after finishing. In addition, you also easily erase the wrong strokes.
Detailed Instructions for Drawing Anime Hair Covering One Eye
Step 1: Draw the Head and Shoulders
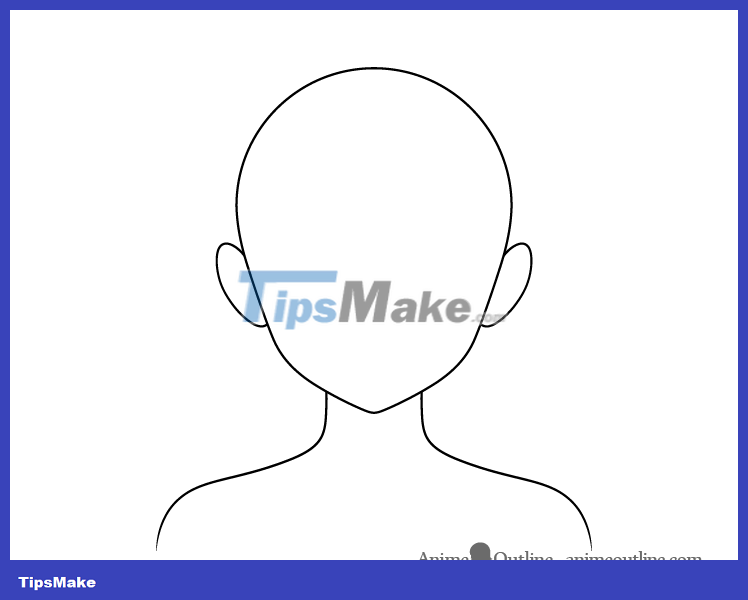
Start by basically drawing the head, neck, and shoulders. Since this tutorial focuses on hair, we won't go into the details of drawing them, but you can simply follow the simple example above.
Step 2: Draw Hair Along the Forehead and Above the Eyes

Start by sketching the front part of the hair. Trim it shorter on one side and longer on the opposite (running down to the ears and covering the top of the face).
In this example, different sections of hair are colored differently to make it easier for the viewer to distinguish. However, you can use a regular pencil to draw them all.
Step 3: Draw the Hair Along the Sides of the Head
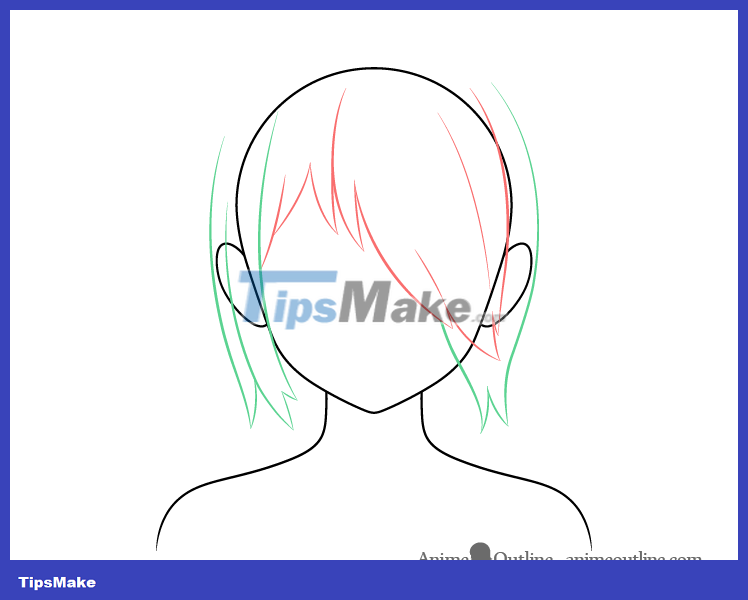
Draw the side sections of the hair (green), where the hair on the open face will curl slightly around the head and split into several small sections at the ends. Draw the hair on the opposite side starting from the bottom of the front sections and curling around the side of the head as it works towards the top. You can also break it down at the end.
Step 4: Draw the Hair at the Top & Back of the Head
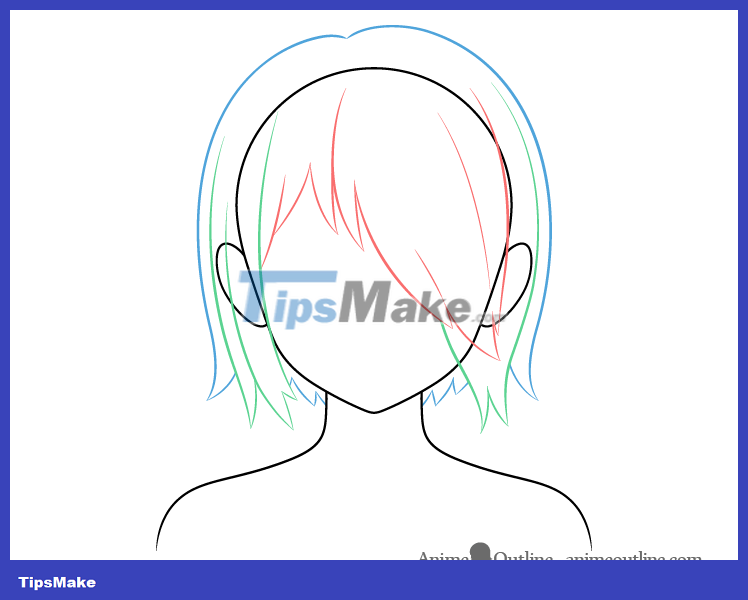
Draw the final section of hair starting at the top and following the curve of the head as it goes down. You can then create a small curl of hair that curls up on each side. To complete the section, draw a series of smaller curls between the sides (the green part) and the neck.

Finally clean up the drawing by erasing the top sections covered by hair. If you're wondering why you need to sketch out the first part and then erase most of it, the main reason is to help you avoid making mistakes. Obviously, you can see that the shape of the head makes it easier for you to shape your hair.
After removing the unnecessary parts, bold the remaining lines.
To make your hair shiny, you can shade two small rows of hair.
You have several ways to do this:
- Sketch the highlights like the example above and draw shadows/colors around them.
- Create highlights as you cast shadows.
- Add highlight on top of hair color/shadow (use white correction pen in drawing on paper or create a new layer if you draw online.
Step 6: Add a Drop Shadow to Complete the Drawing of Anime Hair Covering One Eye
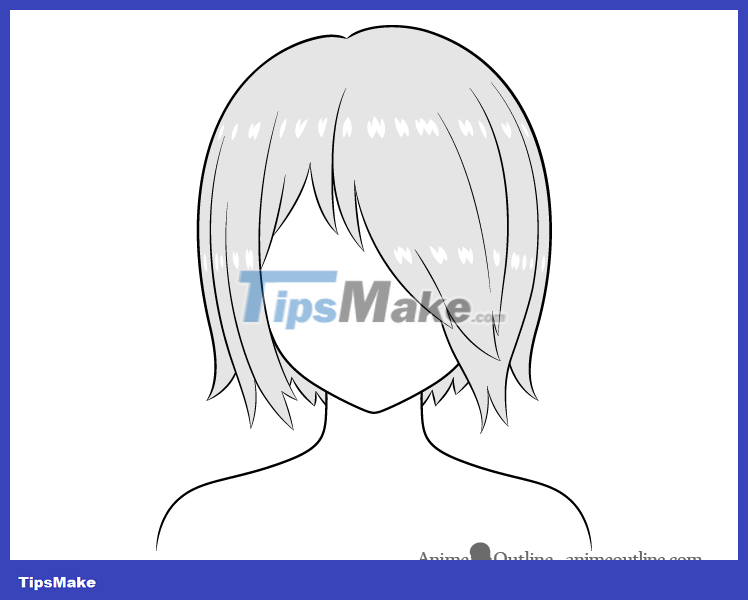
Shade one side of the hair with a regular pencil or paint it the color you want it to be.
Finally, add a little drop shadow. Start by shading the background of the hair between the neck and the sides.
Next add the shadow along with the sides and bottom of the curls in front.
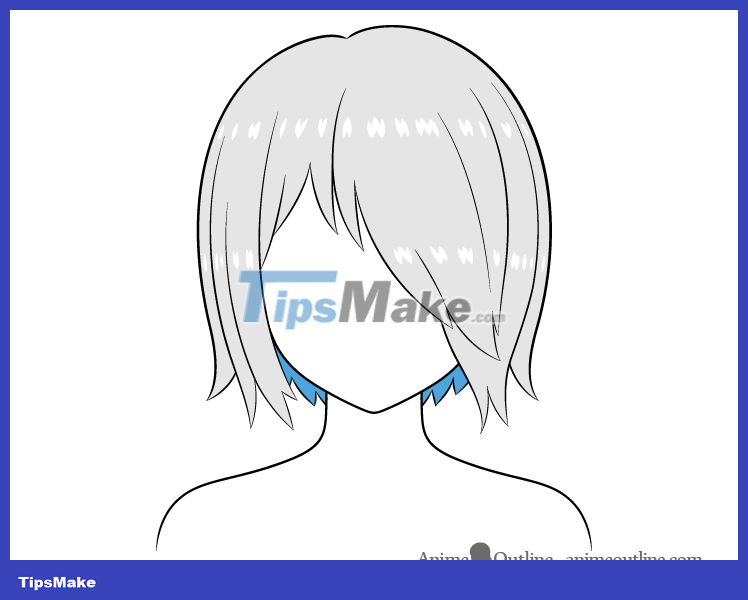
Finally add shadows along the sides.
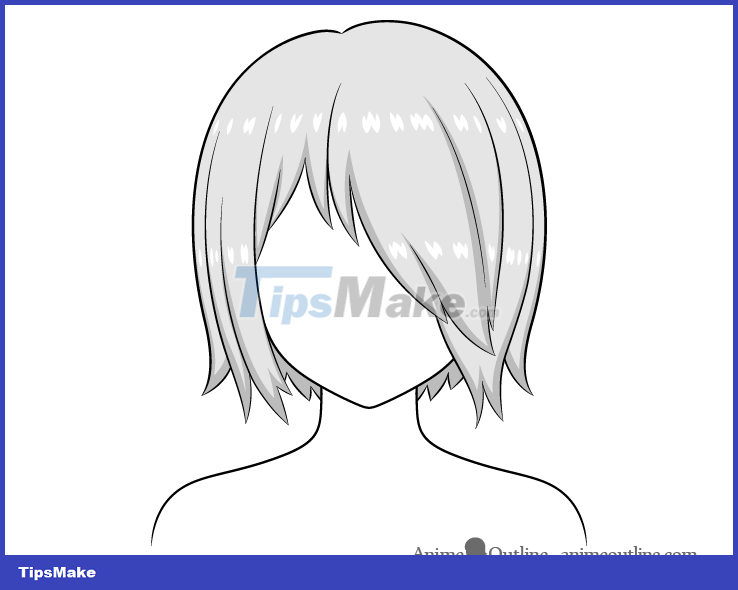
Remember that shadows can change depending on lighting conditions. The above hairstyle is suitable for scenes where the character is outdoors during the day.
Video Tutorial to Draw Anime Hair Covering One Eye
Above is how to draw anime hair covering one eye . Hope the article is useful to you.
Conclusion
Understanding Anime Hair makes it easier to compare options, avoid common mistakes, and apply the information in this guide more effectively. Review the relevant requirements before making changes or choosing a solution.
FAQ
How do you draw anime hair covering one eye?
Follow the steps in this guide in order, confirm the required settings or tools, and verify the result before making additional changes.
Is it safe to draw anime hair covering one eye?
It is generally safe when you follow the recommended instructions, use trusted tools, and avoid changing settings you do not understand.
What should you do if the process does not work?
Recheck the requirements, restart the device or application when appropriate, and review each step for missed settings or compatibility issues.
Related Articles
 How to Draw Messy Hair for Characters in Anime/Manga6 minutes read
 How to Draw Braided Hair, Braids for Anime, Manga Characters Very6 minutes read
 Revealing 4-step Painting, Simple, Beautiful Anime Characters10 minutes read
 How to Draw Anime Cats in Detail Step by Step8 minutes read
 How to Drawing Details on Anime and Manga Characters4 minutes read
 How to Draw Crying Anime Eyes5 minutes read
Reader Comments 0
Sign in with email or Google to join the discussion.