Table of Contents
This updated guide explains how to Create a Mini Makerspace through clear steps, practical examples, and important checks that help prevent common errors.
Method 1 of 4:
Creating a Homemade Makerspace
-
 Create a preschool drawing space. Ever notice how children prefer boxes and wrappers to the toys inside them? You don't have to have a lot of expensive equipment to interest a young child in making things. Here are some ideas that will keep your preschooler engaged:.
- Use a wall as a drawing area. With contact paper or self-adhesive whiteboard paper (available online or at most craft stores) and dry erase markers, a wall can be a kid-friendly drawing area.
- If you may need to create a permanent drawing area, paint an area accessible to your child with chalkboard or dry erase paint.
-
 Create a playroom makerspace. An existing playroom can become a makerspace with the addition of a few materials.
- Include age-appropriate furniture. For a small area, a play table of approximately coffee table height would be the appropriate height for preschool age children. Consider tables with drawers or shelves for storage.
- Provide storage with easy access. It is nearly impossible to prevent playrooms/makerspaces from getting messy, but providing floor-level baskets and bins will make it easier for your preschool maker to put their things away when they are done using them. You can find storage bins at your local craft store, or office supply store, or online by googling "storage bins."
- Provide material for creating things. Reuse items like packing boxes, construction paper, and wrapping paper.
- Provide material such as crayons, stickers, ribbon, and duct tape for decorating the kids' creations.
- Always make sure kids have adequate supervision when they are using the makerspace.
-
 Create a makerspace for elementary school-age children. Many people associate makerspaces with high-tech equipment like 3D printers, but you can create a low-tech makerspace that holds the kid's interest and is more appropriate for a first or second grade student.
- Set up your furniture. Try to find tables with adjustable legs to accommodate children of different ages and heights. If you plan to include power or hand tools, use furniture that is sturdy and you won't mind being damaged. Yard sales can be a good source.
- Add plenty of storage space. A rolling storage cart can be bought online for approximately $50.00
- Find a space that you won't mind getting messy. A corner of a basement or rec room might work well.
- Encourage your children to help in the planning. Are they interested in painting? Or sewing? Bring them along when you shop for materials and furniture.
-
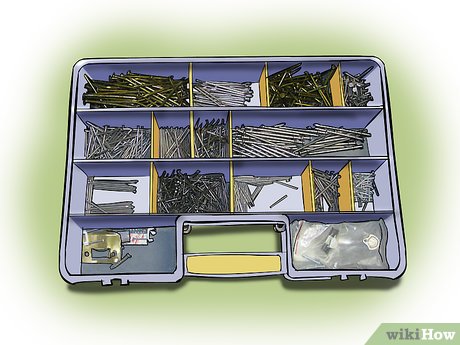 Create a makerspace for teens and adults. The Maker Movement has a lot in common with the DIY (Do it Yourself) Movement.
- Gather your tools. EdSurge. com has a list of tools and materials to stock your makerspace, ranging from items from around the house to specialty tech items.[3]XResearch source
- Gather your materials. You don't need to spend a ton of money to obtain material for your projects. You can find items at greatly reduced prices, or even for free.
Method 2 of 4:
Creating a Mini Makerspace for School Age Students
-
 Encourage input from older students. When one charter school[4]XResearch source decided to create a makerspace for their kindergarten class, they sought input from their seventh and eighth graders for ideas. This provided the opportunity to learn Design Thinking.[5]XResearch source
- Give the students a task to solve. The teachers asked the seventh and eighth graders to repurpose old dressers. After interviewing the kindergartners, they determined how best to do a redesign of the dressers.
- Teach your students how to use the necessary tools. Some of the dressers were falling apart, and the students needed to use hammer and nails, drills, and circular saws to make the necessary repairs.
-
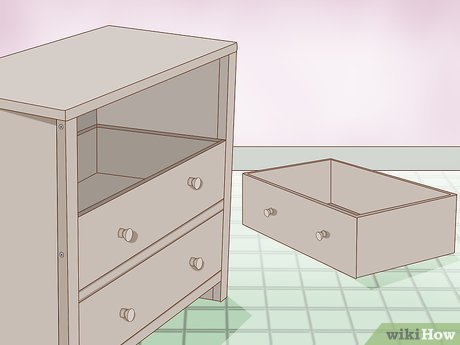 Adapt the furniture to the makerspace. The students determined several ways to adapt the dressers to become usable makerspaces including:.
- Put the dressers on locking casters.
- Attach a pegboard for tool storage.
- Build a step stool to help students reach high tools.
- Secure a milk crate to the space, for extra storage.
- Build a handle to help transport the space.[6]XResearch source
-
 Keep reviewing and improving the design. As the kindergartners began using the new makerspaces, it became obvious where improvements could be made. For example: Although the design included step stools, a better design would be to lower the shelves so the dressers' counters could be used as work areas.
Method 3 of 4:
Creating a Makerspace for Schools and Libraries
-
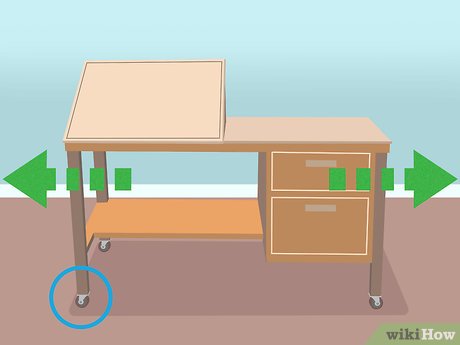 Involve the patrons in planning. Ask for input from your patrons from preschool to adult, and take note of comments made in passing.
- Use the materials you have available. The Reading, PA Public Library has a designated area known as the Teen Loft. When they have extra material available, they place it in a designated area for teen patrons to use however they wish.[7]XResearch source
- Ask for donations from the public. Many people have cardboard boxes, glass and plastic containers, and other material available. Encourage them to bring them to the school or library instead of throwing them away.
- Start small. One way to make the most use of limited space is to have a mobile makerspace. While there are dedicated maker carts available,[8]XResearch source you can use any type of cart and adapt it to your classroom or library needs.
Method 4 of 4:
Funding a Makerspace
-
 Apply for corporate sponsorships. Many corporations support education by making grants available. Makerspacelabs. com[9]XResearch source has a list of corporations that provide educational grants for teachers and schools.
 -
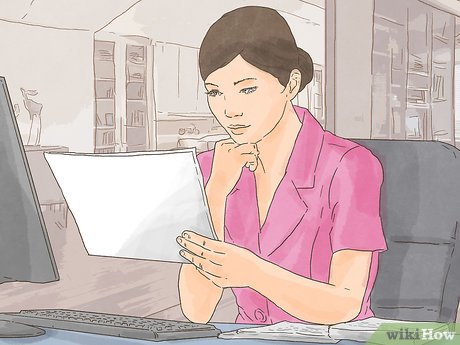 Enlist the community. Start a fund drive for your classroom or public library. Use local public forums like your school district's or municipal website.
- Start a crowdfunding drive. Crowdfunding is a way to raise funds online through donations from a large group of people. The Balance Small Business website[10]XResearch source has a list of reviews of the best crowdfunding platforms to suit your funding purposes.
FAQ
What is the easiest way to Create a Mini Makerspace?
Start with the requirements in this guide, then follow each step in order. Check the result after every major change so problems are easier to identify.
Can beginners follow these instructions?
Yes. The process is organized into practical steps, and you can repeat any step before moving forward.
What should I check if the method does not work?
Confirm your software or device version, permissions, settings, file format, and internet connection when the task depends on online services.
Related Articles
 Learn About Mini PC8 minutes read
 The 7 Top Mini PCs for Every Budget: Top Picks and Buying Guide10 minutes read
 How to Create a Playroom with Friends in Mini World Block Art6 minutes read
 Why Mini PC Is All You Need?6 minutes read
 Ways to Create a Mini World Block Art Account4 minutes read
 Why Upgrade from Mac Mini M1 to Mac Mini M4?8 minutes read
Reader Comments 0
Sign in with email or Google to join the discussion.