Table of Contents
Taming in ARK: Survival Evolved is not one universal process. Most creatures are knocked unconscious and fed, some must be approached and fed while awake, and a smaller group uses a special mechanic. Identify the method first, calculate the required food and narcotics for your server's rates, then prepare a safe trap before firing the first tranquilizer.
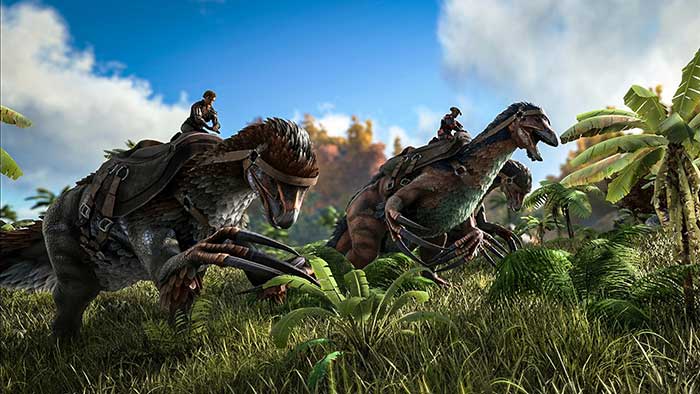
Game mode, map, difficulty, creature level, taming multiplier, mods, and version all change the numbers. Use the current creature page or a taming calculator with the exact server settings instead of copying a fixed arrow or food count.
Choose a creature for a job
Your first useful tames should solve a survival bottleneck:
- Transport: Parasaur or Iguanodon early; Argentavis later.
- Berries and narcoberries: Triceratops, Stegosaurus, or Therizinosaur.
- Metal and flint: Ankylosaurus.
- Stone: Doedicurus.
- Wood: Castoroides, Mammoth, or Therizinosaur.
- Cementing Paste: Beelzebufo when hunting insects, or a productive Achatina setup.
- Combat: choose according to the map and target; Rex, Therizinosaur, and later Giganotosaurus fill very different roles.
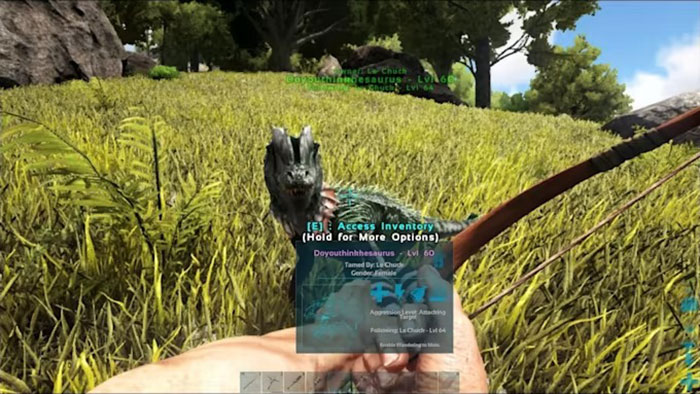
Ankylosaurus is a strong metal harvester, not a generic “gem” miner. Dilophosaurus can provide early defense, but its low weight and limited durability make it a poor main cargo tame.
Know the three taming methods
Knockout taming
Raise the wild creature's Torpor without killing it. Once it falls unconscious, place suitable food in its inventory. Keep the Torpor above zero with Narcoberries, Narcotic, Bio Toxin, or another appropriate item while the creature eats automatically.
Tranquilizer damage continues adding Torpor briefly after impact. Pause between shots when the target is close to falling so delayed Torpor can apply and you do not kill it unnecessarily.
Passive taming
Put the requested food in the last hotbar slot, approach without provoking the creature, and use the interaction prompt. Repeat after each feeding interval. Some passive tames require camouflage, Bug Repellant, reduced movement, or another condition.
Special taming
Creatures such as Troodon, Gacha, Equus, and others do not follow the standard two methods. Read the creature-specific instructions before interacting; using a normal knockout method can make the tame impossible.
Bring the correct equipment
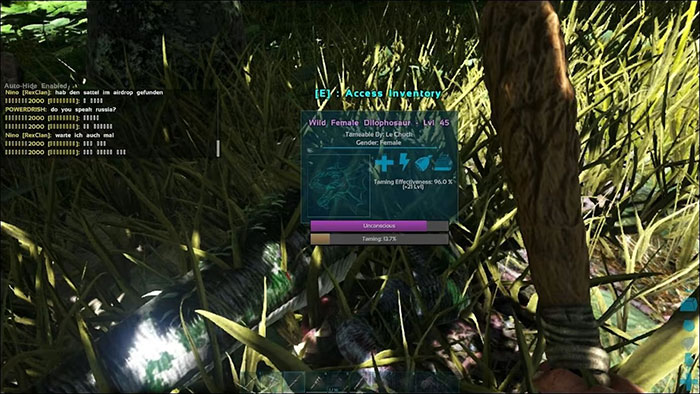
- A spyglass to confirm species and level
- A bow or crossbow with Tranq Arrows, or a Longneck Rifle with Tranquilizer Darts
- Extra ammunition for misses, armor reduction, and server differences
- The creature's preferred food plus a reserve
- Narcoberries, Narcotic, or Bio Toxin for tames with fast Torpor drain
- Trap materials, bolas or large bear traps only when the target can actually be affected
- Armor, healing items, water, and temperature protection
- Spike walls or building pieces to protect an unconscious tame where the server permits them
A club or slingshot can work on some low-level small creatures, but close-range Torpor is dangerous against a Raptor and inefficient against large animals. Never assume a bola, bear trap, or gateway trap works on every species.
Build or choose a safe taming area
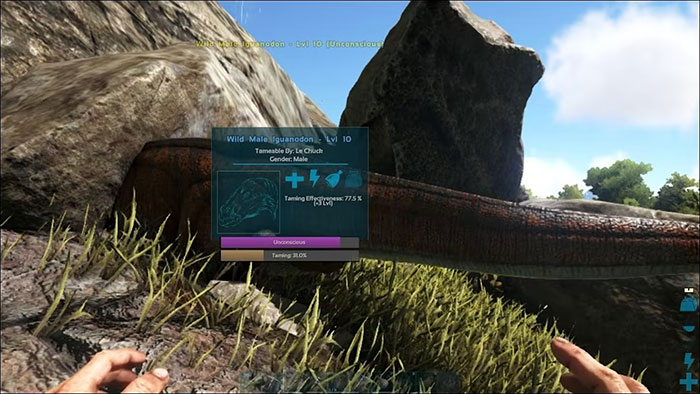
Clear nearby predators before beginning. Keep the target away from deep water, steep drops, lava, environmental damage, and the base's valuable structures. A trapped creature should be visible from a protected firing position and should not be able to escape when it flees at high Torpor.
After the knockout, check the area again. Wild creatures can damage the unconscious target and reduce taming effectiveness or kill it. On PvP servers, players and tribes are an additional risk, so avoid obvious high-traffic routes.
Use the best practical food
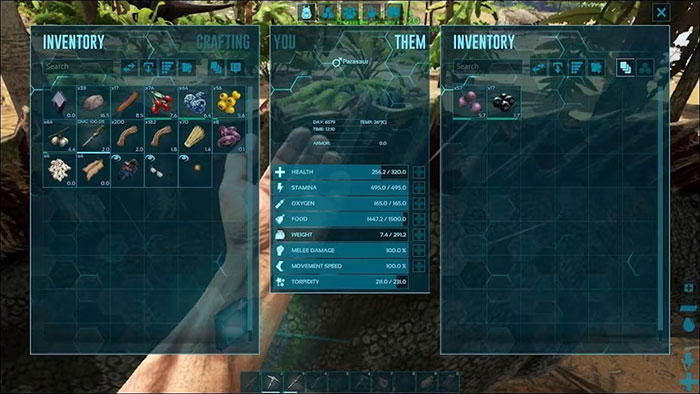
Preferred kibble normally shortens the tame and preserves more taming effectiveness than basic food. ARK: Survival Evolved uses kibble tiers—Basic, Simple, Regular, Superior, Exceptional, and Extraordinary—rather than requiring a unique egg recipe for every creature on current standard versions.
If you lack kibble, many carnivores accept Raw Mutton, Raw Prime Meat, or raw meat, while herbivores may prefer crops, Mejoberries, or other berries. The ranking differs by creature. Better food can reduce time and the number of feeding cycles, but it does not replace narcotics when Torpor drains quickly.
Why taming effectiveness matters
Taming effectiveness determines the bonus levels awarded when the tame completes. It falls when an unconscious creature takes damage and as it consumes less-efficient food. Once the creature is down, stop attacking it and protect it from other damage.
Coordinate tribe taming carefully
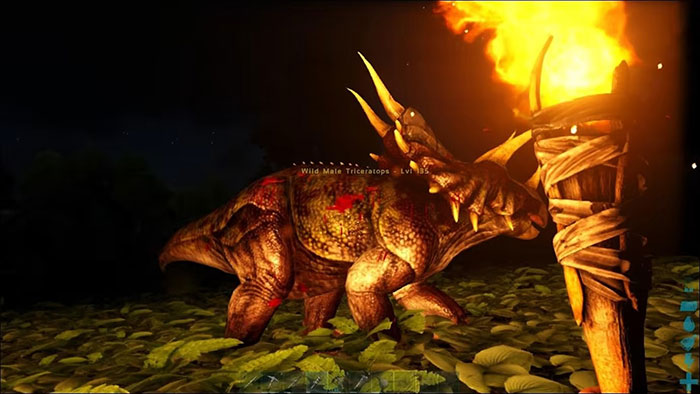
Give each person one role: lure, trap control, Torpor shots, perimeter defense, food and narcotic management, or transport. Call out every shot near the knockout to prevent over-damage. Confirm tribe ownership and governance before the tame finishes so the creature is assigned as intended.
Protect the tame after completion
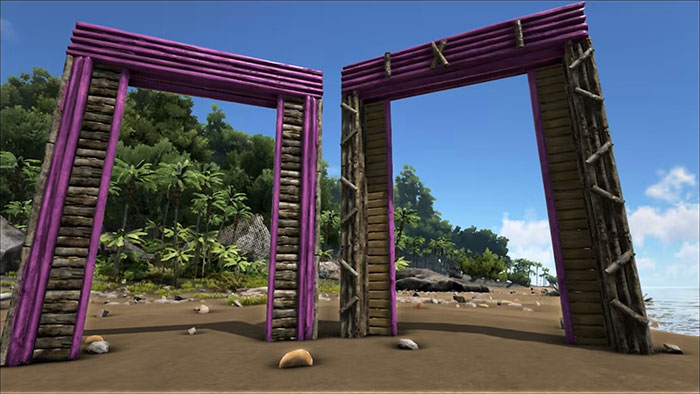
- Set the behavior deliberately—Passive, Neutral, Attack Your Target, or another suitable option.
- Disable wandering unless a production setup requires it.
- Use creature groups and whistles carefully; one accidental command can empty a pen.
- Provide food in its inventory or an accessible feeding trough.
- Keep valuable animals inside appropriate walls, gates, roofs, or cryopods where allowed.
- Do not park a large tame on an ordinary roof that cannot support or protect it.
Level the creature for its role
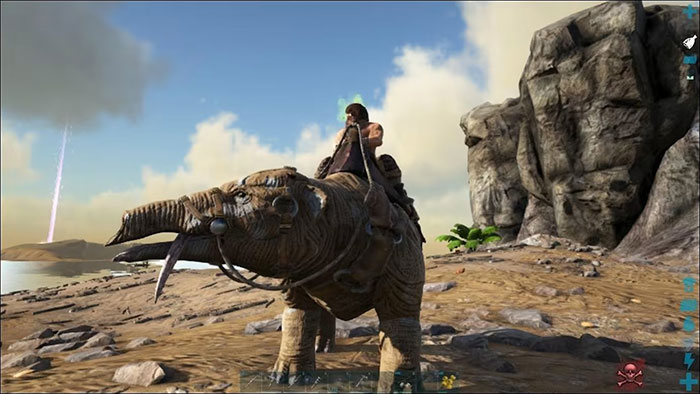
Tames gain experience over time and through kills, harvesting, and other server-dependent sources. Increase stats that support the actual job: Weight and Stamina for transport, Melee Damage for harvesting or combat, Health for danger, and sometimes Movement Speed where the server and species allow it.
Do not take a fresh tame against a powerful target merely to level it. Start with safe kills or gathering, equip the correct saddle, and keep a recovery route.
Ten valuable creatures and how to tame them
Therizinosaur: versatile harvester and fighter
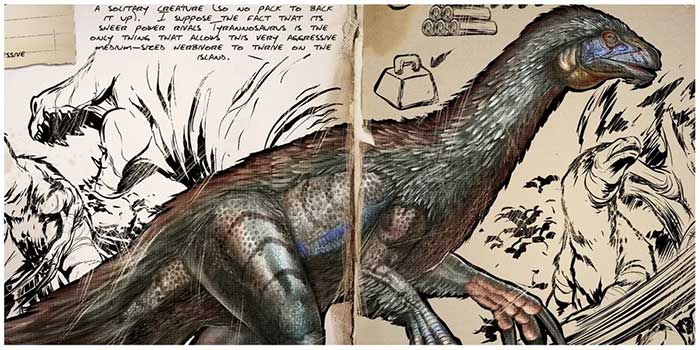
The Therizinosaur gathers wood, fiber, berries, and several other resources and can become an effective combat mount. It is not an easy early tame: it is aggressive, deals heavy damage, and loses Torpor quickly.
Use a strong trap and knockout tame it. Its preferred standard kibble is Exceptional Kibble; suitable crops or berries take longer. Bring substantially more narcotic support than a similarly sized herbivore and stay clear of its long attack reach.
Beelzebufo: mobility and Cementing Paste
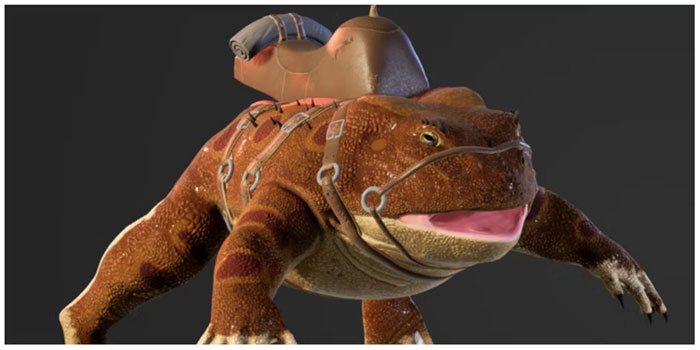
Beelzebufo jumps far, swims well, applies Torpor with tongue attacks, and converts many insect kills into Cementing Paste. It is a knockout tame that prefers Regular Kibble, with Raw Mutton as a strong carnivore alternative.
Clear dangerous swamp creatures first and use a bola only if the current version allows it for the target. An Argentavis can help move a frog on servers and settings where flyer carrying is enabled.
Griffin: fast aerial combat and taming support
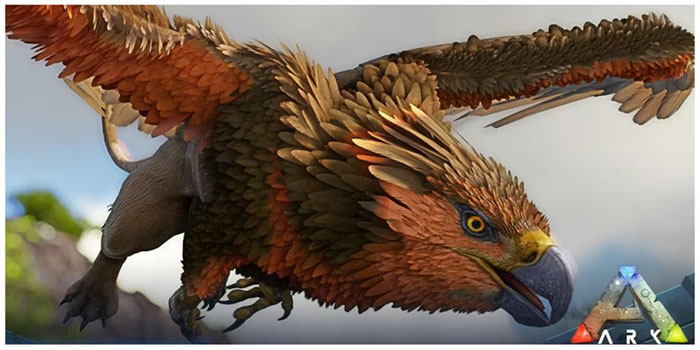
Griffins appear on selected maps, including Ragnarok, and can dive for speed and damage. A rider can use weapons from its back, making it useful for later tames. It requires no saddle.
Build a long, secure flyer trap, lure the Griffin inside, and use a knockout method. Its preferred kibble is Extraordinary Kibble. Griffins can take many shots and may flee quickly, so calculate ammunition before starting.
Giganotosaurus: high-risk late-game combat tame
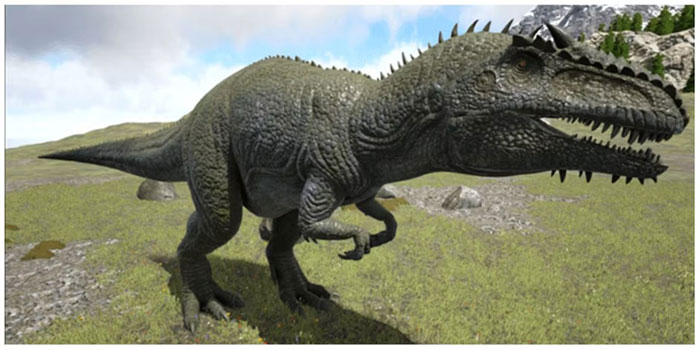
A Giganotosaurus is one of the most dangerous conventional knockout tames, not an easy dinosaur. It has enormous Torpor, very fast Torpor drain, and a rage mechanic that can threaten its own rider or tribe when it takes enough damage.
Use a proven large trap built from materials it cannot destroy, such as metal dinosaur gateways with a correctly placed large bear trap. Bring a Longneck Rifle, many Tranquilizer Darts or Shocking Tranquilizer Darts, Extraordinary Kibble or another calculated food supply, and a large narcotic reserve.
Gacha: passive resource production
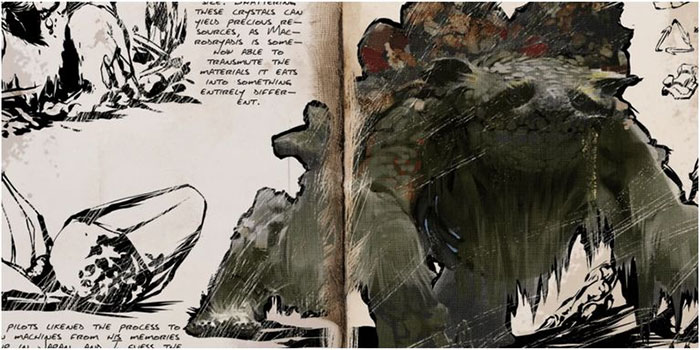
Gacha are available on Extinction and selected other maps. They can produce crystals containing resources, but their production depends on the individual Gacha, nearby conditions, food, and mate arrangement.
This is a special passive tame: drop suitable items in front of the wild Gacha and allow it to pick them up. Do not feed expensive Tek structures merely because an old guide labels them “best.” Check the current taming values first. After taming, Snow Owl Pellets are useful in a managed Gacha production setup.
Brontosaurus: berries, weight, and platform building
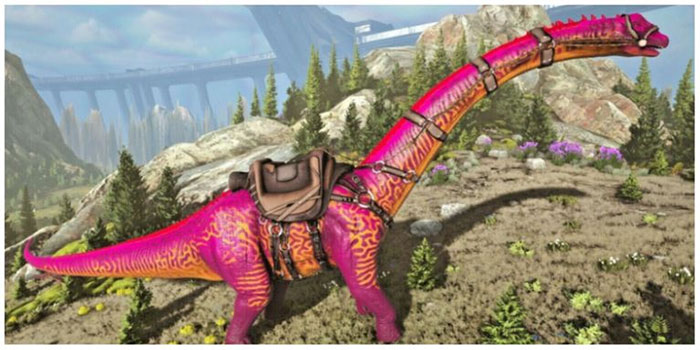
The Brontosaurus has a huge berry-gathering sweep, high carrying capacity, and access to a platform saddle at the appropriate level. Its size makes it slow and difficult to store.
Knock it out in an open area away from your base and cliffs. It prefers Exceptional Kibble, followed by suitable crops or berries. You do not need a Tapejara to tame it; a safe elevated firing position or large trap is enough.
Troodon: specialized detection tame
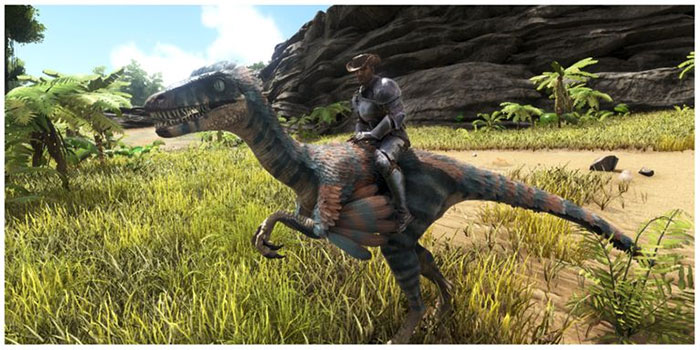
Troodon can provide detection and Torpor pressure, but it is a niche, costly tame rather than an essential farm guard. It uses a special process: the wild Troodon must kill eligible creatures that you already tamed while it remains conscious.
Taming progress is more favorable at night. Build a controlled pen, disable the sacrificial tame's resistance where appropriate, and consult a level-based calculator before sacrificing valuable creatures. Standard food and tranquilizers do not complete this tame.
Snow Owl: healing, freezing, and scouting
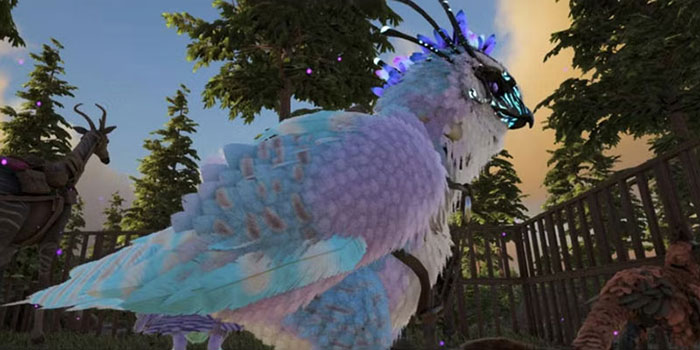
Snow Owls appear on Extinction and selected other maps. They can dive, use thermal vision, and freeze themselves with nearby creatures to heal or immobilize them. Their pellets also support Gacha production.
Lure one into a flyer trap and knockout tame it. The preferred food is Superior Kibble, followed by Raw Mutton and other meat according to the current rates. Clear nearby owls before working on the target.
Argentavis: cargo flyer and mobile smithy
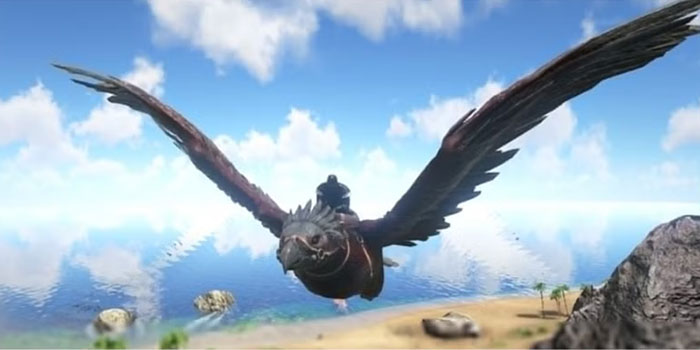
Argentavis has strong weight, health, and stamina for a flyer; its saddle functions as a smithy, and it reduces the carried weight of several common resources. It can also carry certain creatures when the server allows flyer pickup.
Use a stone gateway or doorframe trap with enough room for the bird to enter but not escape. Knock it out and feed Superior Kibble or Raw Mutton. Map-specific mountain and snow locations are safer guidance than one fixed “Far's Peak” route.
Rex: boss army staple
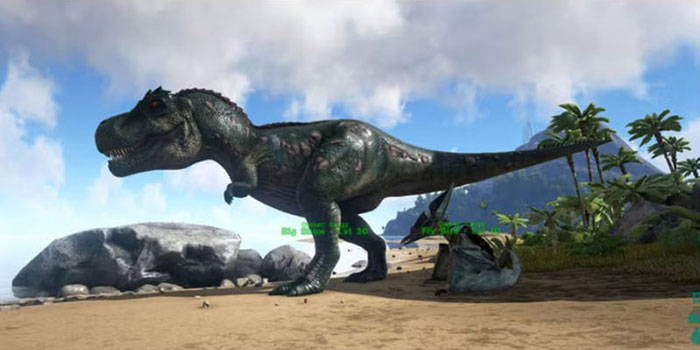
Rex offers high Health and Melee Damage and is commonly bred for boss encounters. It is powerful but not agile, and an ordinary wild tame is not automatically ready for a boss arena or PvP raid.
Lure the Rex into a stone trap or shoot from a safe position, then knockout tame it. Its preferred food is Exceptional Kibble, with Raw Mutton and prime meat alternatives. Good breeding stats, imprinting, saddles, and coordinated support matter more than the species name alone.
Final taming checklist
- Confirm the creature, level, sex, method, and map availability.
- Enter the exact server taming rates in a current calculator.
- Prepare the trap, food, ammunition, narcotics, saddle, and transport plan.
- Clear the area and preserve taming effectiveness after knockout.
- Stay until completion; do not assume Torpor will last unattended.
- Name, set behavior, feed, and secure the tame before leaving.
The ARK Official Community Wiki taming guide documents the general mechanics and links to creature-specific methods.
Related Articles
 Tips to Know to Survive in ARK: Survival Evolved7 minutes read
 ARK: Survival Evolved Has a Free Version for iOS and Android Worldwide3 minutes read
 Dinosaurs Evolved into Birds from Millions of Years Ago5 minutes read
 How to Play ARK: Survival Evolved with Friends5 minutes read
 TOP Best Survival Game on PC and Download Link5 minutes read
 Download the Ultimate Ark: Survival Evolved for Free on Epic Games Store3 minutes read
Reader Comments 0
Sign in with email or Google to join the discussion.